
Problem: I want to connect one pair of speakers to 2 separate amplifiers.
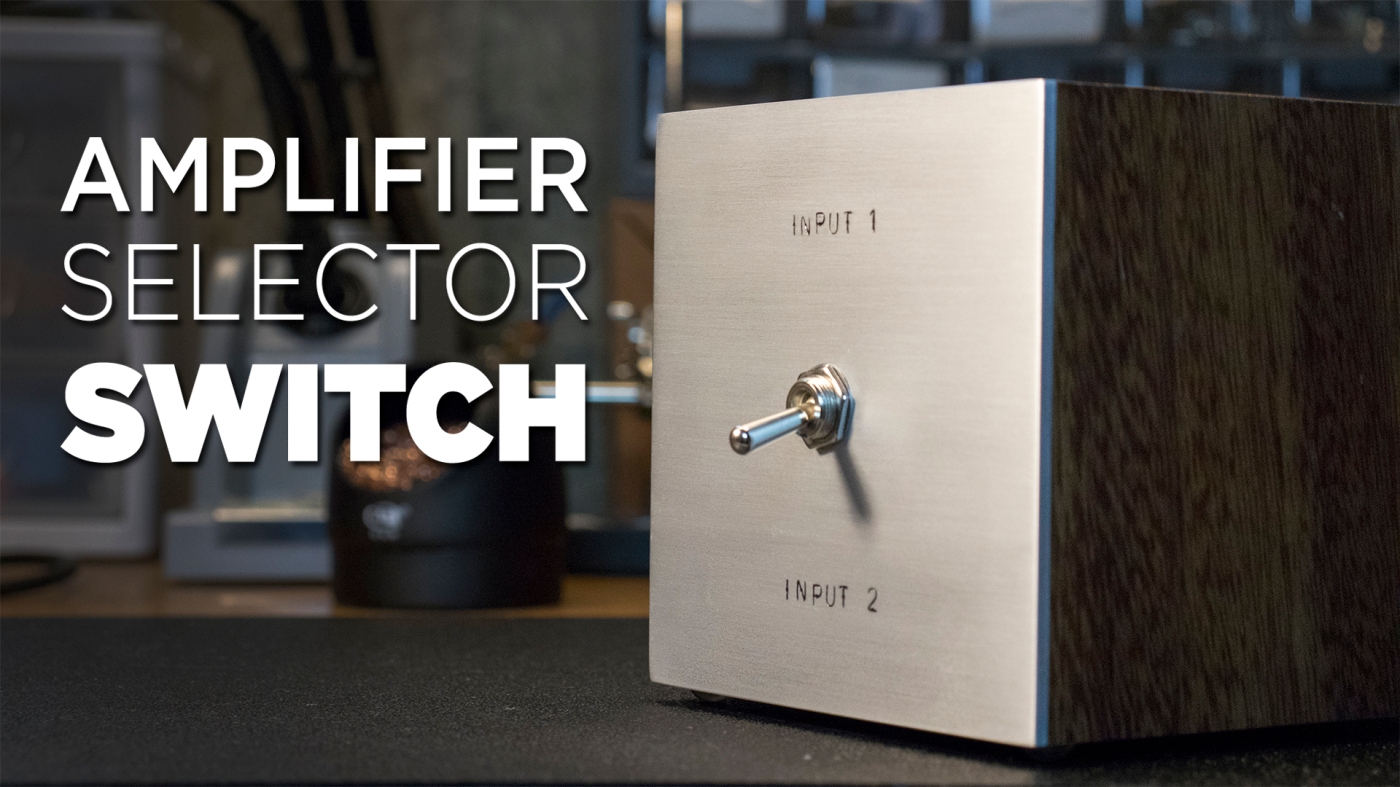
Solution: Build a Switch box!
Materials Used: 4PDT Switch, Aluminum Faceplate, Speaker Terminal Connectors
So I am going to build a switch so that I can hook up 2 amplifiers to one set of speakers. Now what I need for this is a 4 pole double throw switch. This means that there are 4 connectors that can switch between 2 posts.
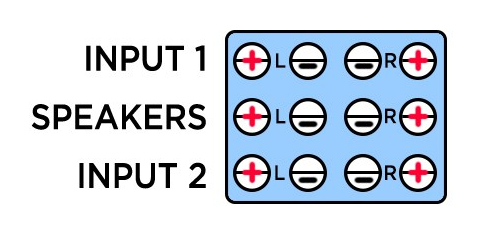
So we have positive and negative wires for 2 speakers or 4 wires, so we will hook up the speakers to this middle row, and then depending on which way the switch is toggled it will connect that middle row to either the top or bottom, or the first or second amplifier.
The only critical thing for this to work is this switch, so I could just hookup my speaker wire directly to this switch and use long enough lengths to get to the speakers and amps.


To make the box I am going to use this scrap of mahogany and I am going to cut it down to about a half of an inch thick, and cut out some pieces to make a 4 and a half inch cube.
First I rough cut out the pieces, and then cut and cleaned out a rabbet on one side to hold the back panel, then I cut miters on the end, and used a stop block to get 4 pieces that are all the same length. Then I can layout the pieces and use some painter’s tape to keep them together and then fold the box up to and wait for it to dry.
For the front panel I am going to use this 1/8th inch thick piece of aluminum, so I will cut out a piece a little over size for the front of the box, then I can mark the center and use a step bit to drill out a hole for the switch, checking periodically to make sure I have the right size hole. Once that is done I can use these letter punches to label the switch positions. So I made sure to measure twice, and then used the stamps to spell out input 1, and input 2, at which point I used some black spray paint to paint in the letters.
Once that was dry I sanded the back of the panel with 220 grit paper to make sure the glue would adhere right, and I also sanded the front face of the box and then I used some 5 minute epoxy to glue the 2 pieces together.
While that was drying I could solder up the switch and speaker connectors. I used some 12 gauge speaker wire to attach everything together. The wiring is pretty straight forward you just have to keep track of everything and strip a bunch of wire.
I cut down some hardboard from an old picture frame to use as the back panel, it doesn’t matter what you use here as long as it isn’t conductive. Since the entire post of the speaker connector is conductive, if you screwed all of these down to a piece of metal it would short everything out.
Once I had the guts all assembled, and I just used a sharpie to label the back panel so I know where to connect my wires. One thing to note is that when the lever is down on the switch, it will actually connect the middle row to the top, and when the switch is up it will connect to the bottom, so we just have to flip our labels around accordingly.
Now that the box is dry we can sand the face, to get a really nice brushed aluminum look. Basically we just want to sand in straight lines till we clean up the whole face of the box.
At that point I sanded everything up to 320 grit and then finished the wood with linseed oil and paste wax. Then I could assemble everything, and the trickiest part is tightening down the nut on the switch without scratching the front of the box. Then I could drill two small holes and put some screws in to hold the back panel on and all that was left was to hook it up to the stereo.
It is hard to show everything hooked up since it just kind of looks like wire spaghetti, so you will just have to take my word that everything is connected. The purpose of this box is so I can have my music hifi, which is this tower on the left, connected to the same set of speakers as my TV and surround sound speakers.
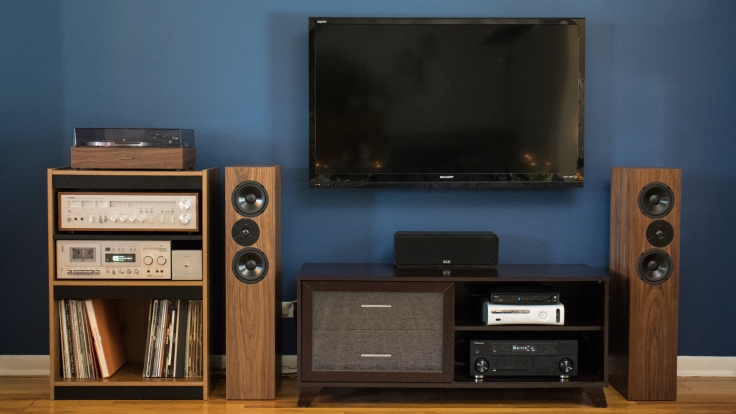
So if I want to listen to a record, or the radio, or a cassette tape, then I can flip to input 1.
But if I want to Watch TV or a movie, then I can flip this switch to input 2.
It is always fun coming up with your own solutions to problems, and this box does exactly that.
FURTHER DETAILS:
I didn’t build this box to be an A/B box to audition multiple amplifiers however it could be used as that, you just want to make sure that at no point the outer terminals ever have continuity between them. This is generally referred to as a break before make switch. I hooked up a multimeter to the switch to test for continuity between the outer posts and flipped the switch to make sure that there never was any, even for a split second.
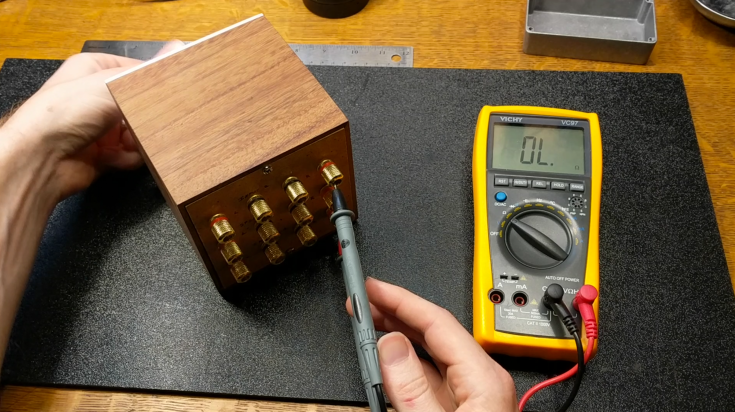
HOOKING UP AMPLIFIERS TO EACH OTHER IS VERY BAD! And if you wire this box incorrectly then that is essentially what you are doing. So it is always a good idea to check everything with a multimeter to make sure that it is correct before using.
As far as I am concerned the sound quality degradation using this box is nominal. I used thick good 12 gauge wire to build the box and I testing the connections with my multimeter and it read 0 ohms of resistance across the terminals. Effectively I think the only affect on the sound that this box has is the 5 inches of wire inside, which would be the same as having your normal speaker wire be that extra length. All in all it is not noticeable to me at all and the positives of the switch definitely outweigh the negatives if there are any at all.

How can I buy one?
LikeLike
I just wanted to thank you for this article. My Dad is retired and I showed him this article. He made one of these for my setup so I could switch between my tube amplifier and my AV amplifier just like you did. I did the wiring and he did the box. It turned out amazing!
LikeLike
Glad to hear! Enjoy!
LikeLike
Hello, will it work the other way around? As an speaker selector, basically by connecting one amp to the ‘Speakers’ and then 2 pairs of speakers to the ‘Input 1’ and ‘Input 2’ ?
LikeLike
It’s slightly different because you don’t want to ground the amp connectors together when it is not selected.
LikeLike