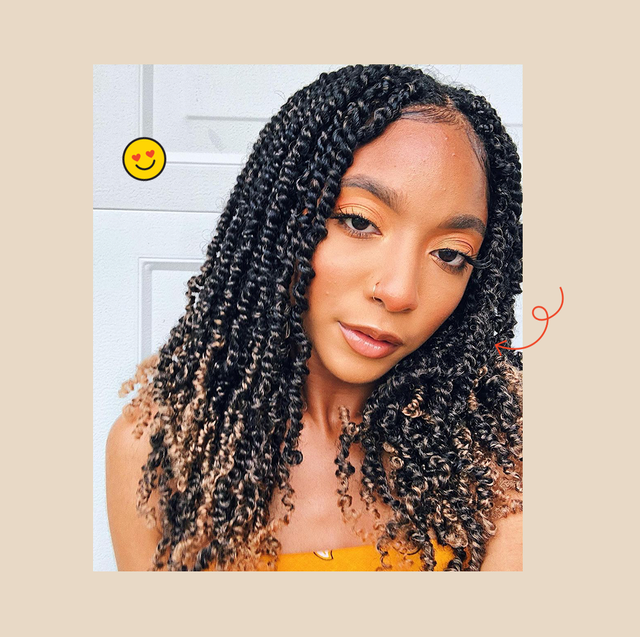
Looking for a reason to try out a new protective hairstyle? Here's an idea for ya: Take a quick scroll through the thousands of spring twist hairstyles on Instagram and your decision will feel a whole lot easier. According to Jasmine Pierce, hairstylist at Yeluchi in Washington, D.C., spring twists are a low-maintenance, versatile style defined by its "spring-y" texture. A bit tighter than other styles like passion twists, spring twists are made with curly braiding hair and are relatively easy to recreate at home with a little patience and a few expert-approved tips and tricks.
That's why we tapped Pierce to share everything you need to know about trying spring twists on yourself, including the installation, the maintenance, and more. Keep scrolling and prepare to find your new go-to look ('cause, yup, it's that freakin' cute).
What kind of hair do you use for spring twists?
First things first: Pierce says you'll want to use tight, curly braiding hair to get that spring-y effect. She's a fan of the Bobbi Boss Water Curl for her clients (it's great for getting a curl that's not too tightly coiled, she says) but there are tons of options out there (the FreeTress Spring Twist and Beyond Beauty Spring Twist are also great places to start). Just decide on your budget, your preferred length/color, and go from there.
How do you do spring twists?
Before attempting spring twists yourself, make sure you have the right tools on hand (more on that in a sec) and a few YouTube tutorials cued up if it's your first time doing twists. Take your time, go slow, and don't get frustrated if you mess up—it takes practice to master the technique! Here's what you'll do:
Step 1: Get your supplies ready
Before you start twisting, you'll want to make sure you have a rat-tail comb, sectioning clips, braiding gel or pomade, and, ofc, your spring-twist hair ready to go. Depending on the type of hair you go for, you might need to take your hair out of the pack and gently separate it before you twist (some packs come pre-separated, so just take a peek at the hair before you get started). "This will help make the hair softer and fluffier so it blends better with your natural hair," says Pierce.
Step 2: Prep your hair
As with any protective hairstyle, Pierce says you'll want to work with freshly cleansed and conditioned hair. Before twisting, use your favorite non-stripping co-wash or shampoo and follow with a creamy deep-conditioning treatment for extra hydration. Although Pierce likes to do spring twists on damp hair (she says it helps create a bit more grip, especially when she's working with clients who's textures are prone to slippage), you can also blow-dry and stretch your hair.
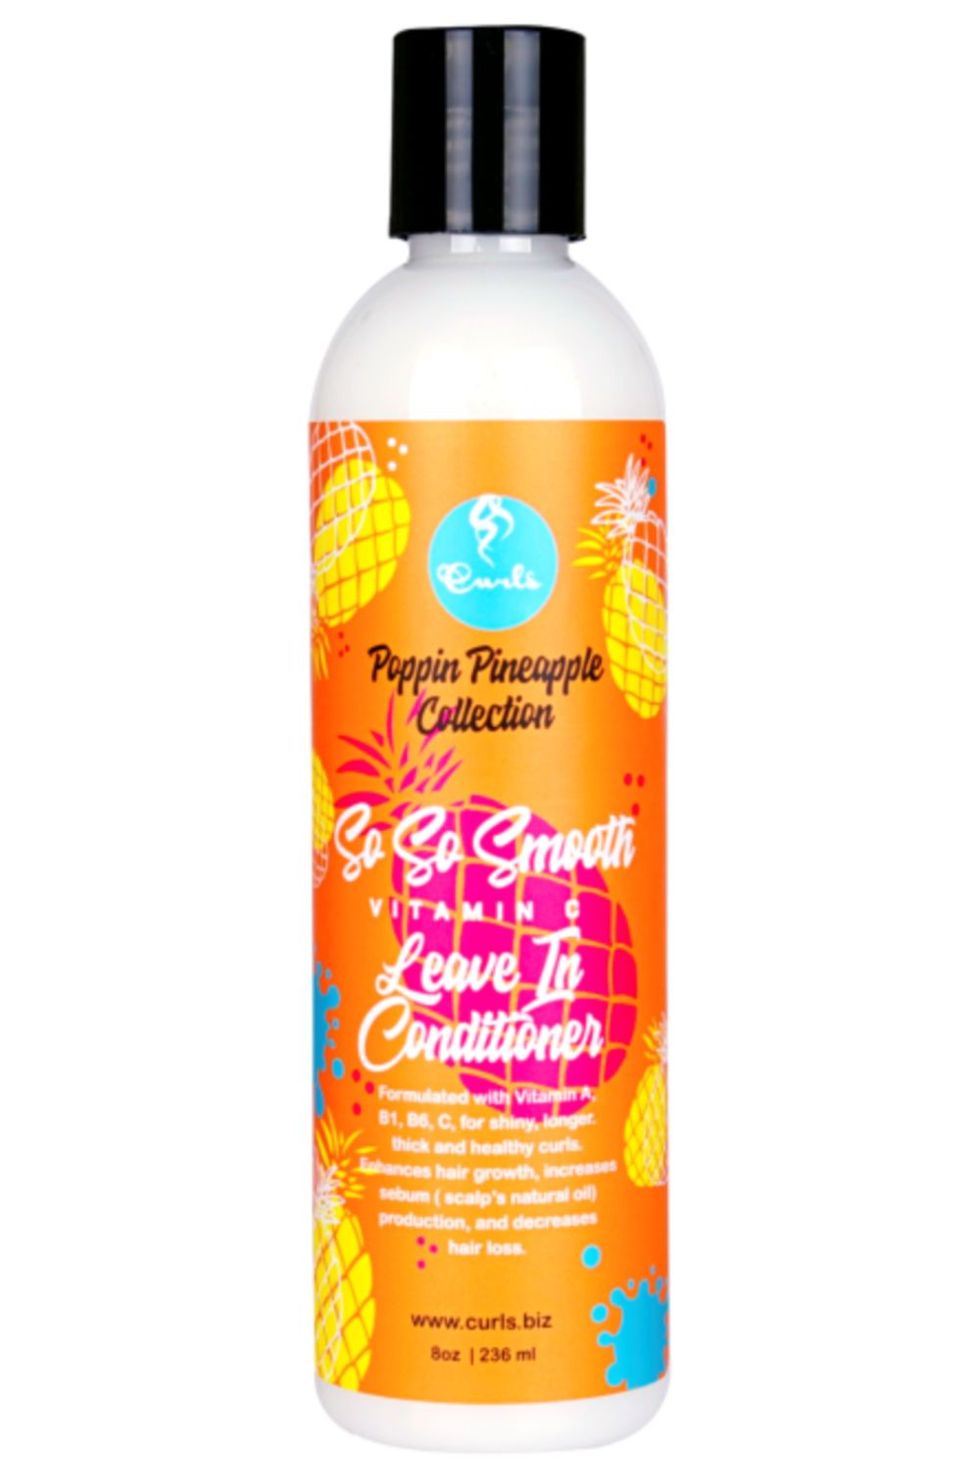
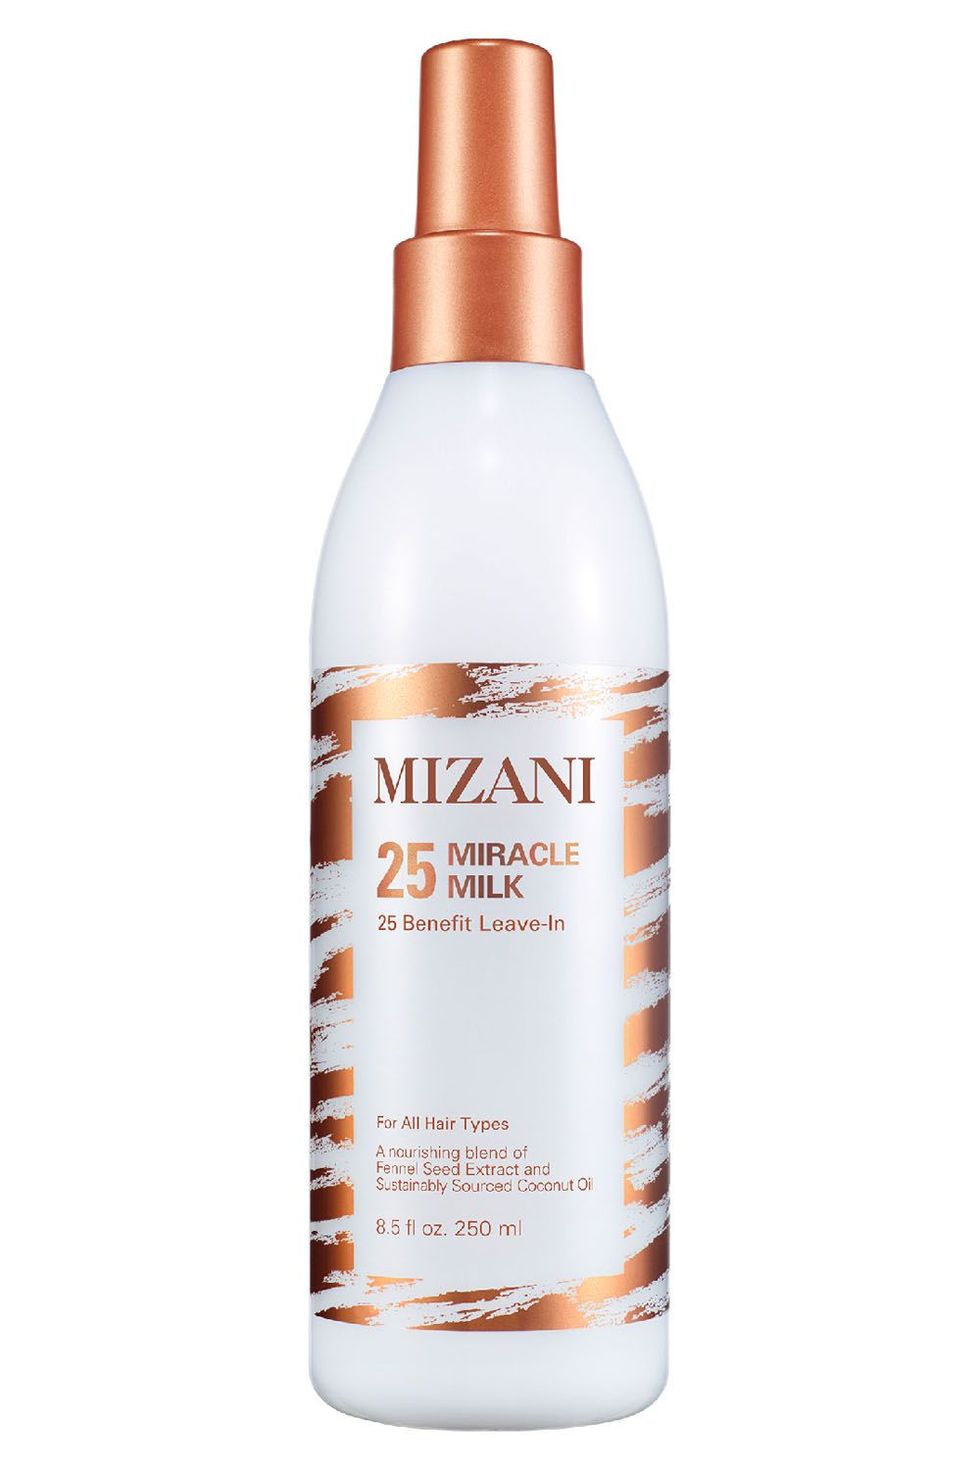
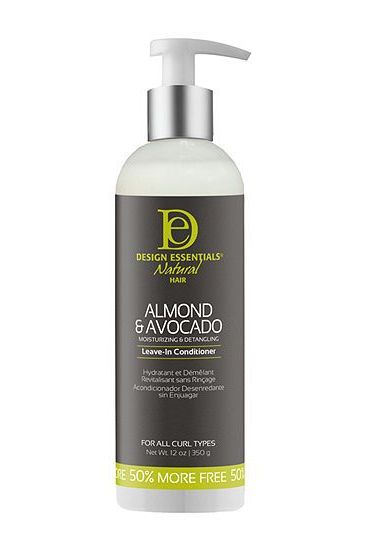
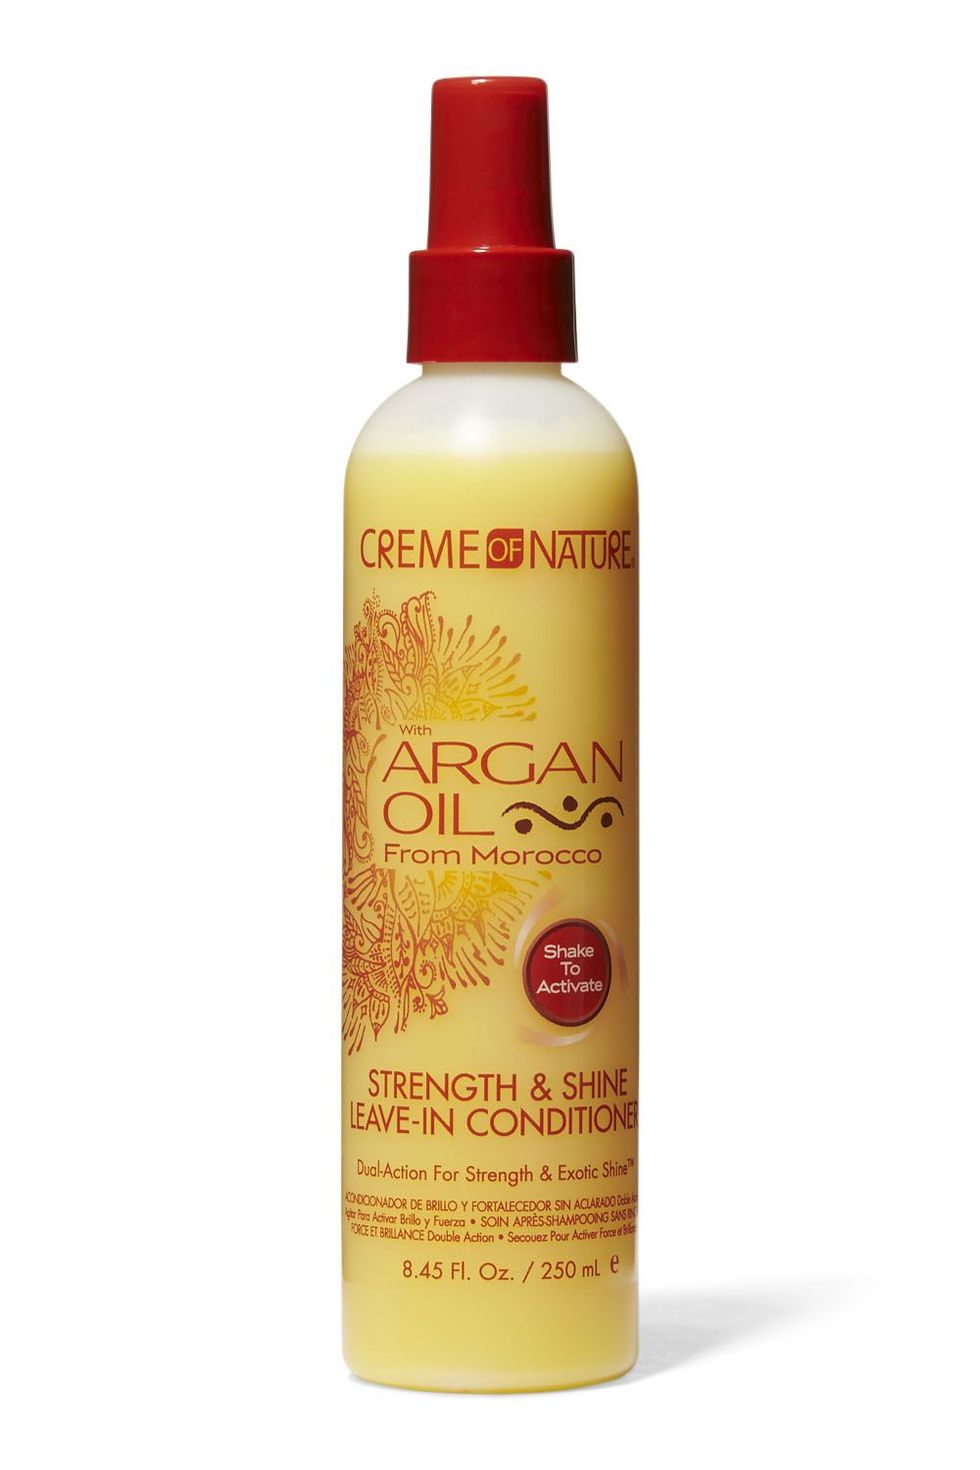
Either method, you'll want to spritz in a generous amount of leave-in conditioner (and heat protectant if you're blowing it out) to smooth flyaways and boost moisture. These bbs are a great place to start:
Step 3: Install the hair
Start by separating your hair into three or four sections depending on the length and density of your hair. In the YouTube tutorial above, TheKeyisME suggests working in small parts and braiding your natural hair with the spring twist hair right at the root (about an inch long) to make sure your twists stay in place. From there, you'll want to gently—but firmly—two-strand twist your natural hair and the spring hair all the way to the end of the strand, being careful not to apply too much tension (remember: you want to maintain that light, springy texture).
Smooth a dollop of pomade or gel through each strand before you twist (this will help make sure your natural hair is lying flat), and repeat until you've completed each section. Heads up that this process is going to take a few hours at least, so make sure you're nice and comfy.
A couple things to keep in mind: Since the ends of your spring twists are already curly, Pierce says you don't need to worry about sealing them with hot water—just rub the ends with your fingertips and trim any loose strands. And it might seem like common sense, but when you're twisting, make sure you're working in the same direction as your spring hair—going in the opposite direction can leave you with a weird or flat shape.
P.S., You can also apply your spring twists with the crochet method using pre-made twists. Pierce says she likes this technique for clients with thin-to-medium hair who are worried about pulling and tugging. Peep this YouTube tutorial from ForeverCryssy if you need a visual.
How long do spring twists last?
Like any protective hairstyle, Piece says you'll want to take out your spring twists after two months max (waiting any longer can cause scalp and hair damage—and that's never the goal). During those two months, make sure you're applying lightweight scalp oils (Pierce likes jojoba) to minimize irritation and sleep with a silk or satin bonnet to keep your twists from frizzing.
The final word
If you're in need of a new protective style to add to your rotation, there's no reason why you shouldn't consider trying spring twists. They're lightweight, super versatile (seriously—you can style them in everything from chic bobs to high ponytails and buns), and they're totally doable at home if you've got the (A) time and (B) patience. I mean, what's not to love?
Ruby was the beauty editor at Cosmopolitan, where she covered beauty across print and digital. Her work has appeared on The Zoe Report, Fashionista, and StyleCaster. Follow her on Instagram.
