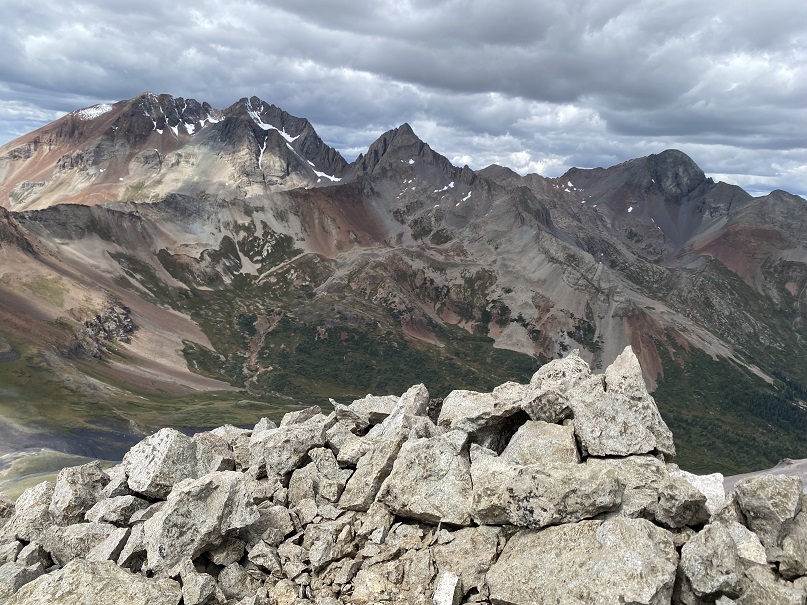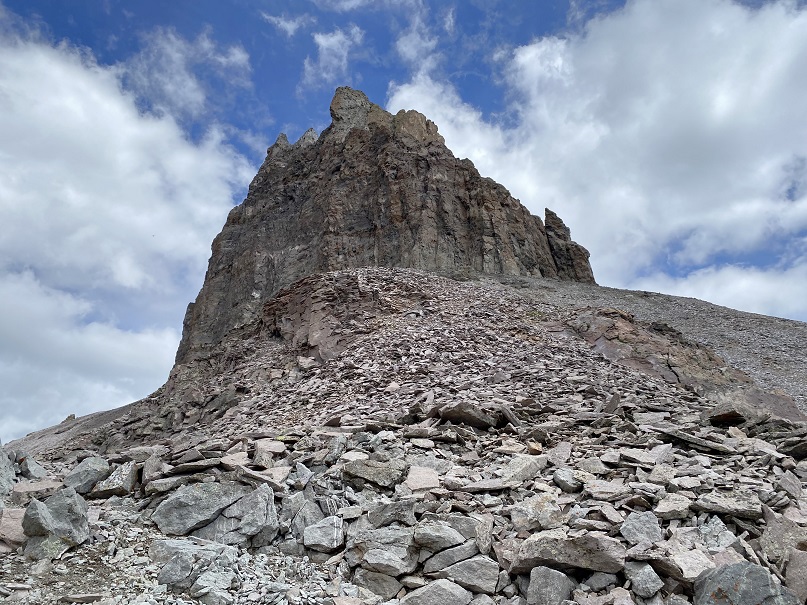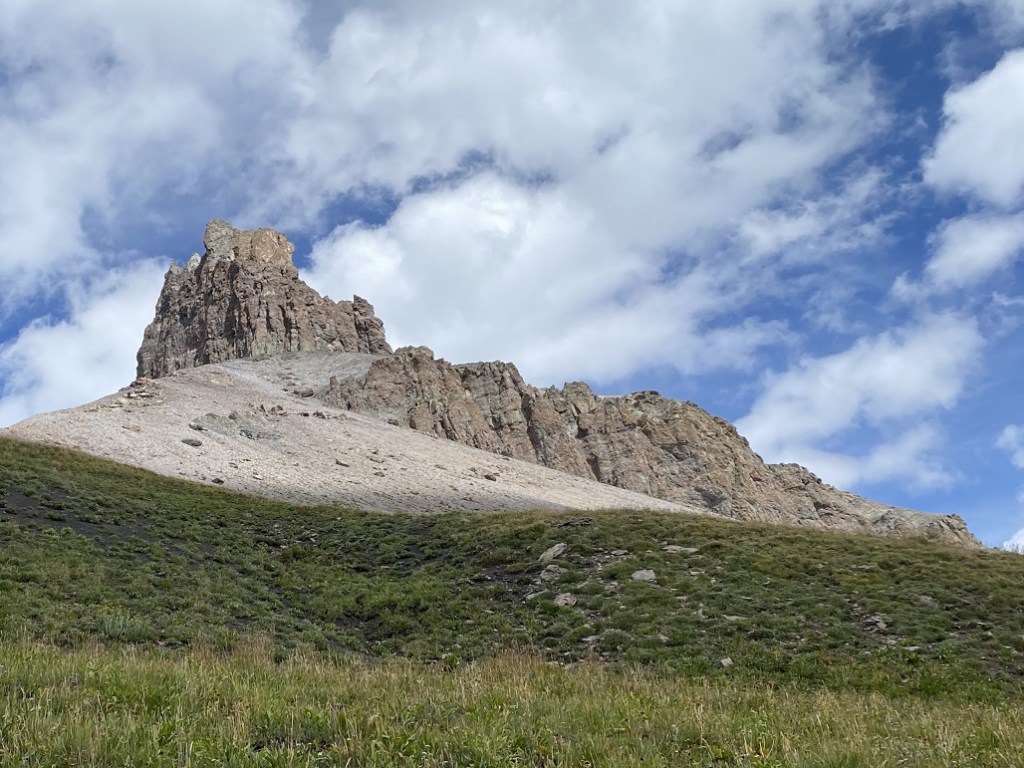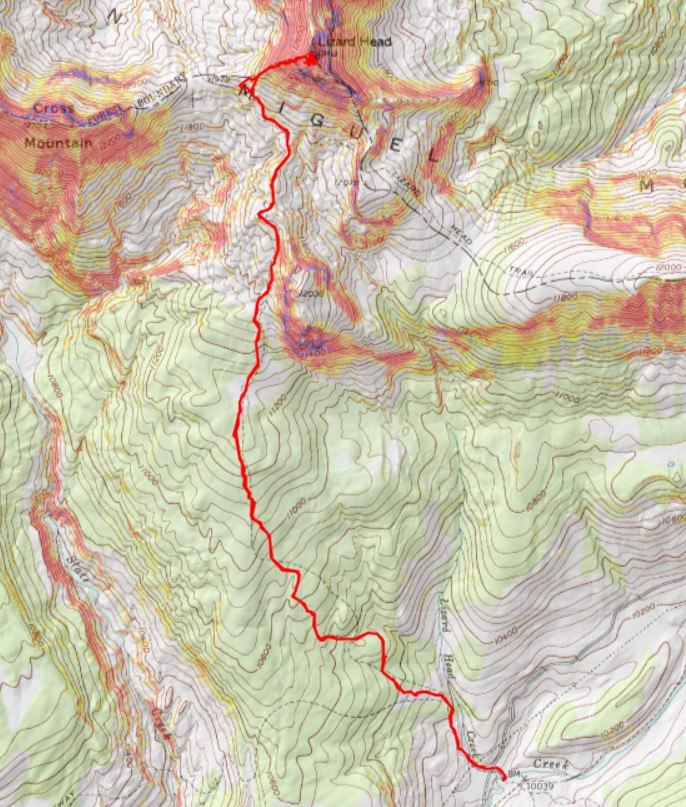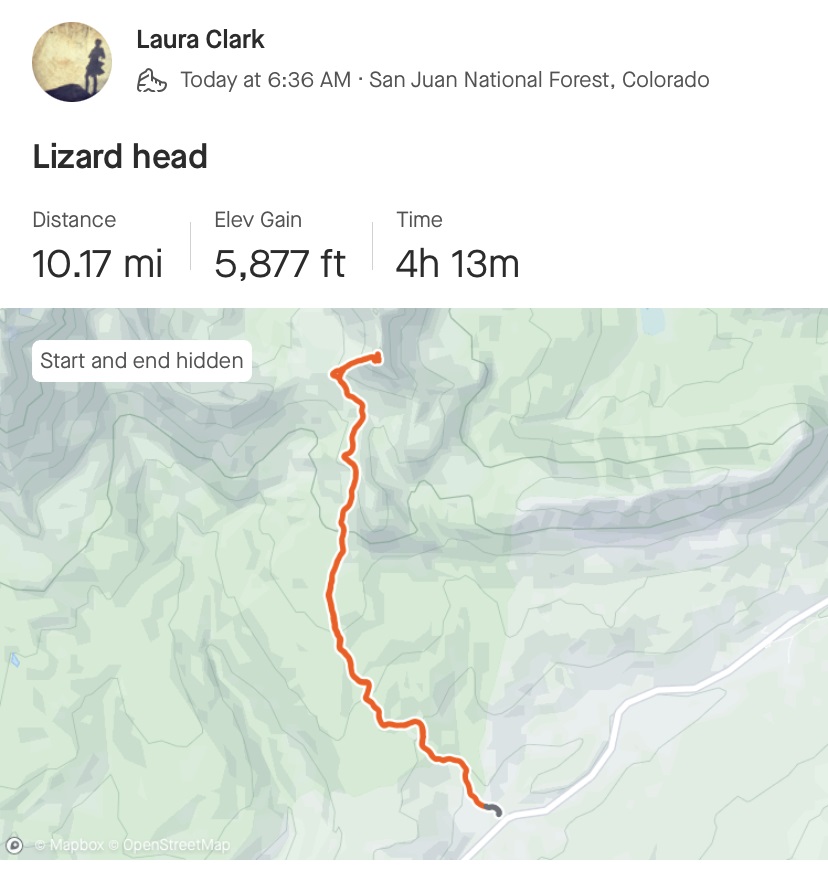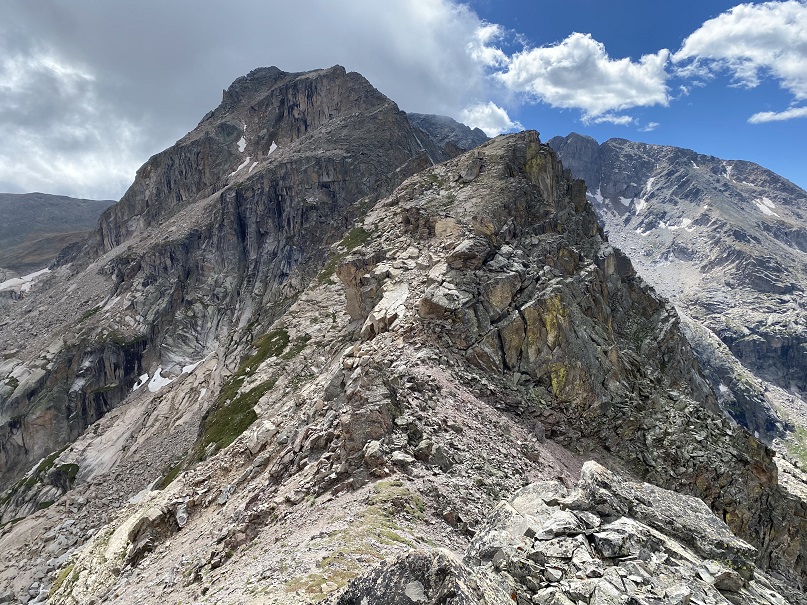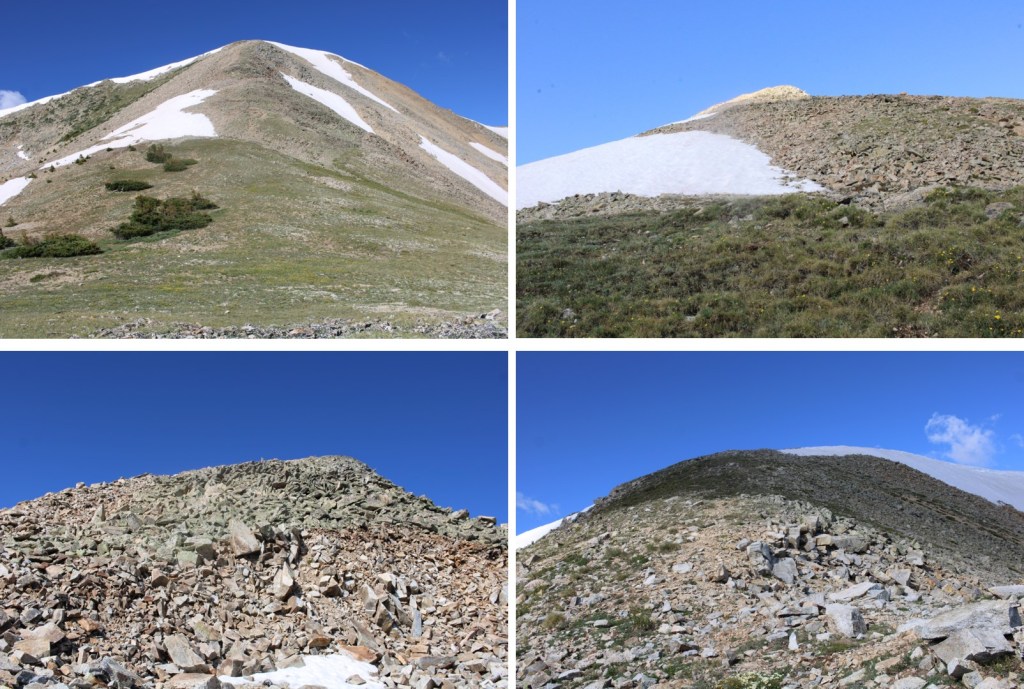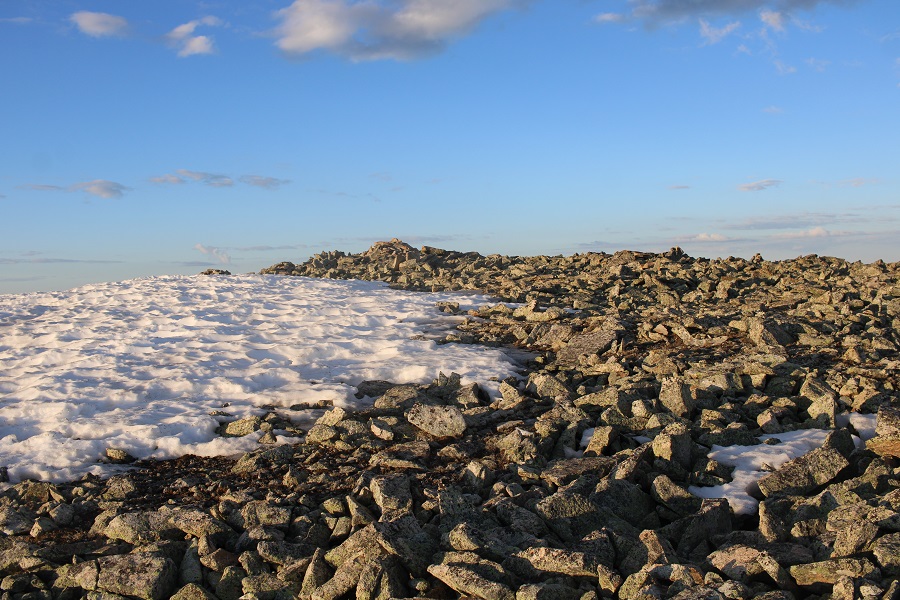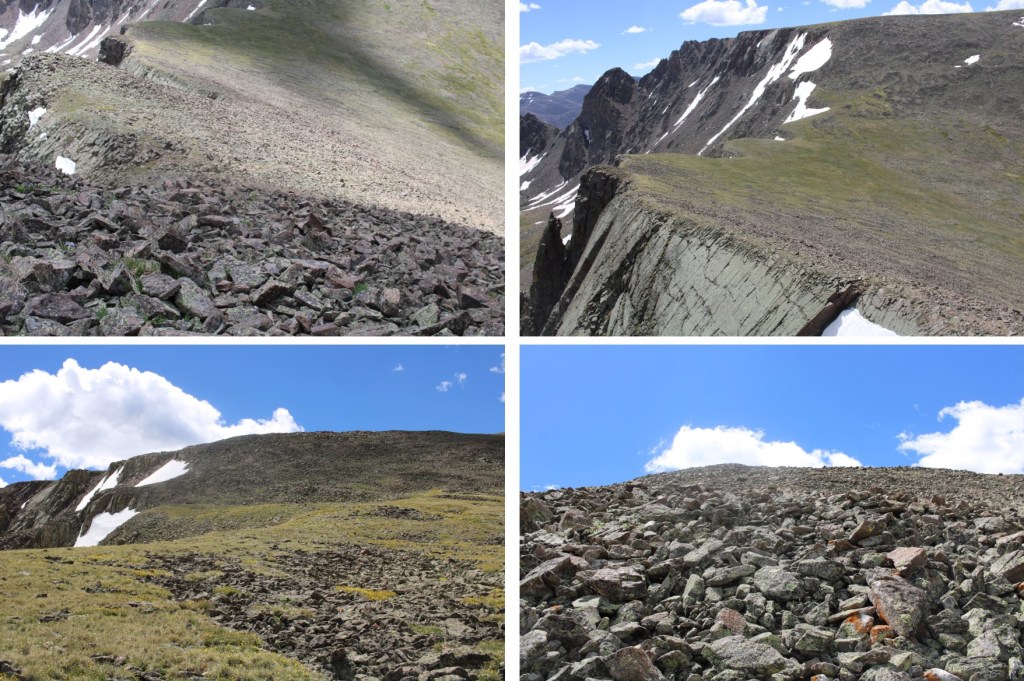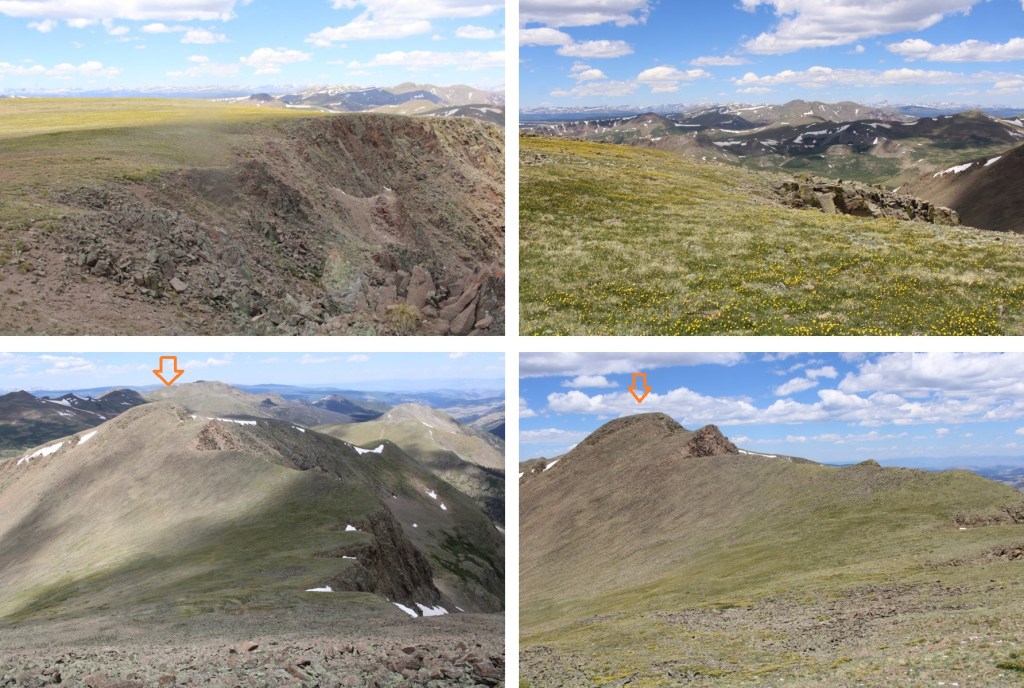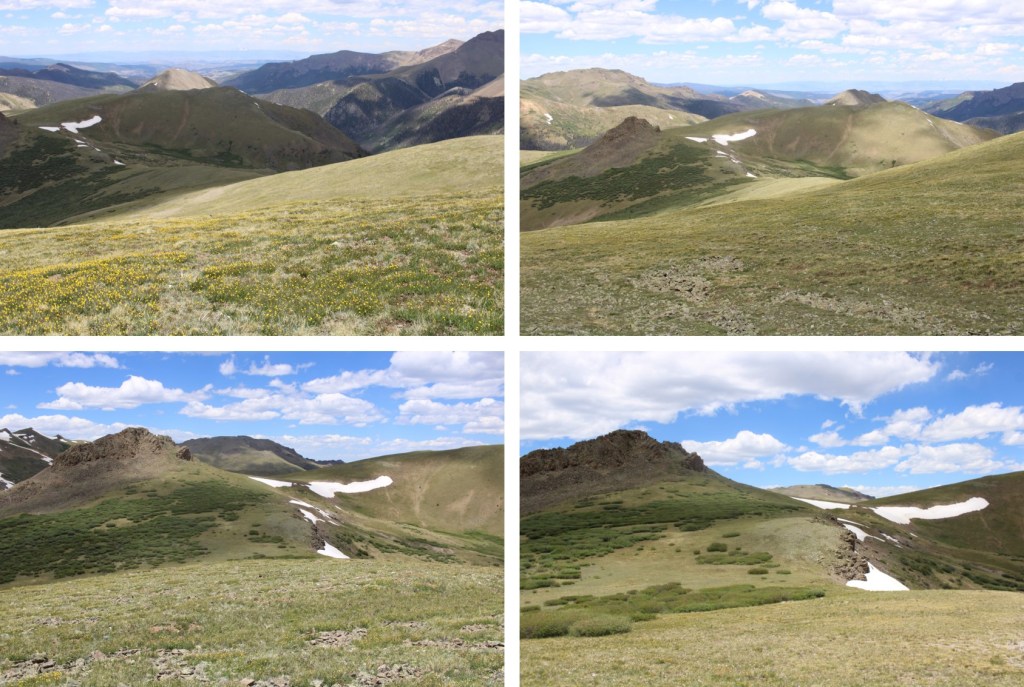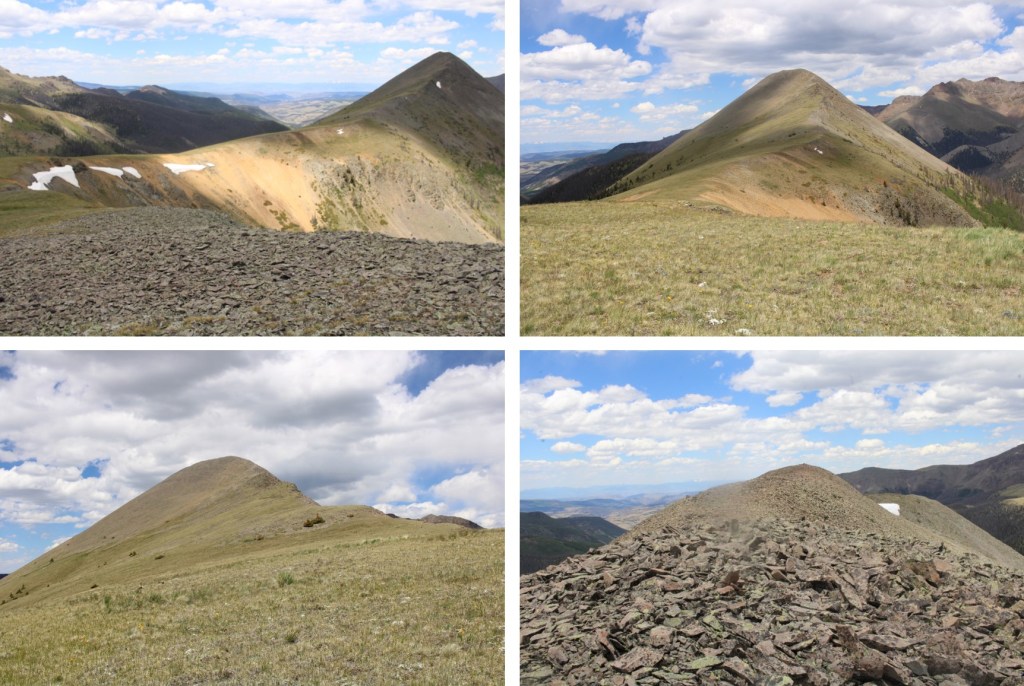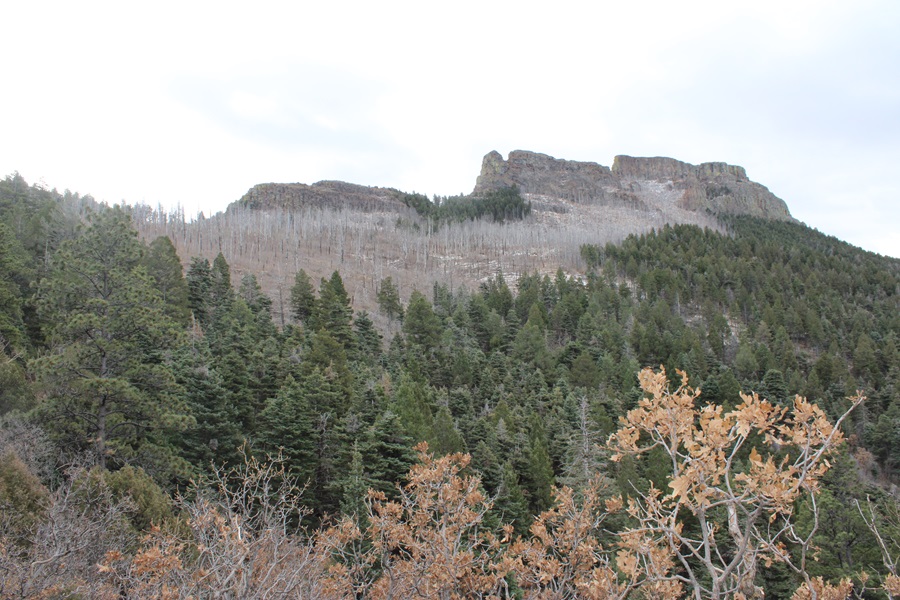
Fishers Peak – 9,637’

RT Length:  15.3 miles

Elevation Gain: 3588’

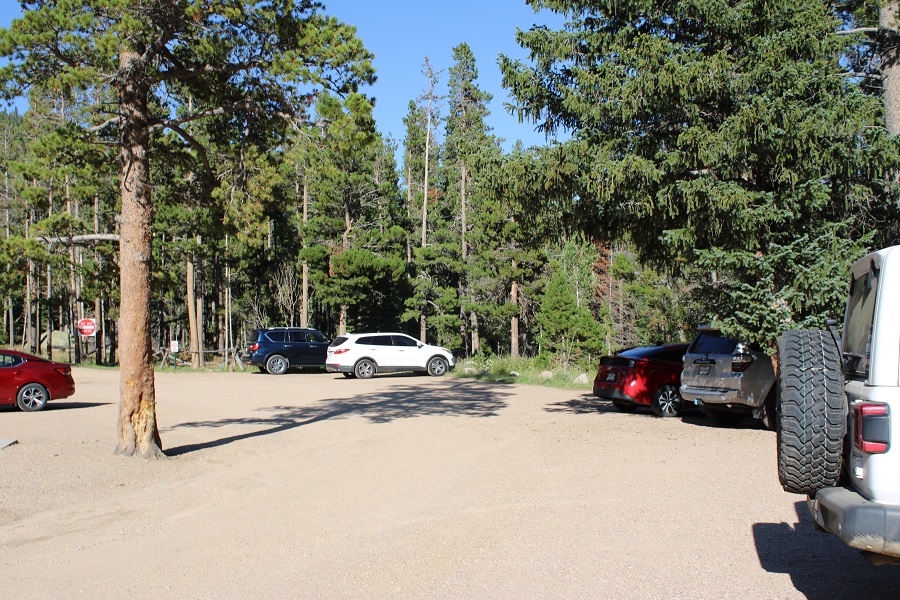
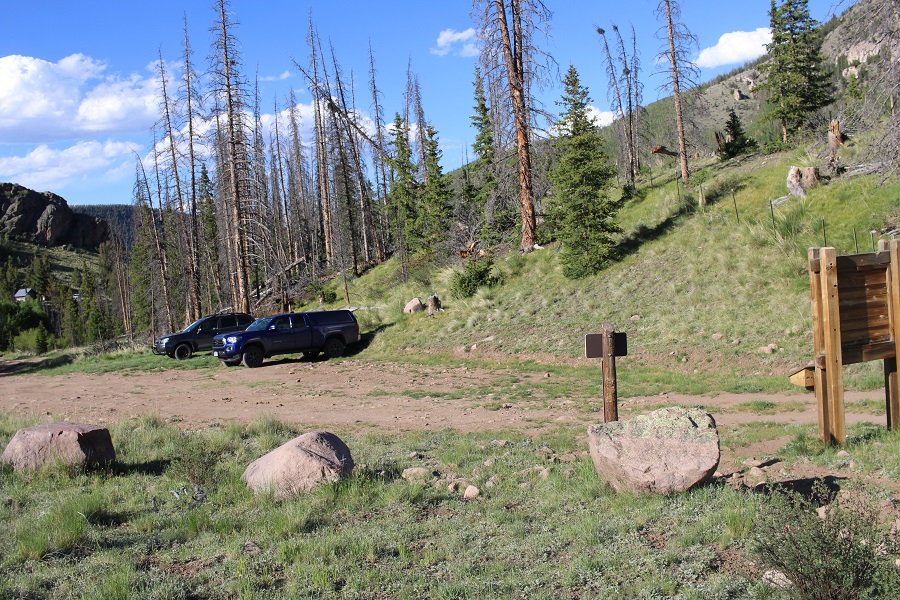
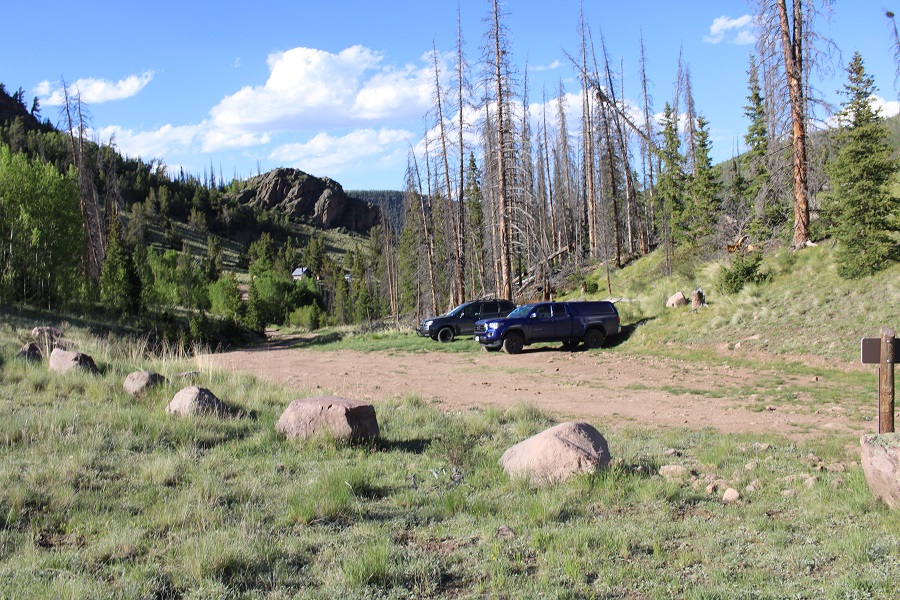
This peak has been on my bucket list for a while, but it was located on private property.  Recently this property became a Colorado State Park (currently you need the Colorado State Parks Pass or to pay the $10 to park at the kiosk), and I was able to legally climb the peak.  The park is open sunrise to sunset, so I didn’t get my usual pre-dawn start.  There is plenty of parking at the trailhead, along with vault toilets and trailhead signs.

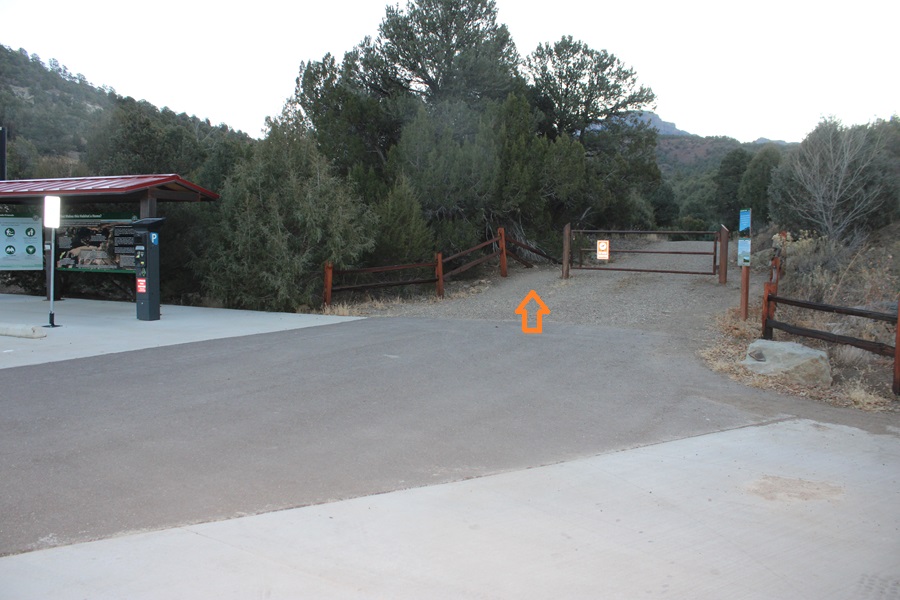
I parked at Fishers Peak Trailhead (the only trailhead in the park) and was on my way at 7am.  The trailhead is obvious, at the east end of the parking area.
There were a limited number of trail maps at the trailhead, and I snagged one.  If there isn’t one there, here’s a copy.  I can tell you this isn’t the best map, and the signs can be confusing, but you basically want to take trail 1 to trail 2 to trail 3, then 4, 5, and 6.  This may sound obvious, but trail 8 and 10 and 9 all lead to trail 2 as well (they just meander a bit). 

Trail 1: Navy Blue on Map, Challenge Hill Section

Trail 2: Dark Magenta on map (as opposed to light Magenta), Osita Ridge Section

Trail 3: Blue on map (as opposed to Navy Blue or light blue), Shady Forest Section

Trail 4: Green on map, Stone Guard Section

Trail 5: Light blue on map (Peak Approach Section)

Trail 6: Brown on map (Summit Loop Section)

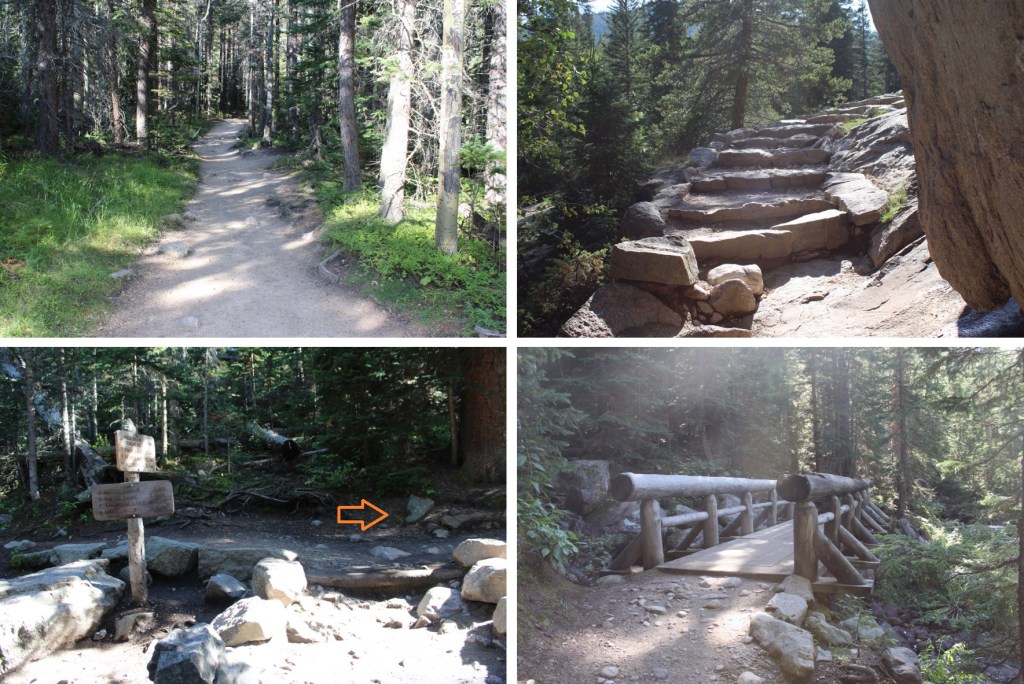
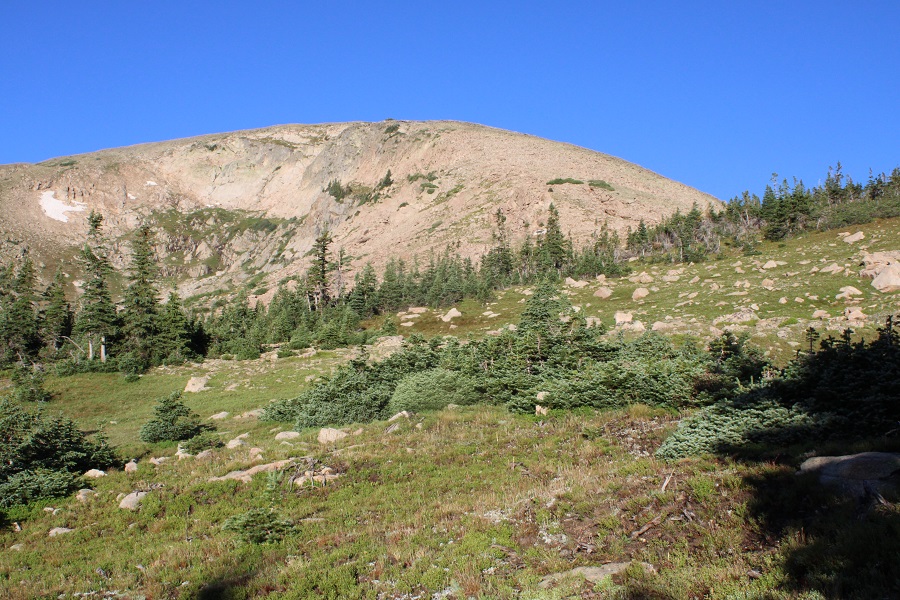
I followed the Challenge Hill section for a short while (maybe 100 yards) before coming to a junction with several other trails.  I could see Fishers Peak from the parking area.

At the junction I stayed on the Challenge Hill Section, which is the wide path that goes straight (yes, this can be confusing, stay on the road).

The road quickly begins to gain in elevation.  I gained 770’ of elevation in just under 1.5 miles.

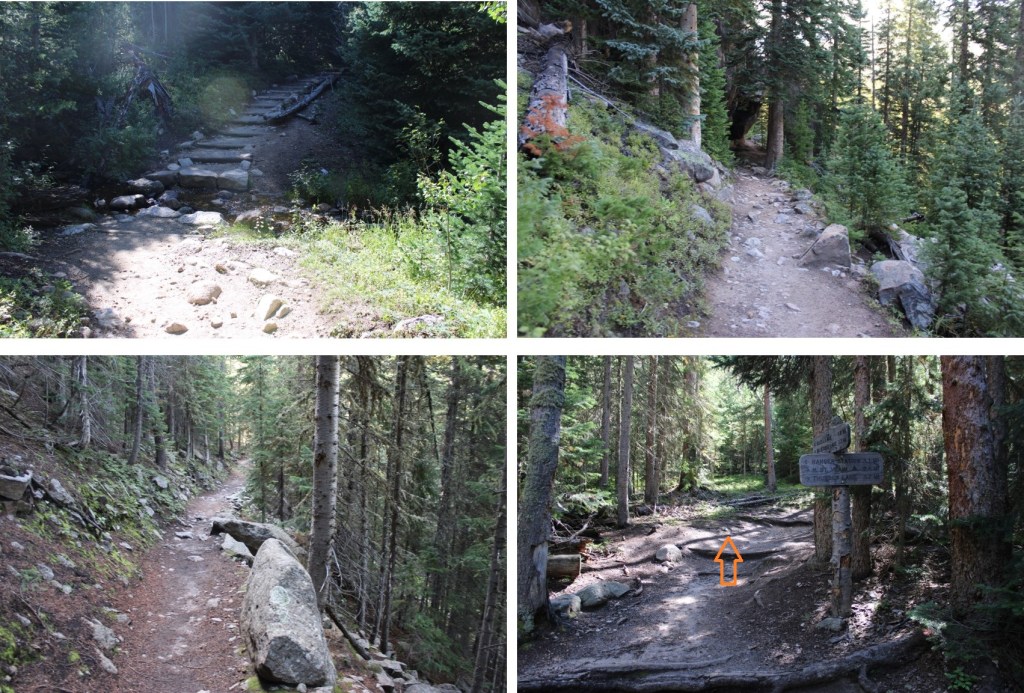
After hiking for about 1.3 miles, I came to another junction.  If you accidentally took trail 10 or 8 or 9, you’ll end up here as well.
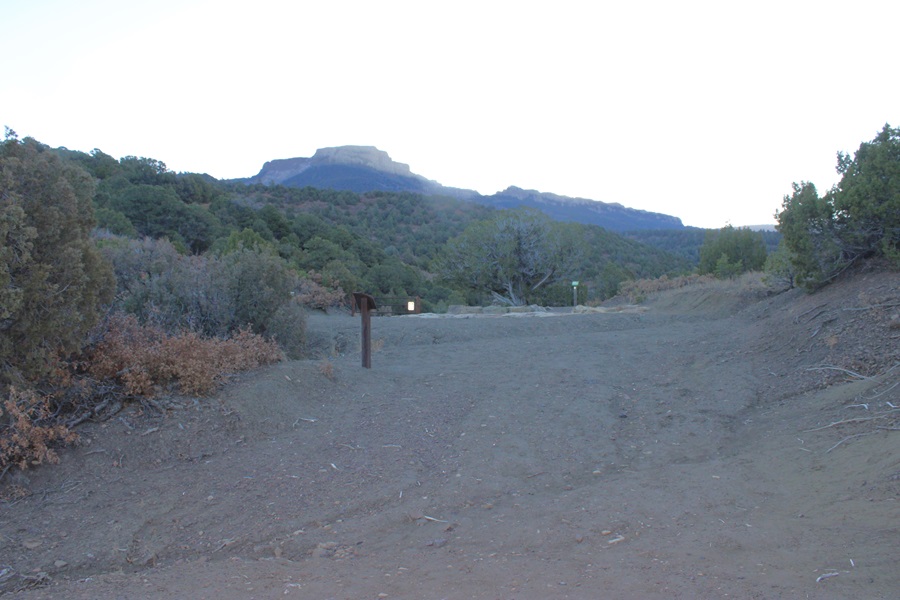
I continued east, taking the Osita Ridge Section

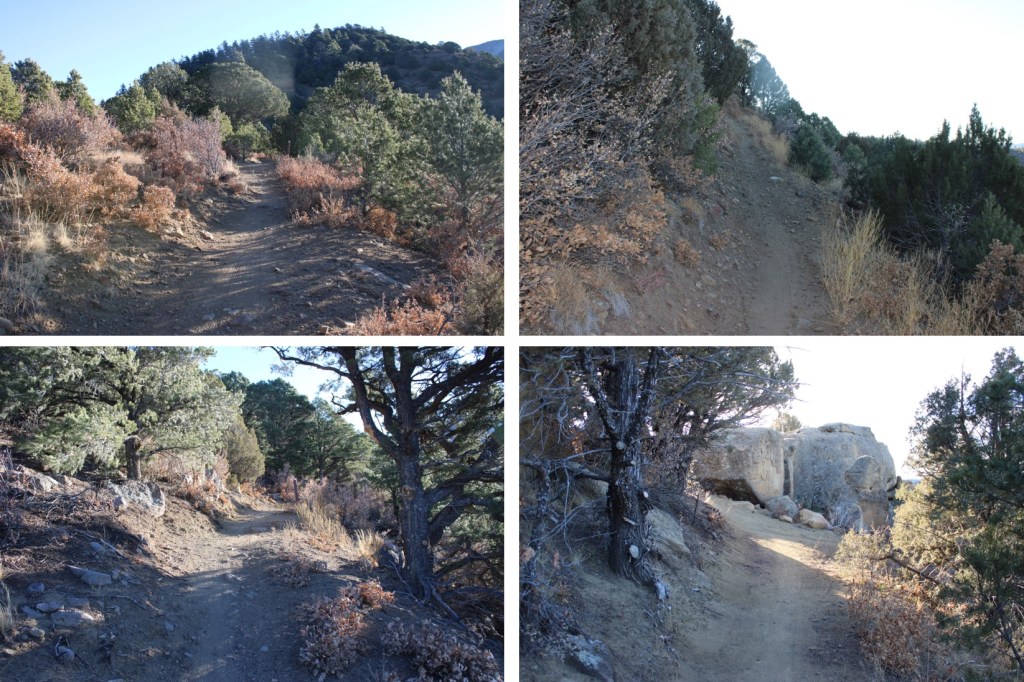
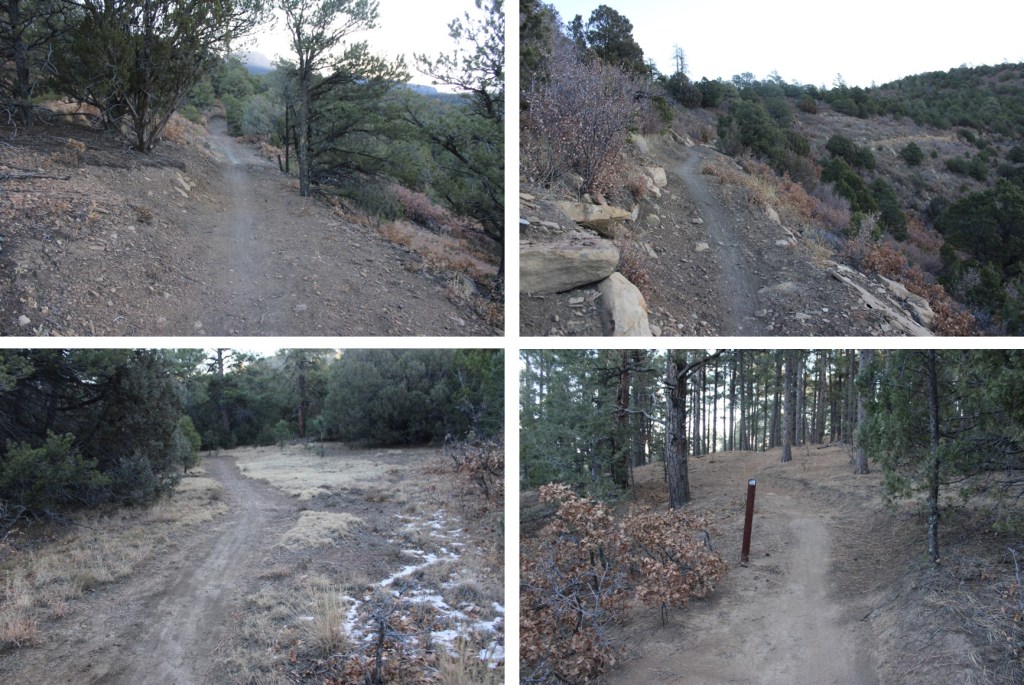
Now the trail became more of a bike trail than a hiking trail.  It meandered around mountainsides instead of over them, and had a lot of small ups and downs, which I’m assuming make biking up hill easier?  I can see problems in the spring with rain and runoff collecting in pools on this trail, but for now it was just mildly annoying. 
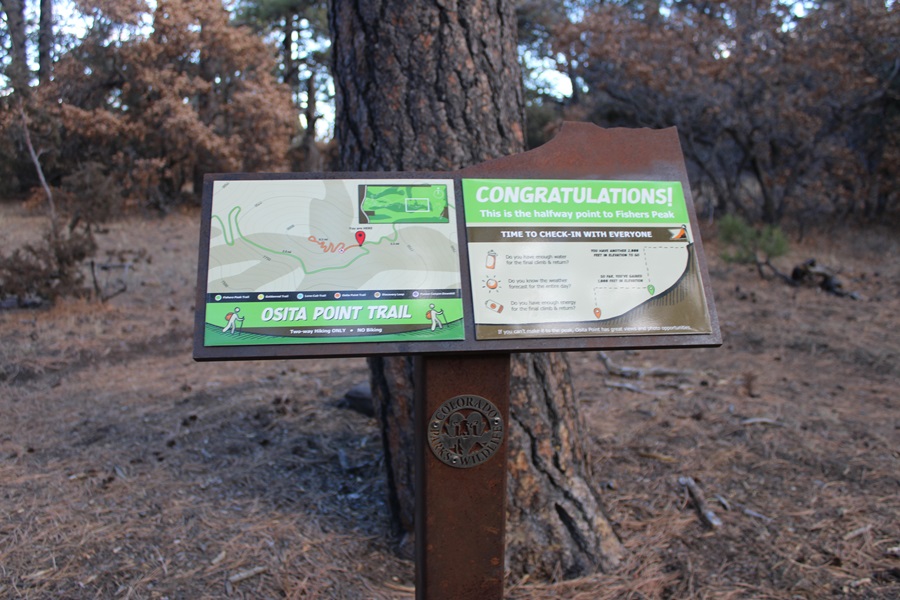
After hiking for 3.85 miles I came to a junction, which congratulated me for making it halfway.  I like how the sign asks the hiker if they are truly prepared for the second half of the hike.
At this junction I turned right, and followed the Shady Forest Section.  If you go left, you can hike .4  miles up to Osita Point.

About 2 miles of hiking brought me to a gate.  The sign says this portion of the trail is closed March 15-July 31 for Raptor breeding season.  So if you’re going to do the peak, don’t plan on coming during that time.  This is also a good place to leave your bike if you rode one, as the trail becomes much more rocky and there are stairs involved. 

I was now in the Stone Guard Section, and followed the class 1 trail south as it gained the ridge.
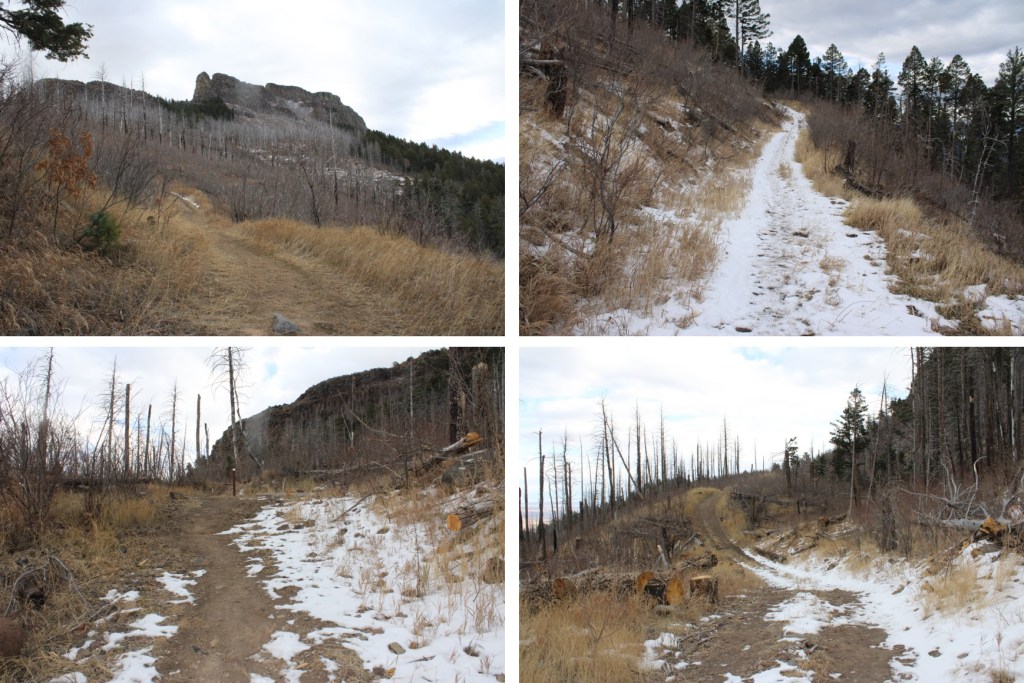
There are a couple of gates here, but the trail doesn’t intersect them, and the path is obvious

I came upon some stairs, which is the beginning of the ‘hard’ part of this climb.  This is a fairly new trail, but the workmanship in the stair and narrow areas doesn’t look like it will last long.  I can see it eroding in a year or two, or even after this winter/spring season.  Although this is a class 1 trail, care should be taken not to dislodge a rock or slip off the side of the trail.
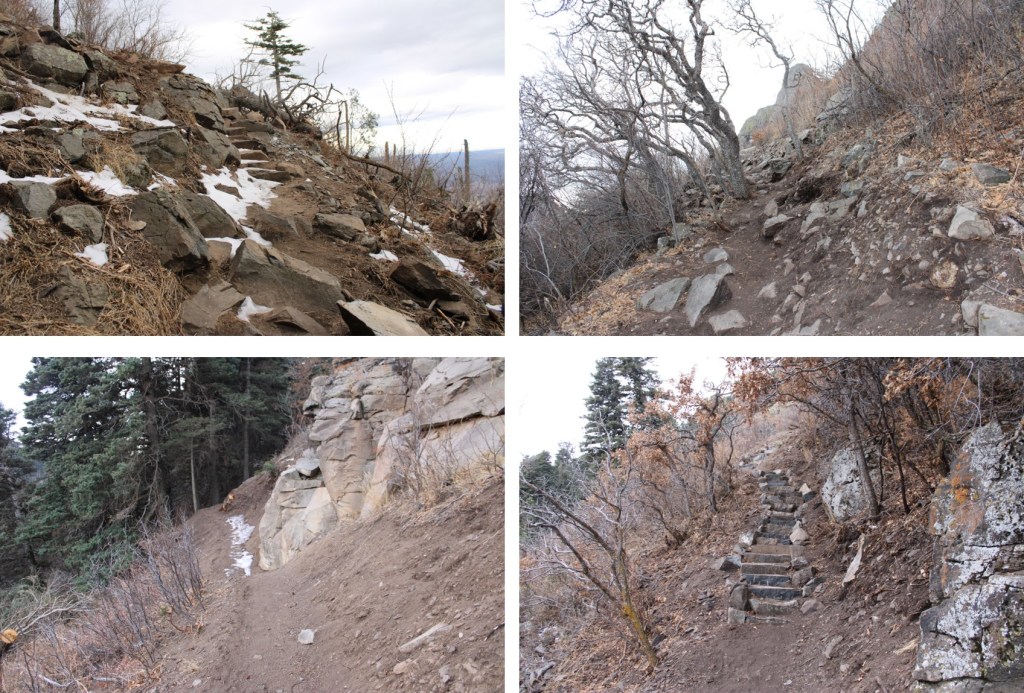
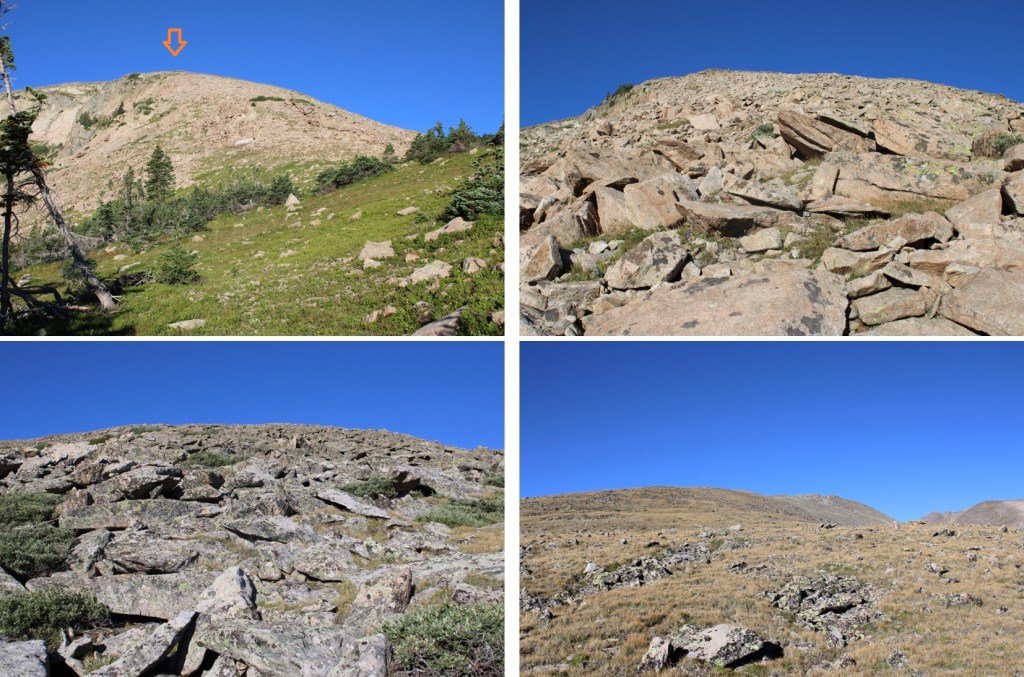
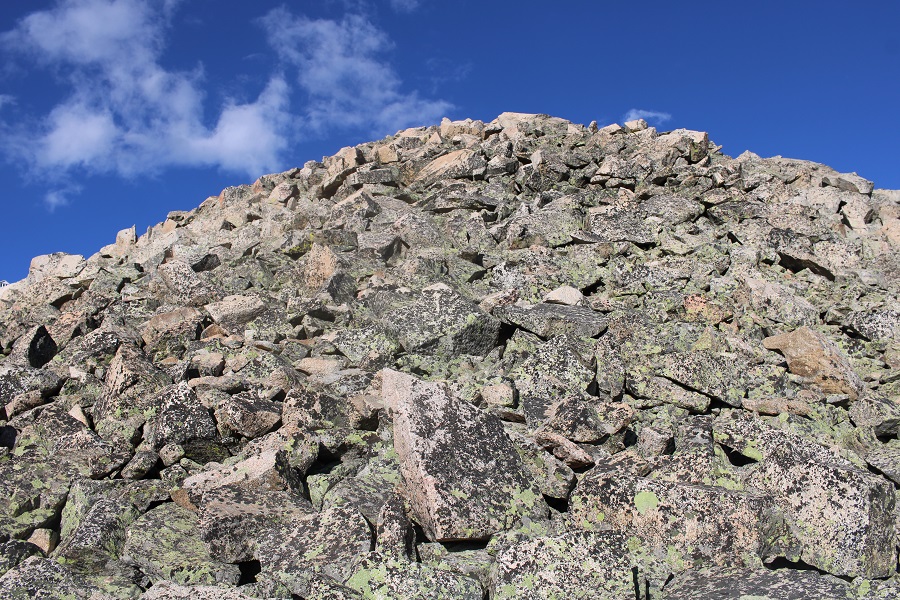
When you see these signs, you’re almost to the summit. There’s a little bit of scrambling here, but only for about 20 feet or so. 
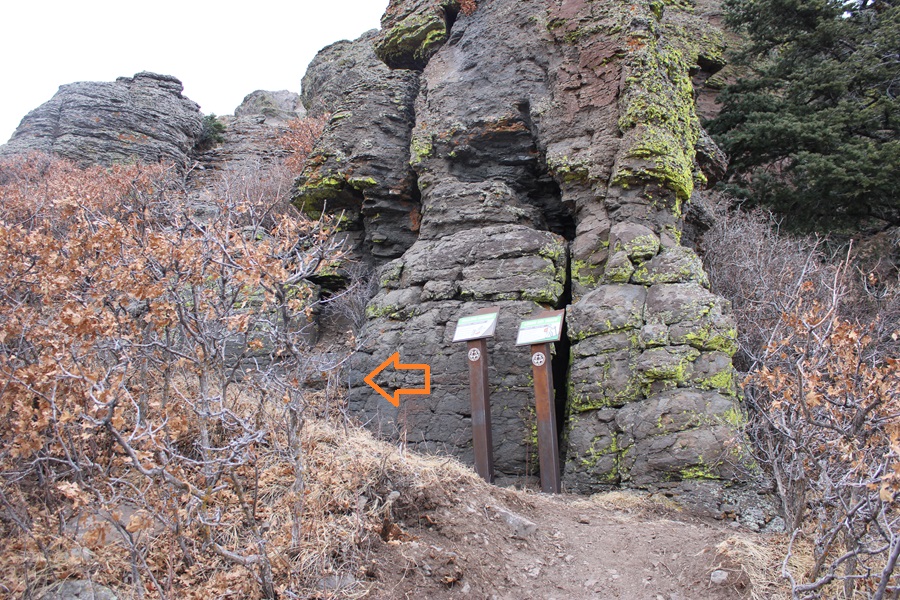
The trail here is not obvious, but you’re trying to ascend these rocks.

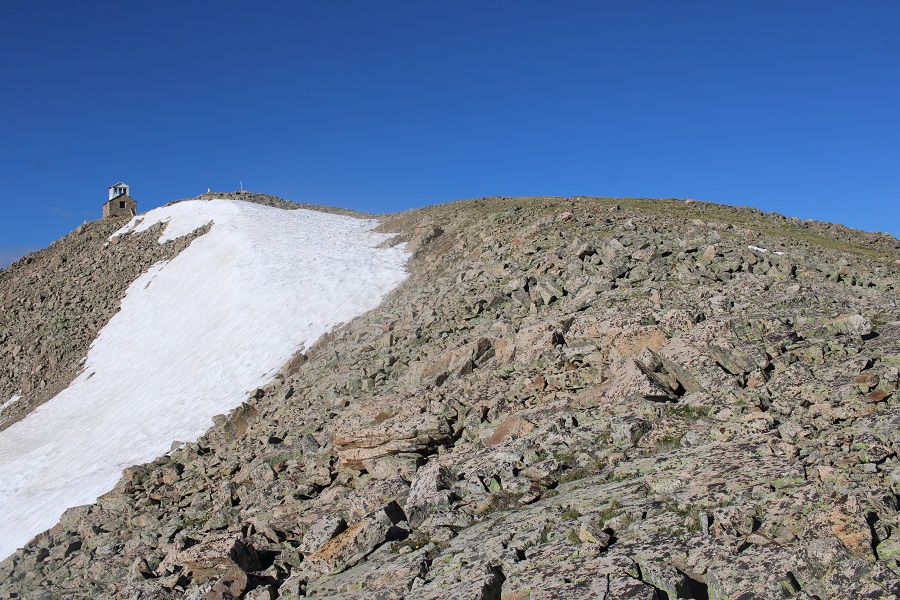
At the top of the rocks I was surprised to be greeted by a mesa.  There is a well-established trail here, that goes around the mesa.  You can go either left or right.  I went left.  This is the Summit Loop section of the trail.

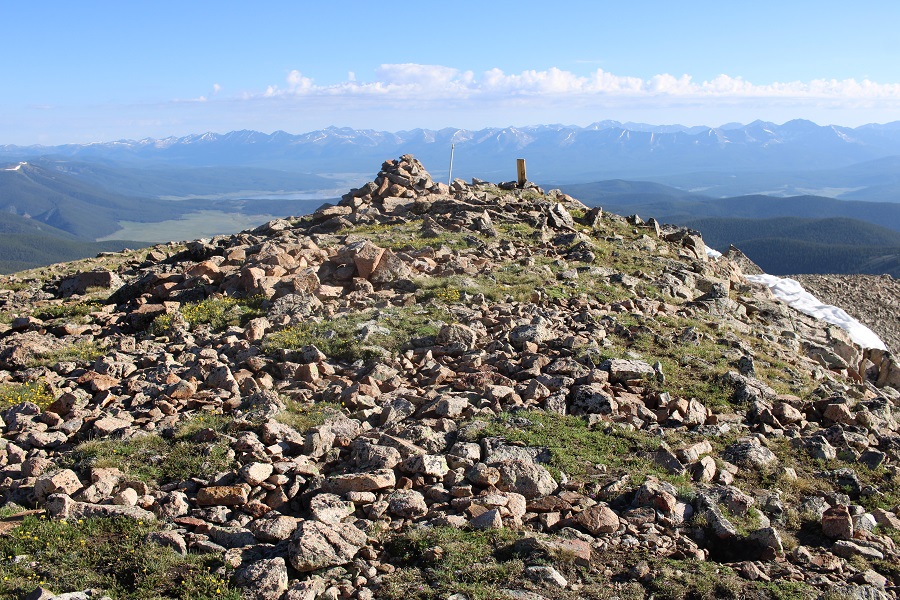
The actual summit can be difficult to discern, as there are multiple large cairns that look like the summit.  It you go left as I did, the summit will be the first large cairn you come to.  Because I wasn’t sure at the time, I went all over the mesa to make sure this was indeed the true summit.
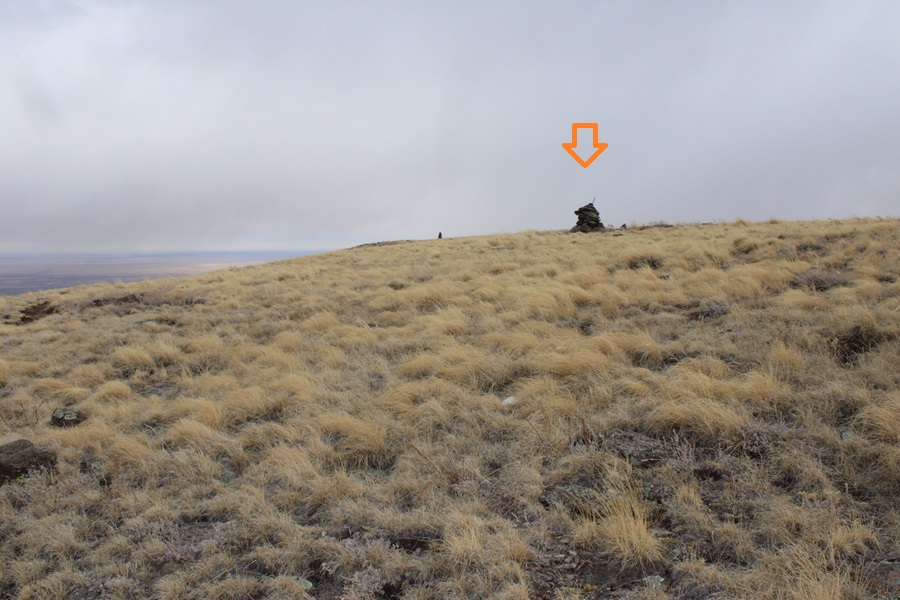
I summited Fishers Peak at 10:15am.  This video is from the middle of the mesa.

Fishers Peak:

Now to head back down.  I simply re-traced my steps back the way I came

Back down the rocky area

Then I followed the trail backwards, taking sections 5-4-3-2-1
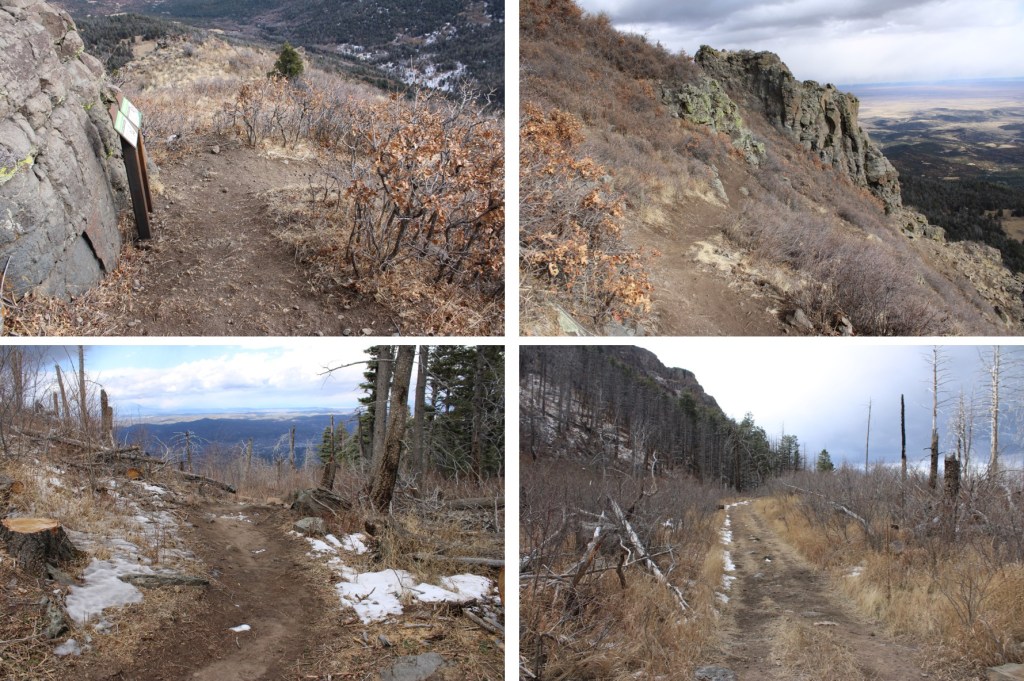
It wasn’t supposed to start snowing for another two hours, but mountains have a way of making their own weather.  It started graupeling pretty heavily.

Graupel:

I continued on through the graupel, following the well established trail

At the junction of trail 1,2,9 & 10 I followed trail 1, the Challenge Hill Section (the one that’s a dirt road), back to the trailhead.  You can take any of the routes, the others will just be longer.
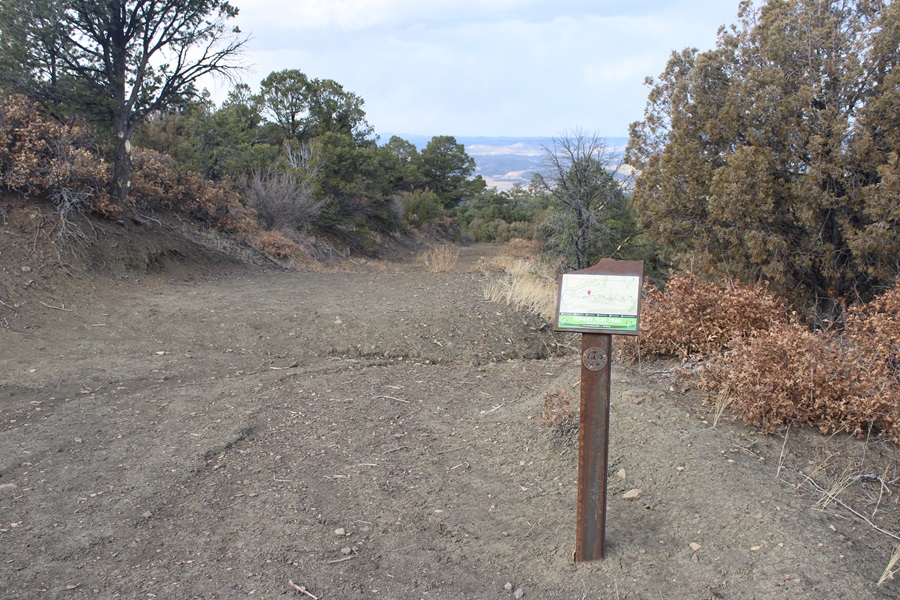
When I got back to the trailhead, my truck was still the only vehicle in the lot, leading me to believe not many people know the park is open

I made it back to my truck at 12:45pm, making this a 15.3 mile hike with 3588’ of elevation gain in 5 hours, 45 minutes
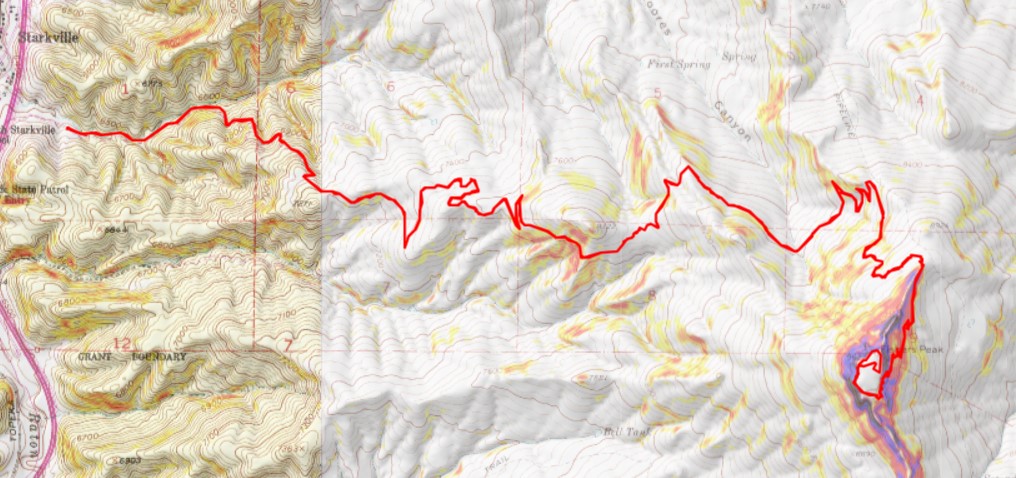
On to the next trailhead!
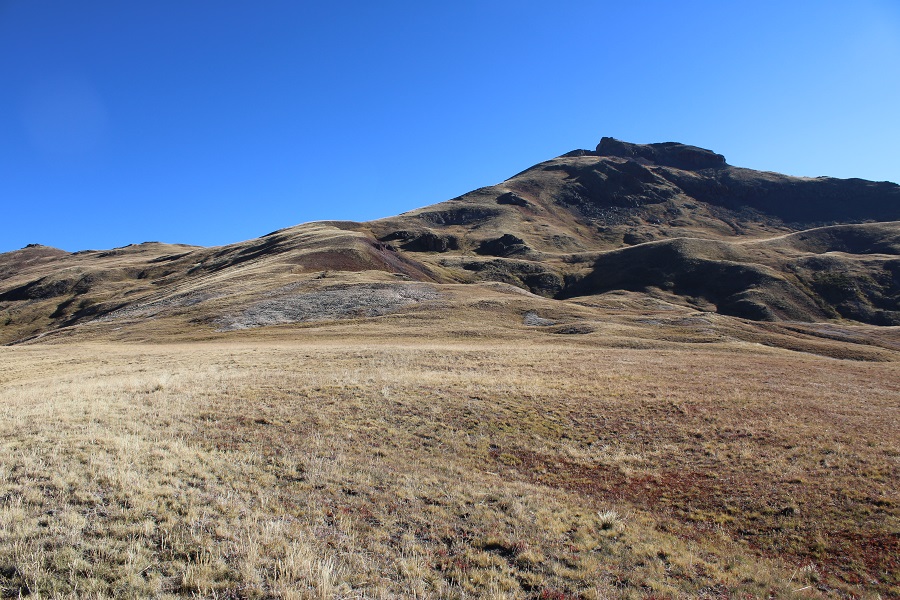
Broken Hill – 13,254

RT Length: 8.22 miles

Elevation Gain: 2924’

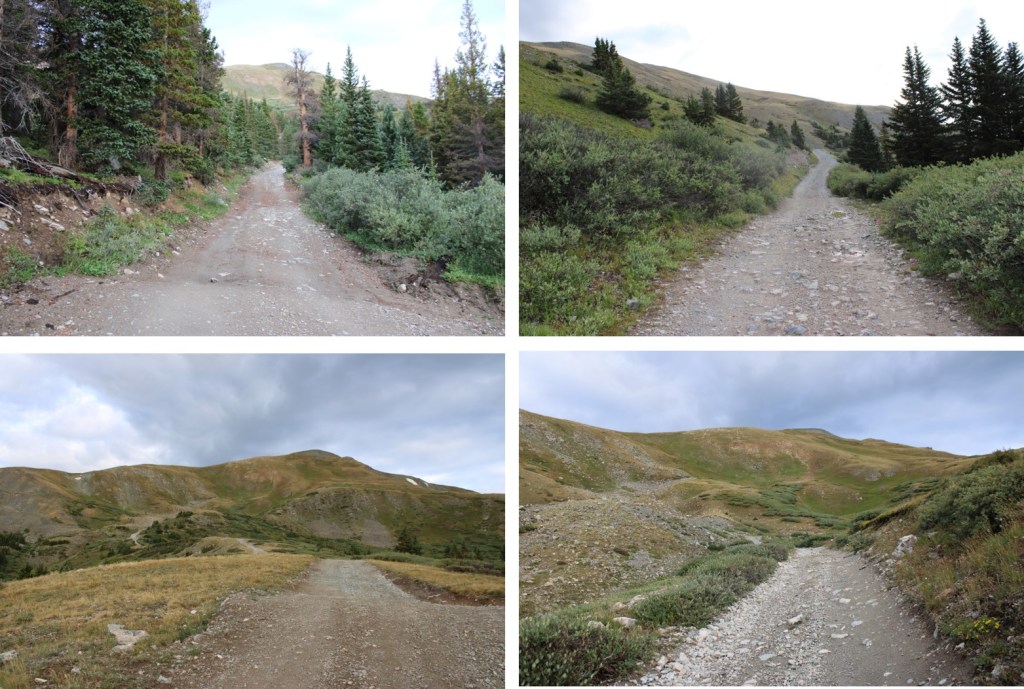
I parked near the lower Matterhorn Creek Trailhead at a nice dispersed camping spot, and was on the trail at 6am the next morning.  The trail is an obvious 4WD road, and if your vehicle has made it this far, it will make it to the upper trailhead.

I followed the dirt road alongside Matterhorn Creek to the upper trailhead.  There are several dispersed campsites near the upper trailhead as well.

Once at the upper trailhead I continued following the dirt road north

The dirt road is closed at this point, and becomes more of a trail.

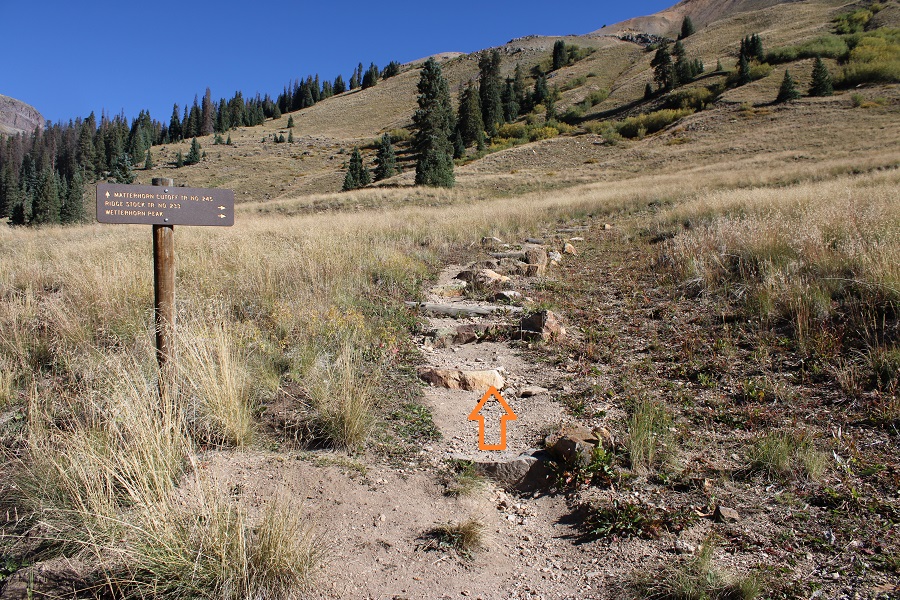
I came to a well marked junction and turned right. 

From this junction, to the right you can see the ‘road’ you want to take.  It’s grown over, and doesn’t look much like a road, but it’s Ridge Stock Trail 233.  This is where you’re headed.

I followed this road all the way to just before treeline.  It was difficult to follow at times because it was so grown over and there were quite a few downed trees blocking the trail.   The higher up I got, the more difficult the road became to follow, as it looks like elk live permanently in the area.  The game trails parallel and cross the road, making route finding interesting.

At around 12000’, the road curves around the mountain and I left the road to head northeast along the ridge. I quickly came to treeline.

From treeline, this became a class 2 ridge hike. I followed the ridge northeast.

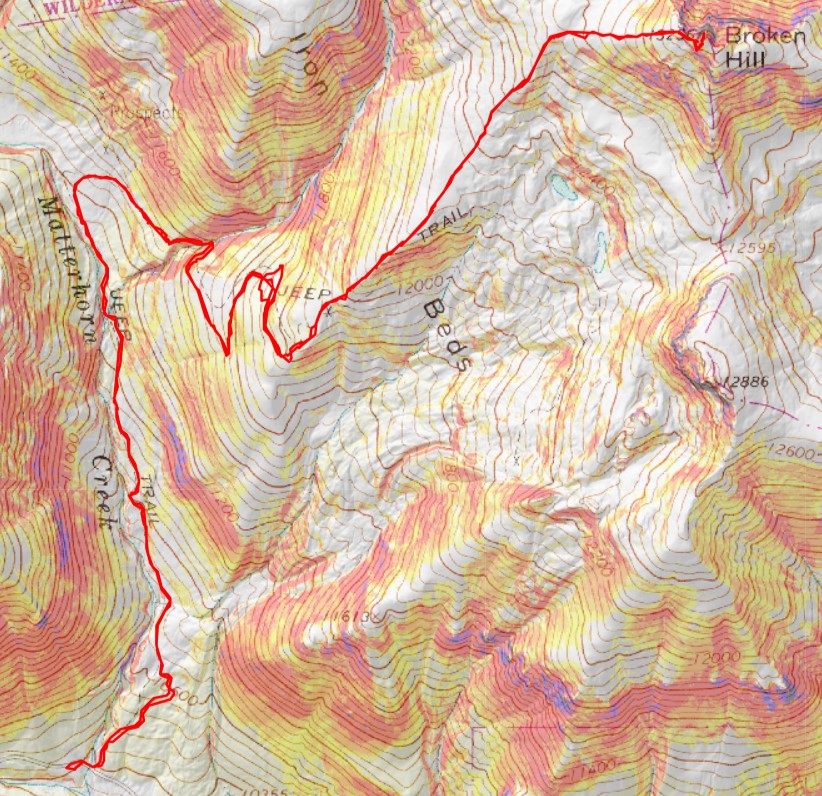
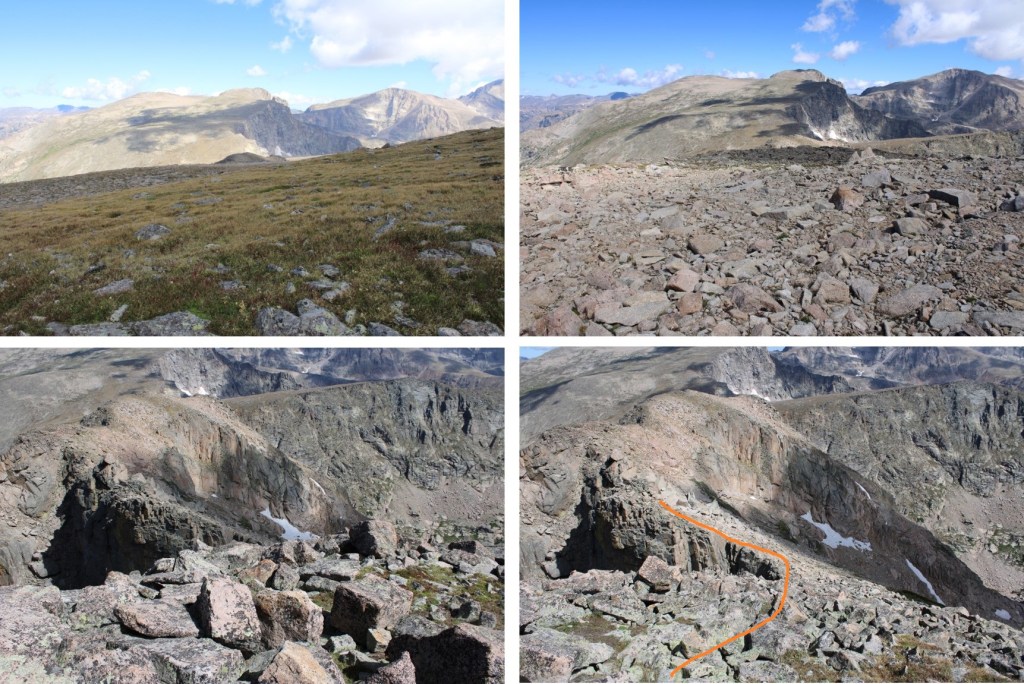
Here’s the route I took to get to the summit of Broken Hill

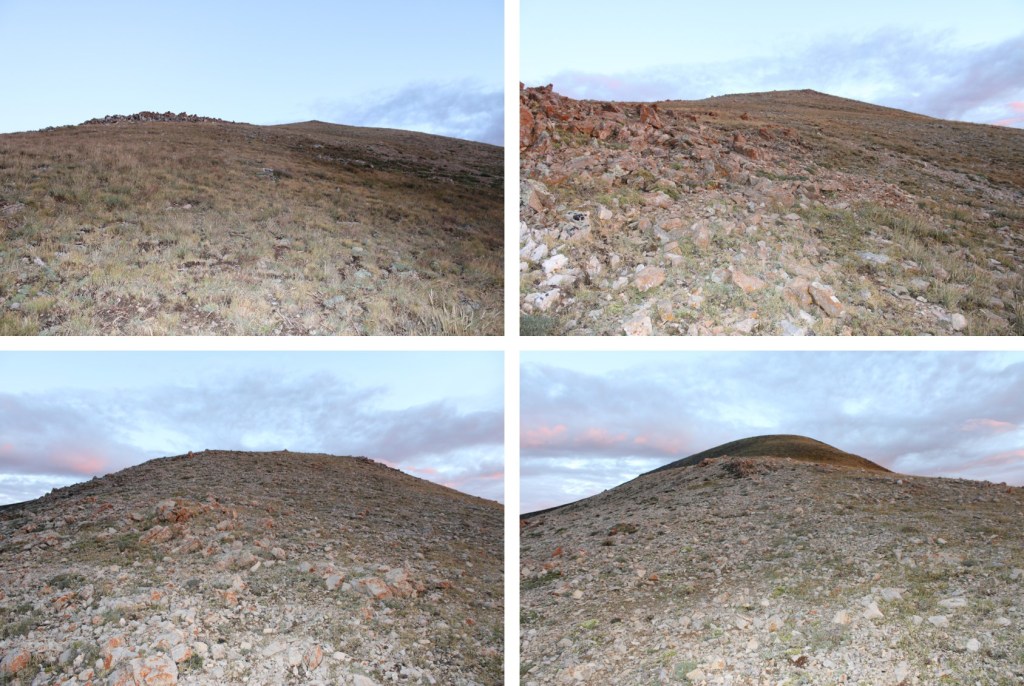
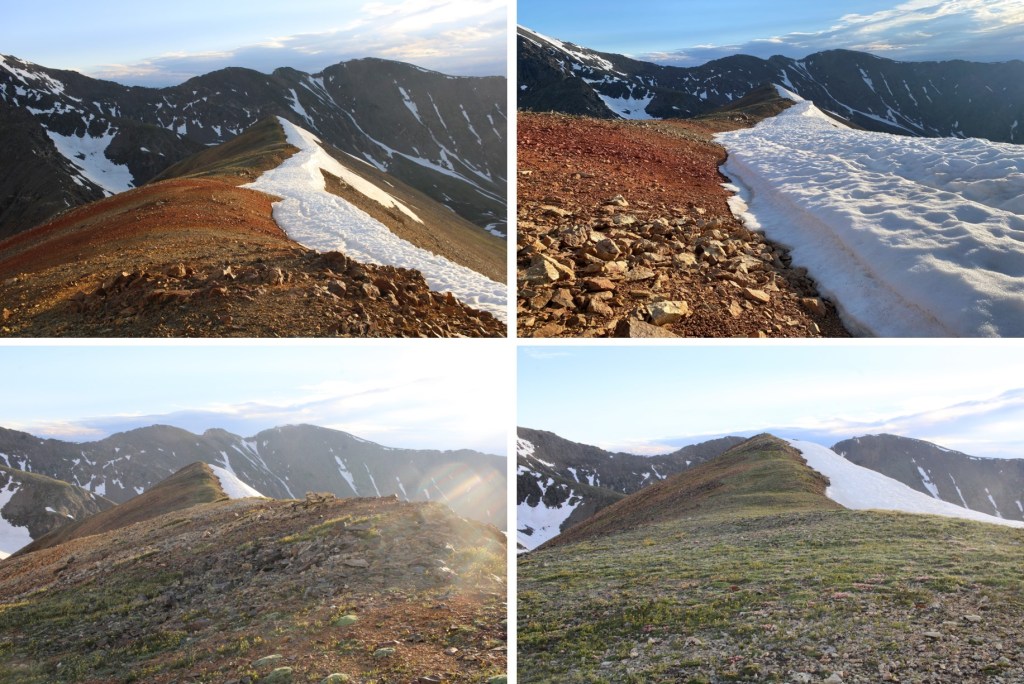
This is a ridge hike on tundra all the way to the base of Broken Hill

There’s a summit block at the end of the tundra. 

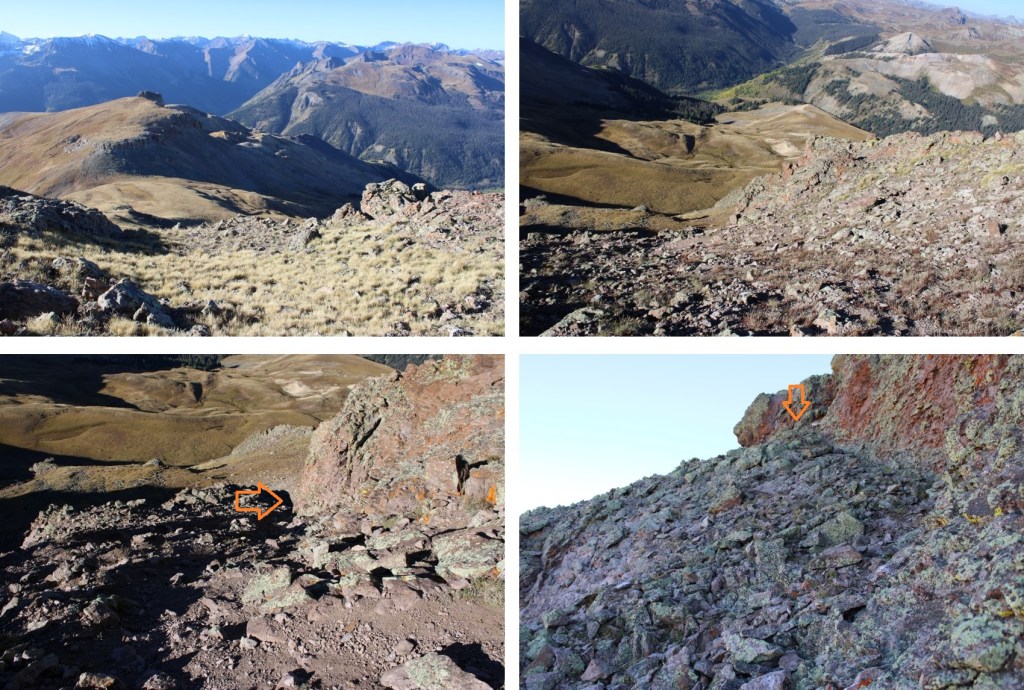
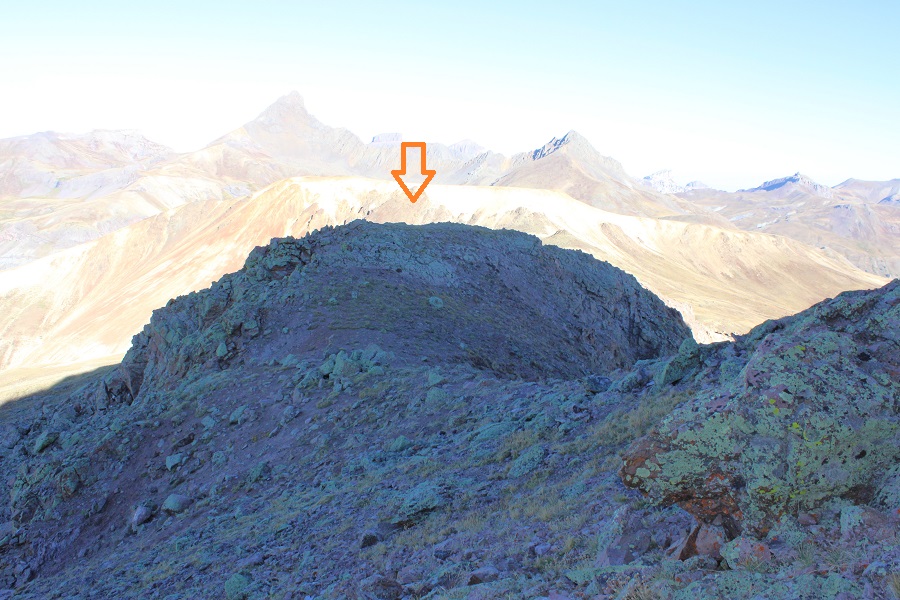
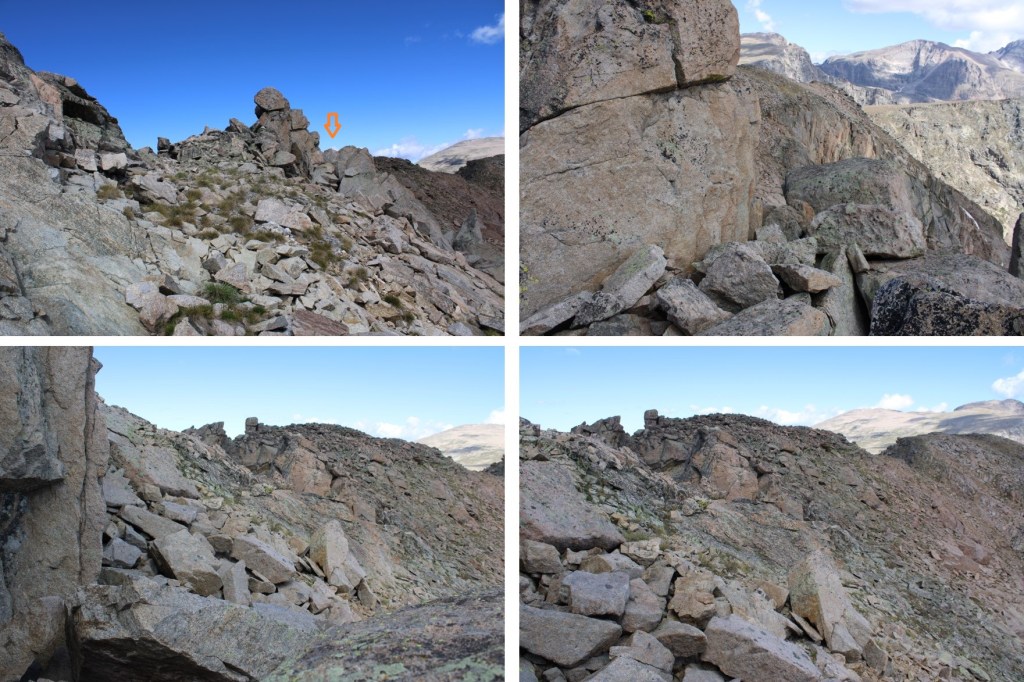
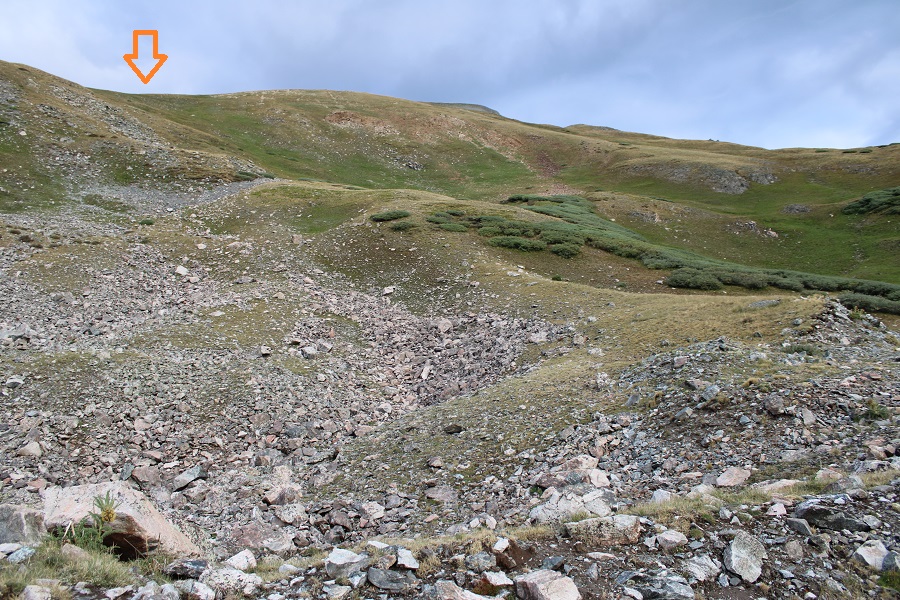
My first thought was to go up one of the class 4 chimneys, but I felt there must be a better way.  I scouted around, and found if I headed to the right and around the corner, I could keep this a class 2 hike to the summit.  I aimed for here:

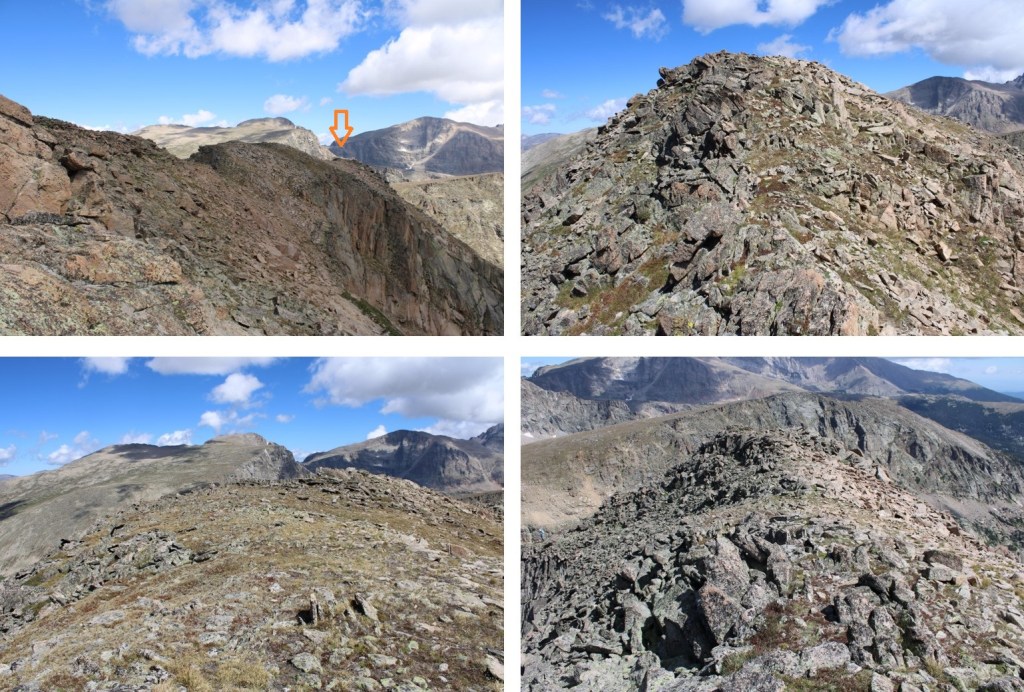
I skirted the mountainside, then headed north on class 2 terrain to the summit

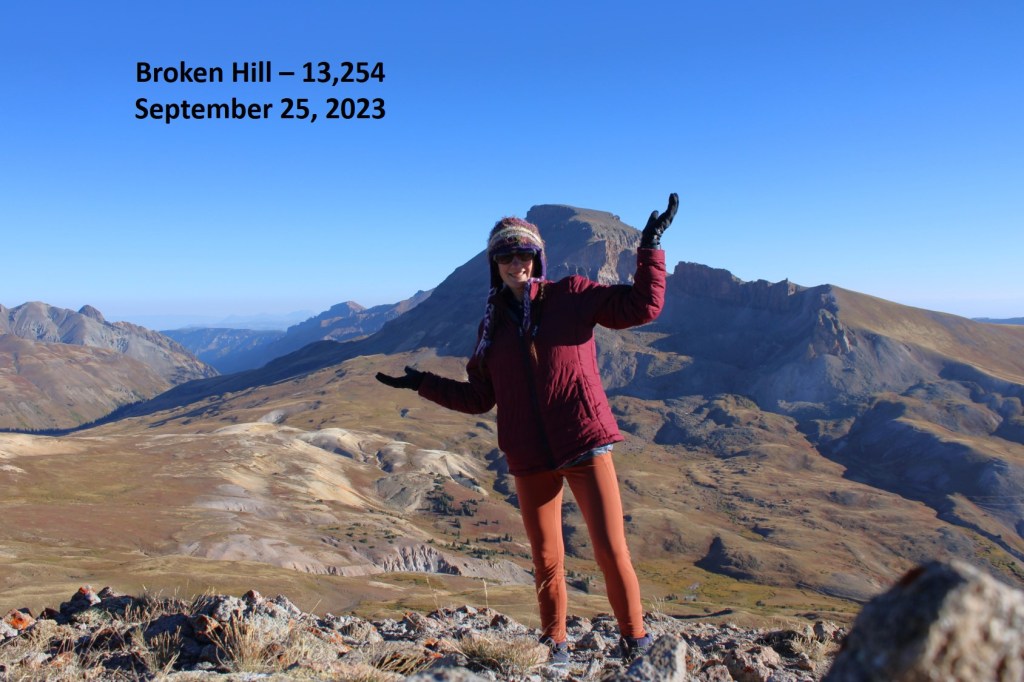
I summited Broken Hill at 8:25am

Broken Hill:

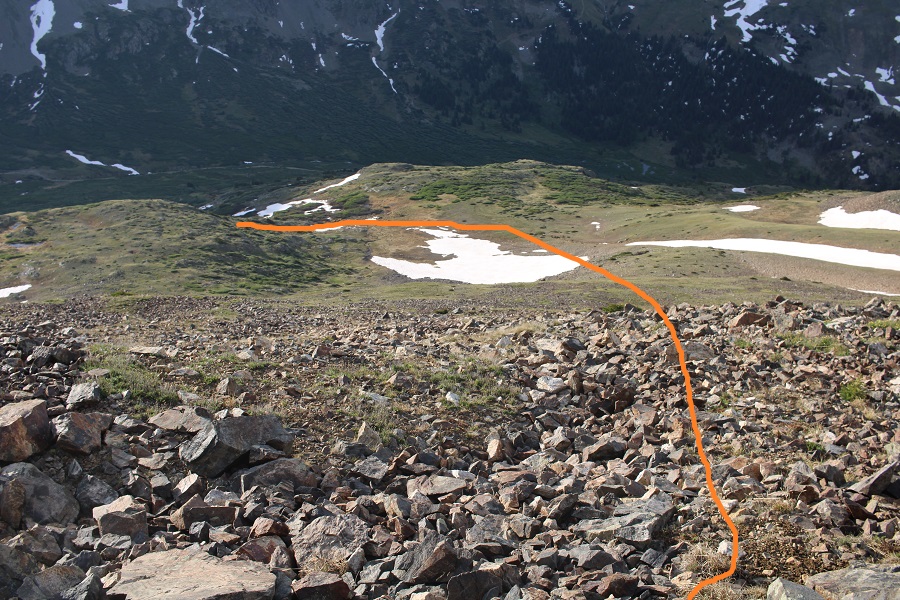
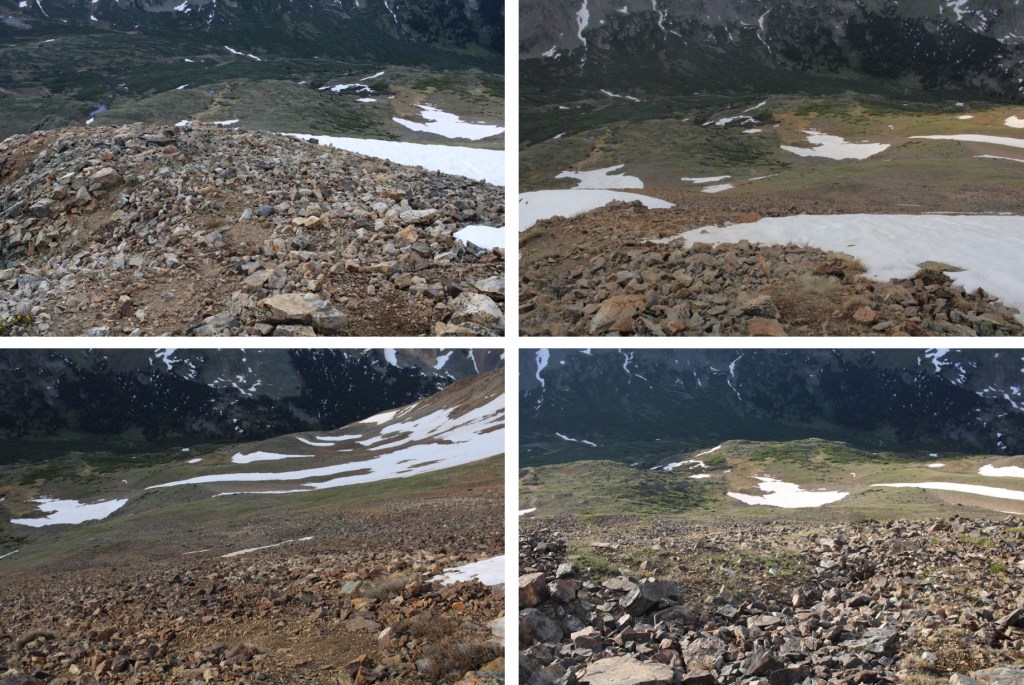
This was an out and back hike for me, so I returned the way I came, down the slope and around the rocks, back to the ridge

Then it was back down the ridge to treeline

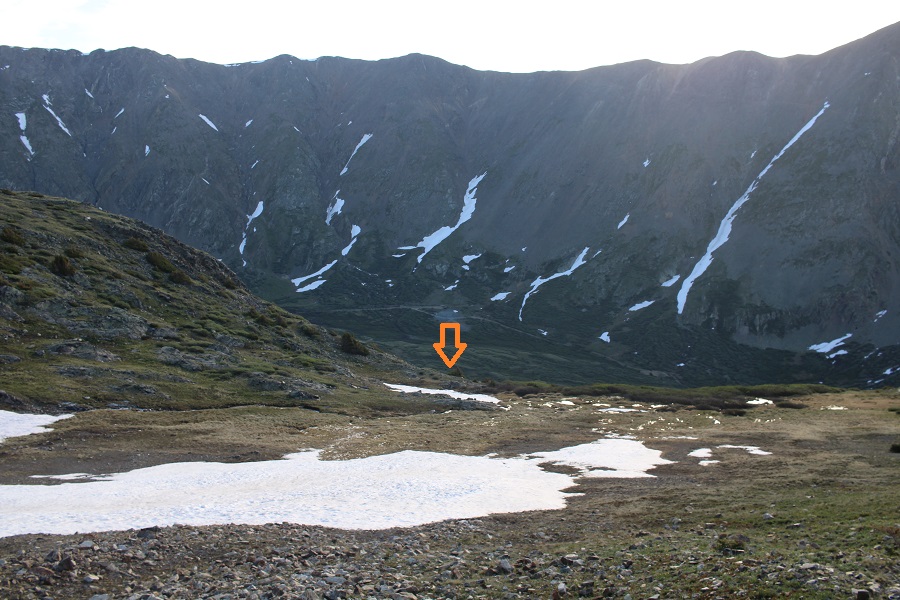
At treeline I continued heading southwest until I came back to the ‘road’

Then I followed the road back to the trail

And took the trail back to the trailhead

I made it back to my truck at 10am, making this an 8.22 mile hike with 2924’ of elevation gain in 4 hours.

On to the next trailhead!

Lizard Head – 13,112

RT Length: 12.86 miles

Elevation Gain:  3566’

I would like to preface this report by stating I do not consider myself a rock climber.  Please don’t use this report as your only information when attempting to summit Lizard Head. There are several, much more detailed reports on this climb that can be found online.  I’m hoping to share my experience, and hopefully add what little I can as someone who does not consider themselves a rock climber to the vast array of knowledge that is out there. 

On my quest to summit all of Colorado’s 13ers, Lizard Head is the most difficult peak to climb, and with a 5.8 rating, requires ropes not only to descend, but to ascend as well.  This is going to be a high-level overview.  Please don’t ask me questions like how many cams were used (as many as were needed) or what sized cams (um… the ones that fit?) or what rating areas were (difficult?) as these are not my specialties.  I can tell you there were 5 pitches (but this can probably be done in 3 or 4 by more experienced climbers) and 2 70-meter ropes were used (tied together for two rappels).  There were several bomb-proof belay stations.  If you don’t feel comfortable leading exposed class 5.8 on your own, but still wish to summit this peak, my advice is to hire a guide.  San Juan Mountain Guides are the local experts in the area, but there are several companies to choose from. 

Thank you for reading! 

I got to the Cross Mountain Trailhead the night before and slept in my truck.  It rained and hailed and sleeted a bit that day, but luckily, as I sat looking over at Lizard Head, it was always in the sunlight.  I hoped this boded well for me the next morning. 

I spend a lot of nights camping at trailheads/passes, and this one was unusually busy in the middle of the night.  Several cars stopped and played music for a while.  I’m not sure what they were doing there, as it was pitch black out, but it was my choice to be there, so I accepted their presence.

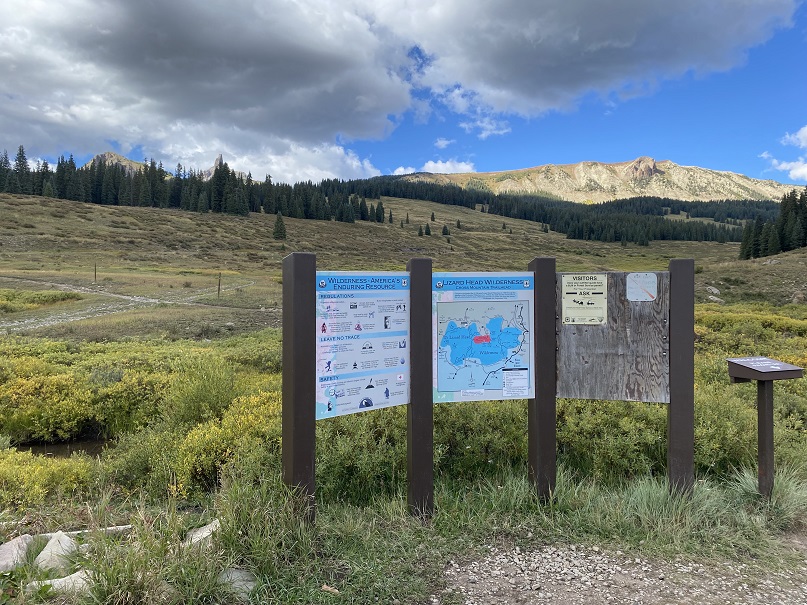
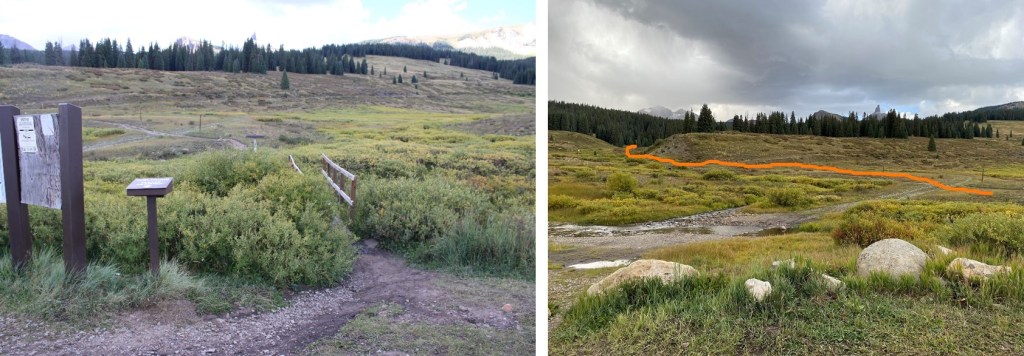
The trailhead starts at the west end of the parking area.  It was 29 degrees outside when I left my frost covered truck and set out on the trail at 6:45am.

I followed the Cross Mountain Trail on a well-defined, class 1 path for what CalTopo tells me was 4 miles, before being able to see Lizard Head in the distance

Access to Lizard Head is from the east

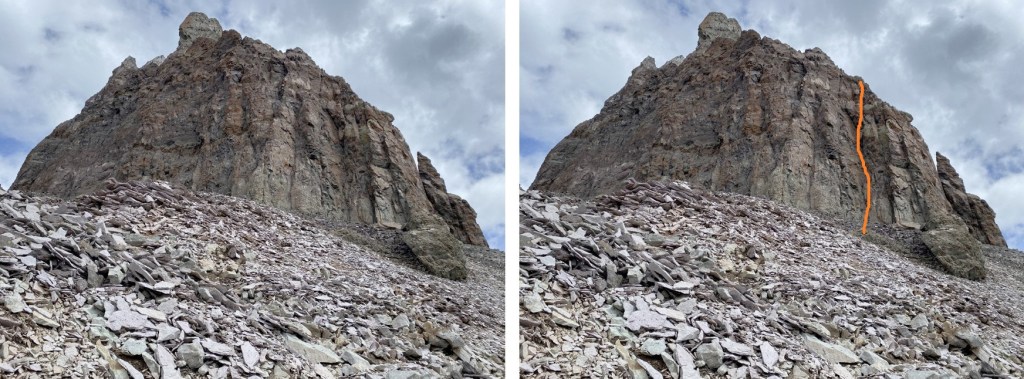
There is a well-defined climbers trail here to the base of the climb on loose talus. The goal was to make it here:

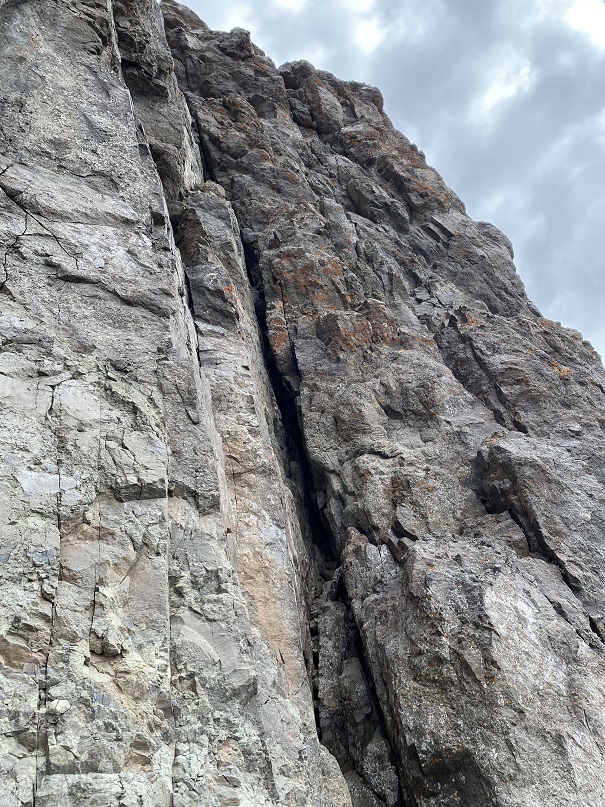
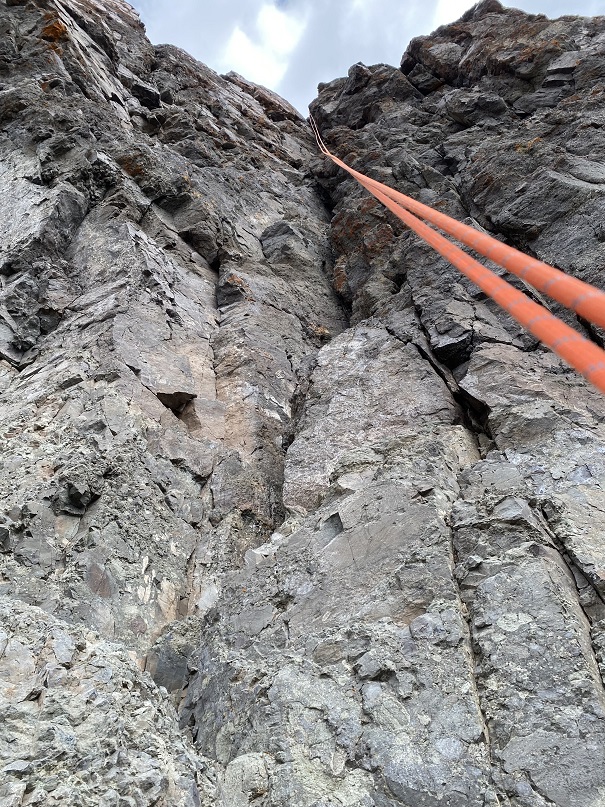
It was very cold this morning, and a little windy.  It had snowed two days before, but luckily the snow had all melted out.  I was frozen at the beginning of this climb, and didn’t melt out until making it to the summit, when I was finally in the sunlight.  I do not have very many pictures of the actual climb up, because I had a really bad Raynaud’s attack and my fingers didn’t work with my phone’s touch screen.  Ok, I’ll admit:  I was a bit of a wuss, and there was a lot of spoken complaining as I ascended.  Several times during this climb I had no use of my fingers, so I used my hands like ice picks to grab hold, hoping they would… hold.  I clapped my hands together this morning more than I had keeping time at a color guard/band practice.  So, all that to say I don’t have a lot of pictures, but here’s an overview of the beginning route, starting with a left-facing chimney:

I then encountered a very exposed, less than 2-foot-wide (or less) ramp that went to the left for about 15 feet, then right for about 15 feet.  Sorry, no personal pictures of the ramps, but here’s an approximation of what they look like from below:

Mountain Project has a good overview of the ramps here: Rock Climb Mark of Zorro, Alpine Rock (mountainproject.com)

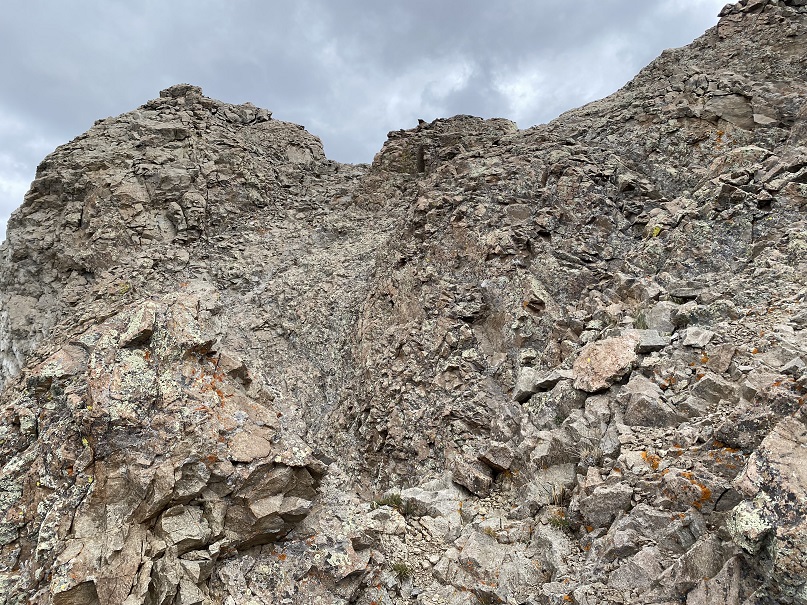
After the ramps there was some scrambling to do to get to the summit.  This was chossy, but not too difficult to navigate.

This is the route I took

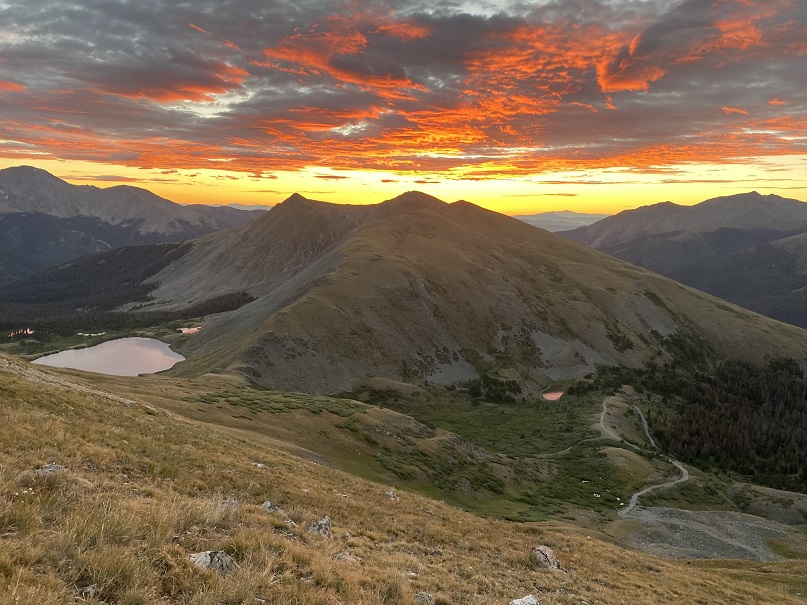
Here’s the view from the summit, looking east

I summited Lizard Head at 12pm

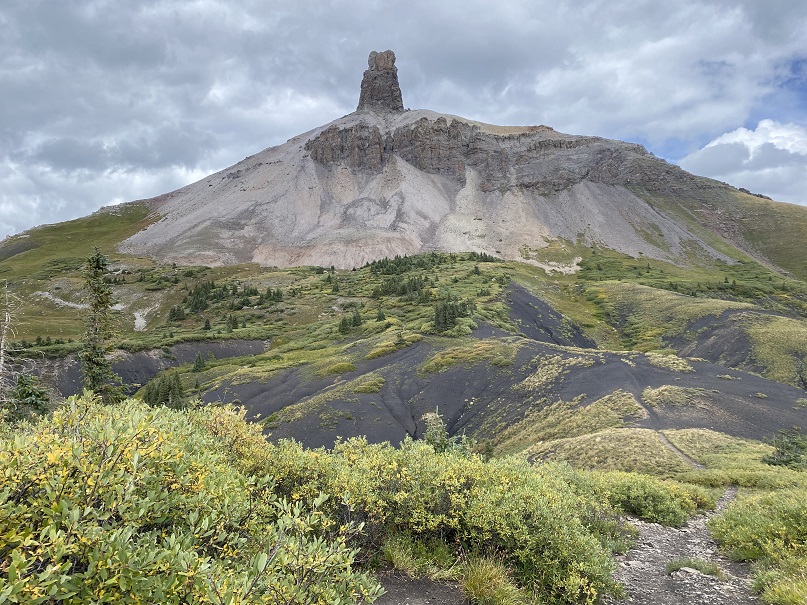
Lizard Head:

There was a summit register, but it was missing its lid.  The pages were enclosed inside a ziplock bag that had holes chewed through it, so if the next person could bring a new summit register that would be great.  As you can see by my sloppy handwriting, I had very little use of my fingers/no dexterity, so my penmanship was terrible (one of the many reasons I rarely sign registers, but this one felt important).

There were two bomb-proof rappel stations on the way down, which meant two rappels.  The first was about 200’, the second about 100’, back down the initial chimney crack I climbed up.

Then it was time to change out of rock-climbing gear, and head back to the trail down that wonderful pile of choss and head back on the Cross Mountain Trail back to the trailhead.

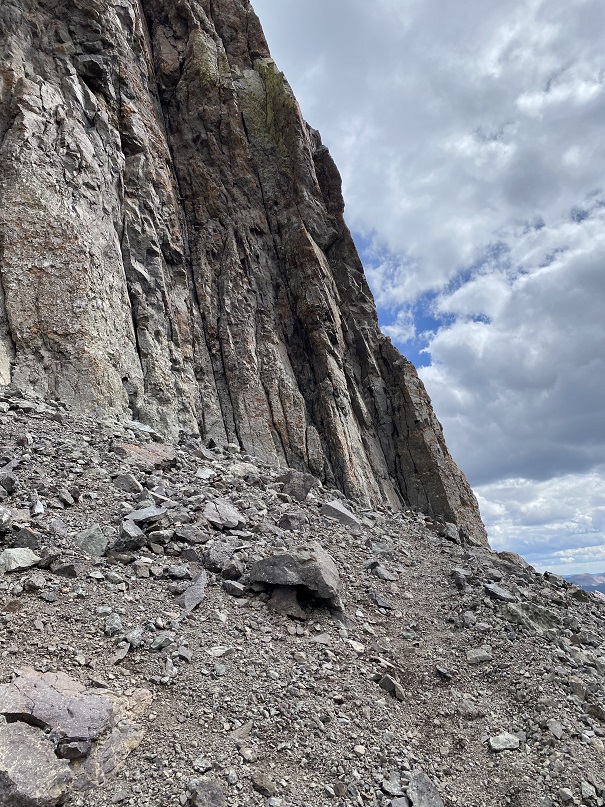
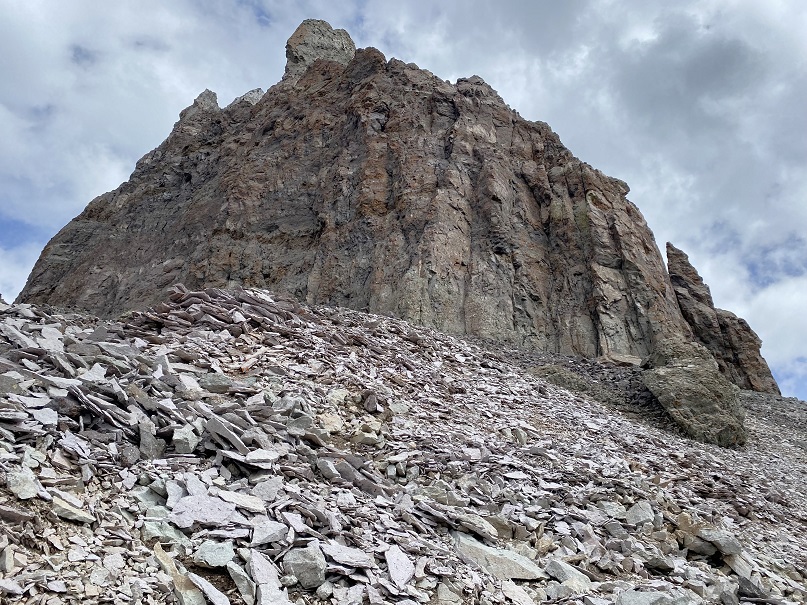
Once again, I apologize for this not being the quality of report I usually like to give out, but hopefully some of the pictures are helpful.  Here are more pictures of the peak.

I made it back to my truck at 3pm, making this a 12.86 mile hike with 3566’ of elevation gain in 7 hours, 45 minutes.  I believe the mileage seems a little high, but those are the numbers CalTopo gave me.  Strava gave me drastically different numbers. 

On to the next trailhead!

P.S.:  I did indeed have a Raynaud’s attack on the climb, and while I don’t think I’ll loose the tips of my fingers, I do currently have blisters which will probably turn into ulcers on a few of the fingers on my left hand.  They currently feel like I touched a hot stove.   This is normal for people with Raynaud’s, and totally worth it for me to make this climb! 

Mahana Peak – 12,643 and Isolation Peak – 13,114

RT Length:  21.79 miles

Elevation Gain:  5665’

I parked at the Wild Basin Trailhead inside Rocky Mountain National Park and was on the trail at 4am. There’s plenty of parking here, but they have timed entry from 9am-2pm every day. 

The trailhead starts at the south end of the parking area

I followed the signs for Ouzel Lake/Bluebird Lake.  This class 1 trail is really well marked, so it’s difficult to get lost if you read the signs.  I passed several waterfalls (Copeland Falls, Calypso Falls, and Ouzel Falls).

After hiking for 4.75 miles I came to the junction for Ouzel Lake and Bluebird Lake.  I turned right onto the Bluebird Lake Trail.

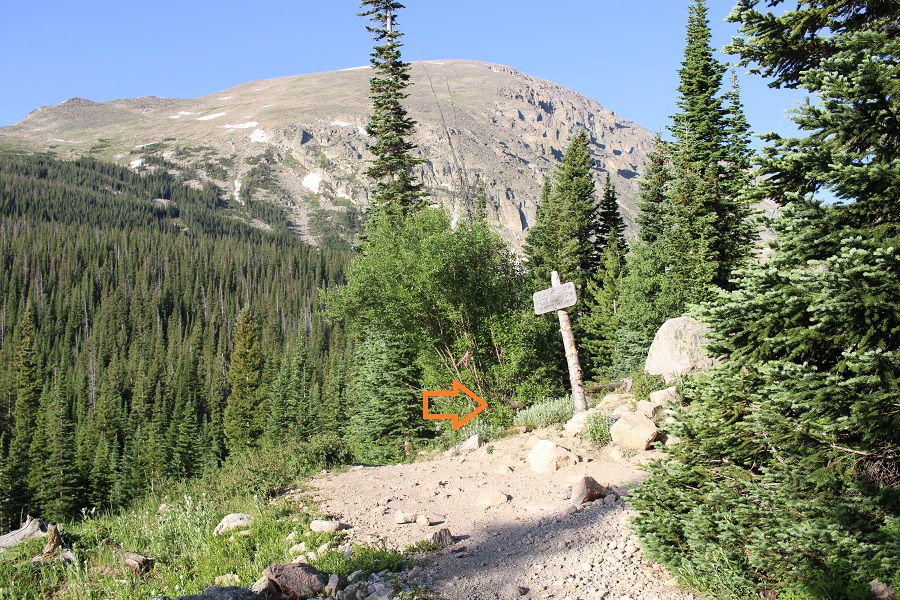
I didn’t stay on this trail long however.  Maybe about 10 yards or so. Then I left the trail and headed northeast to gain the ridge

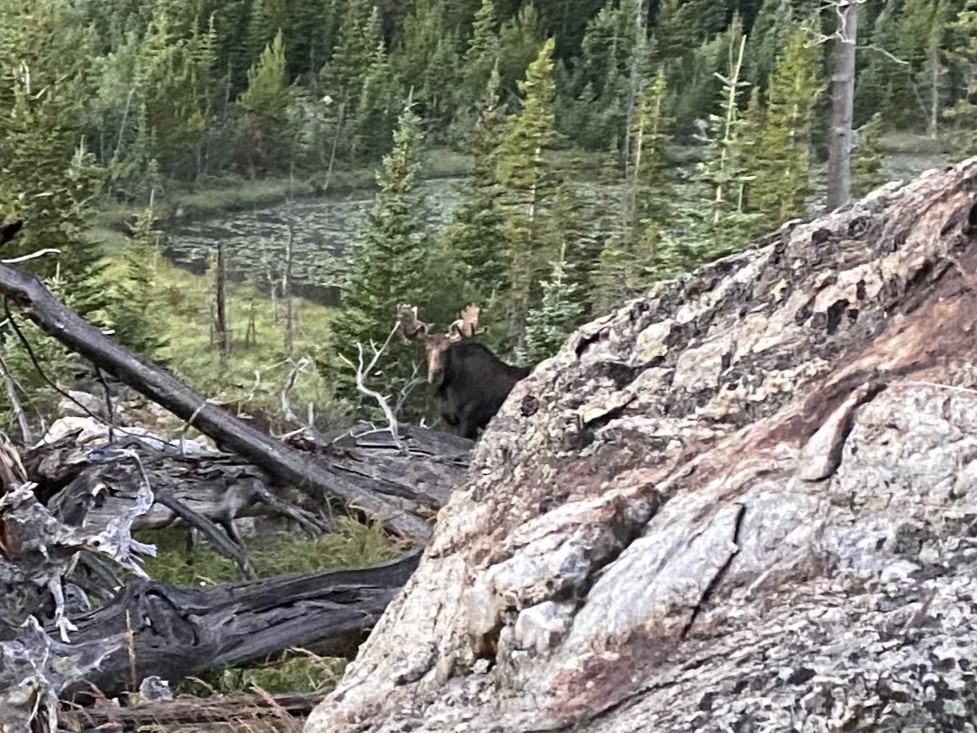
This is where I startled a moose.  He was about 15 feet away from me when I saw him, so I quickly ducked behind a large boulder.  Usually, moose run away when they see you, or ignore you, but this guy seemed interested in me.  I’ve seen probably over a hundred moose in Colorado, and I’ve only been charged once.  This guy looked like he wanted to charge me, so I remained hidden.  For a solid 15 minutes, every time I peeked out from behind the boulder, he was still staring at the boulder I’d hidden behind.  I know moose have poor eyesight, so while he knew I was still there, he was probably trying to figure out if I were a threat or not.  (That’s Chickadee Pond in the background).

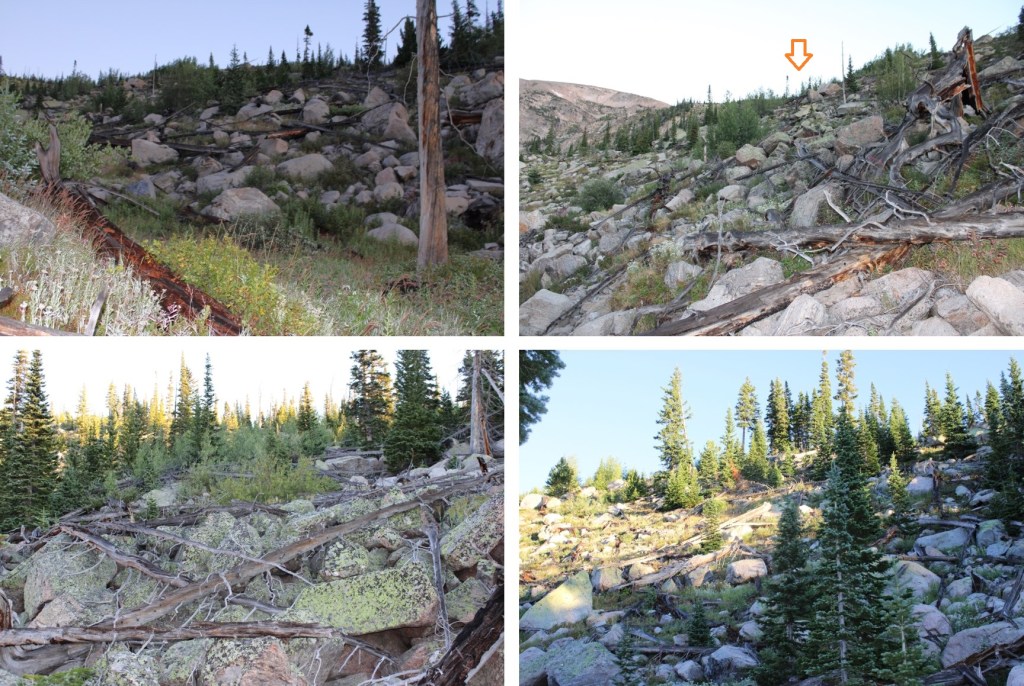
Eventually I crawled away on my hands and knees so he couldn’t see me in the brush, and continued my way up the ridge.  This included a lot of bushwhacking through downed trees.  A lot of downed trees.

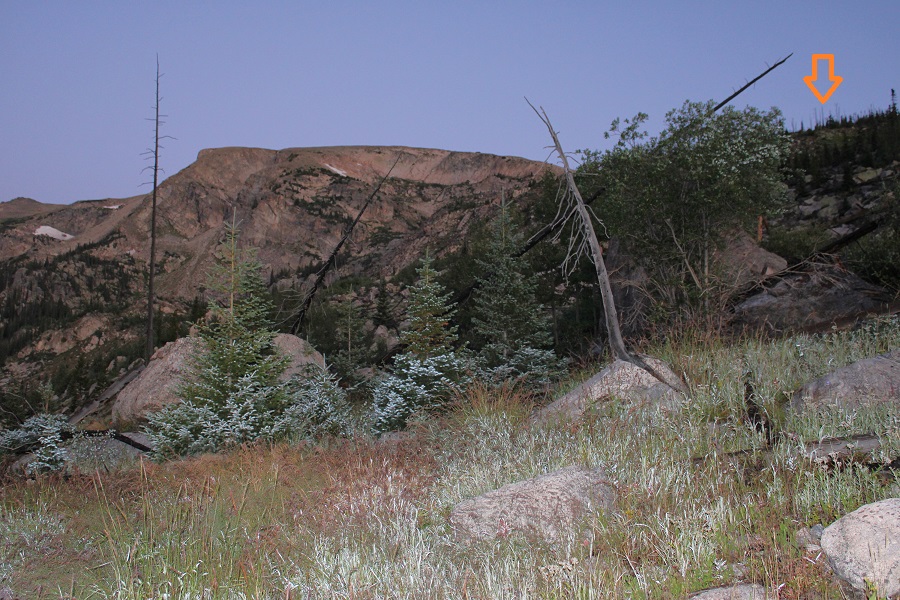
Once I made it to the ridge, I followed it west to treeline

The route from here was straightforward.  I stayed o the ridge, following it west.  The terrain started out as loose rocks, then changed to tundra.

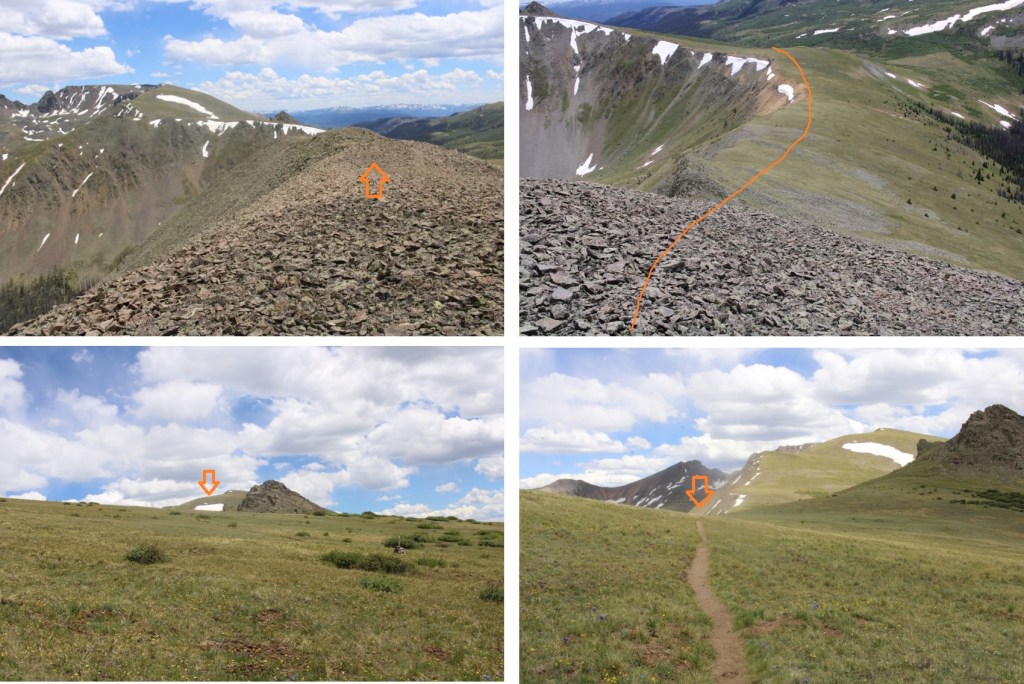
When you get to the tundra, don’t be fooled:  this is a false summit.  Stay to the left of it

This is the true summit of Manaha Peak.  It’s easy class 2 to get there

I summited Mahana Peak at 9am

Mahana Peak:

From Mahana Peak, I could see Isolation Peak to the northwest

To get there, I headed northeast along the ridge until I came to a low point, and then headed northwest towards the ridge.

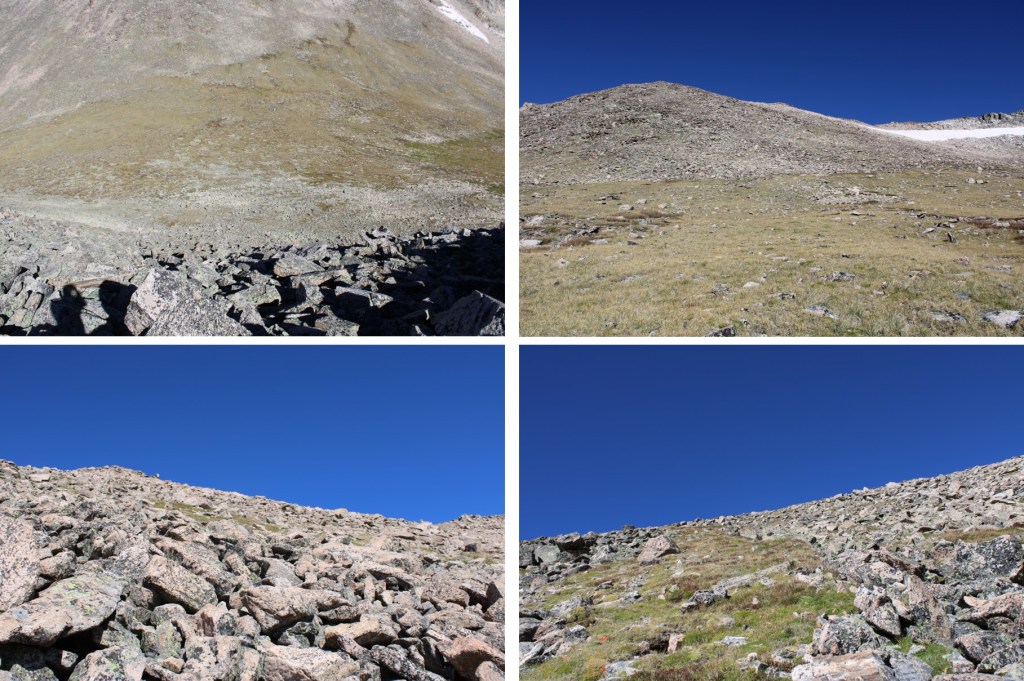
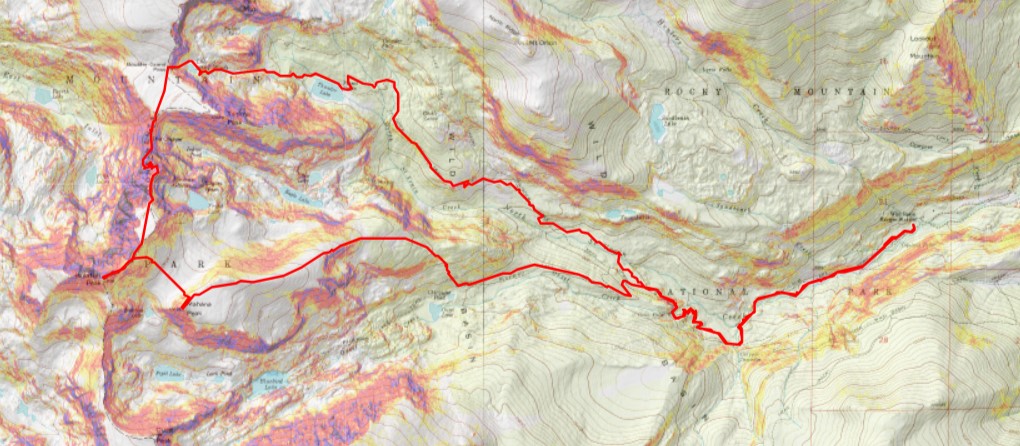
This is the overall route I took to gain the ridge of Isolation Peak.  If you look carefully, you will see a green band of grass that makes the route easy to follow.  I descended on rocky terrain, then was greeted with tundra, then rocky tundra as I ascended.

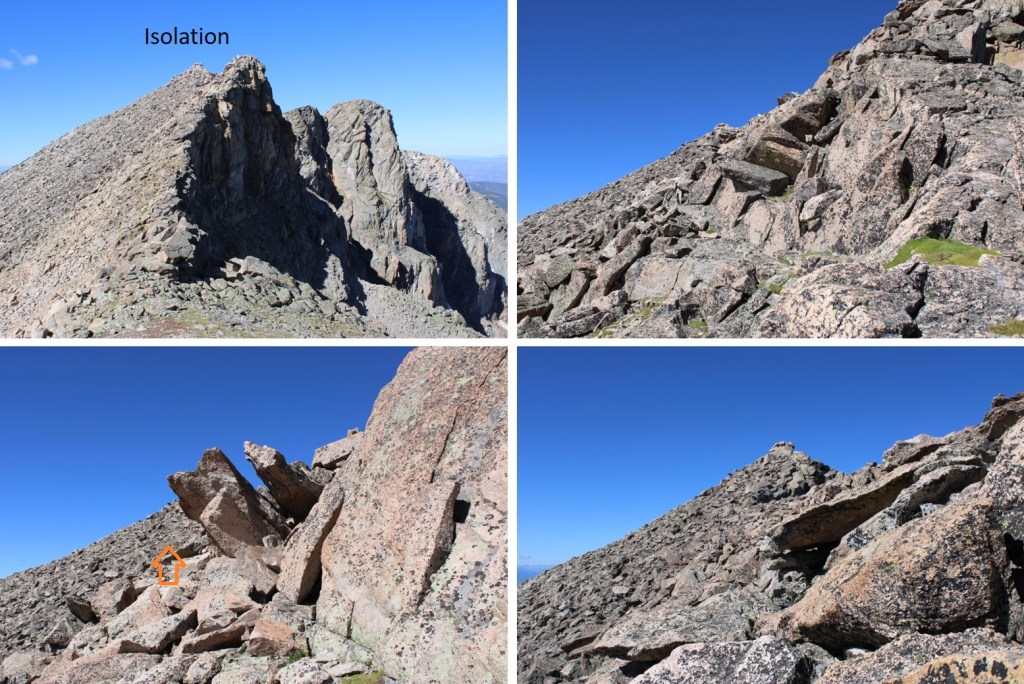
Once on the ridge, I turned left and could see Isolation Peak to the southwest. This was a class 2 hike, sticking to game trails either directly on or to the left of the ridge, until the last 10 feet or so, when it was a quick class 3 scramble to the summit

I’m pretty sure this block is the summit.  I sat on it, but briefly.  Pictures/video were difficult.  The summit rocks didn’t feel stable, and I could see through them to air below if I looked down. 

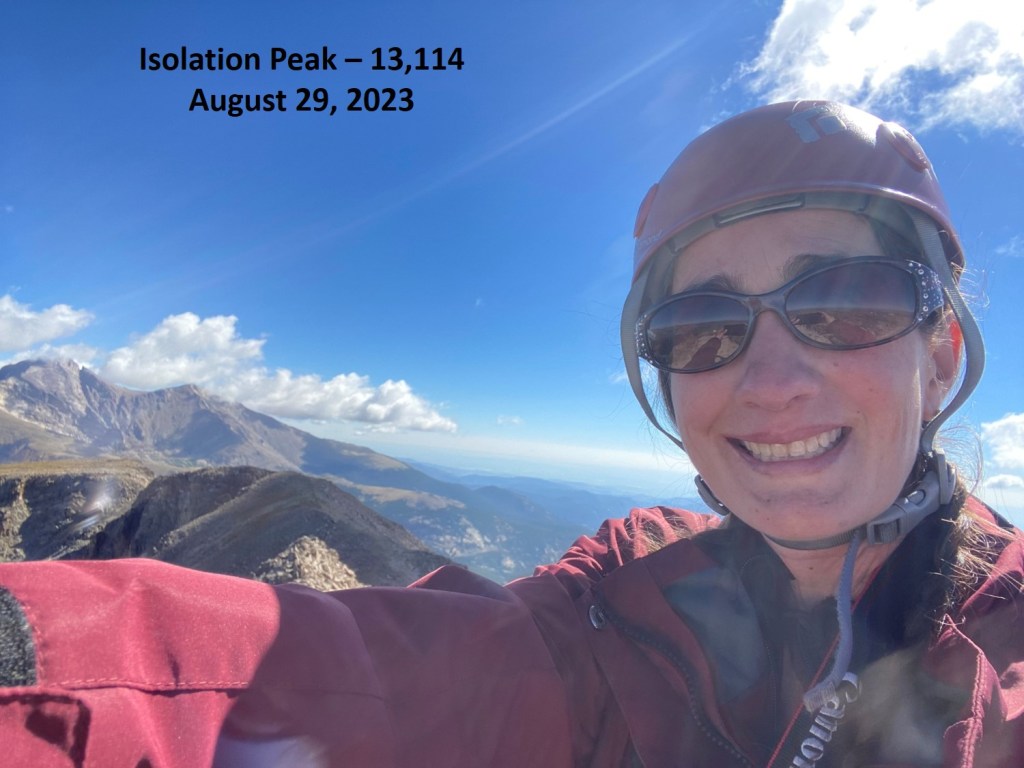
I summited Isolation Peak at 10:30am

Isolation Peak:

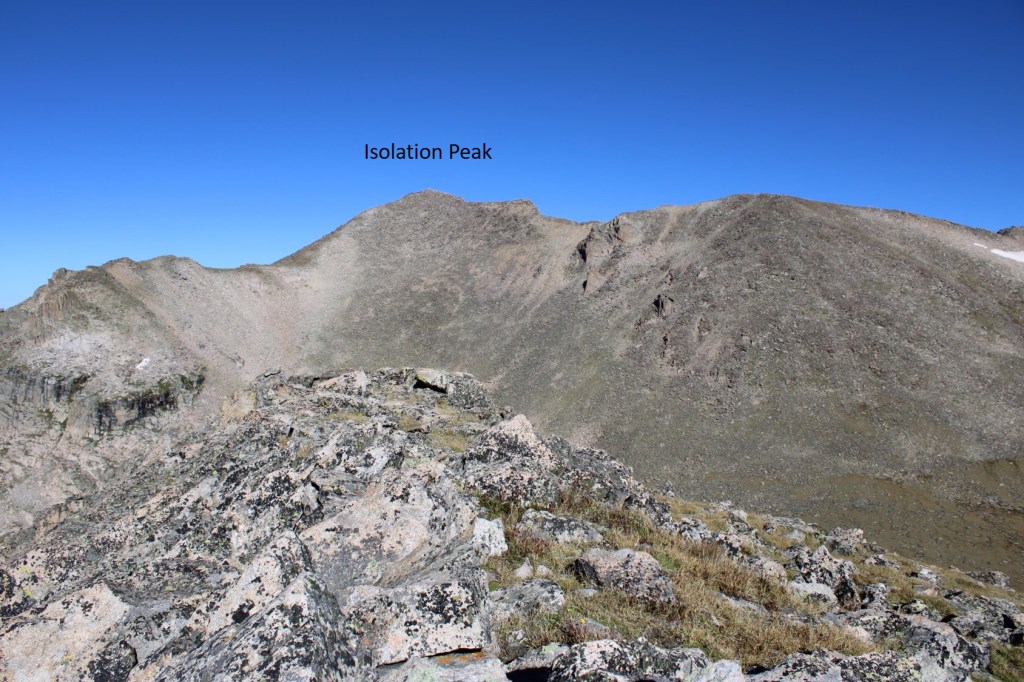
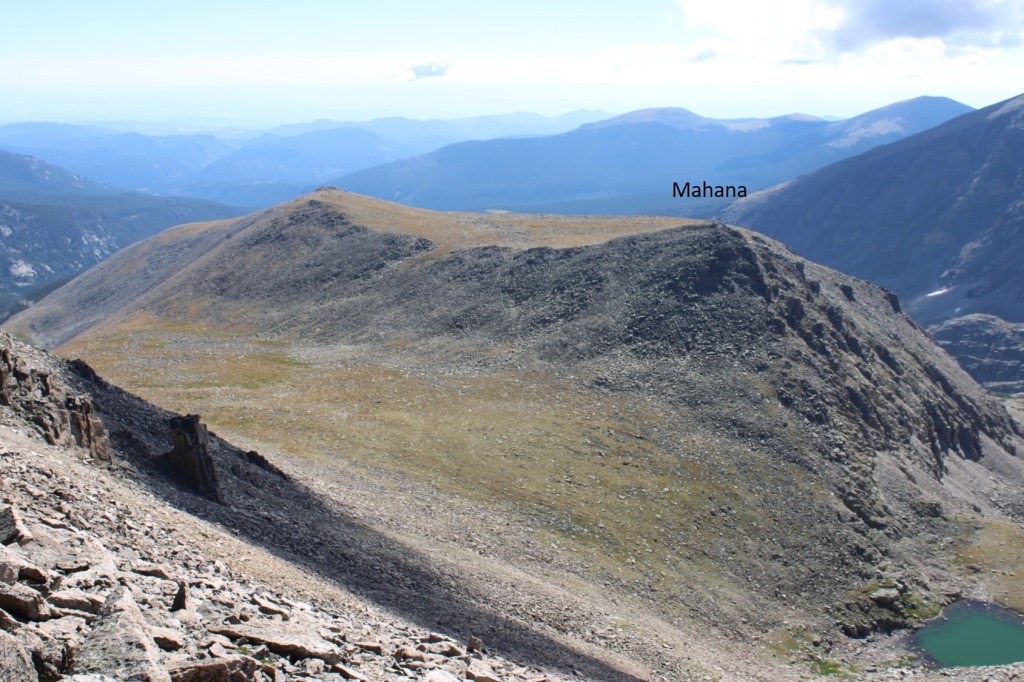
Here’s looking back at Mahana Peak from Isolation Peak

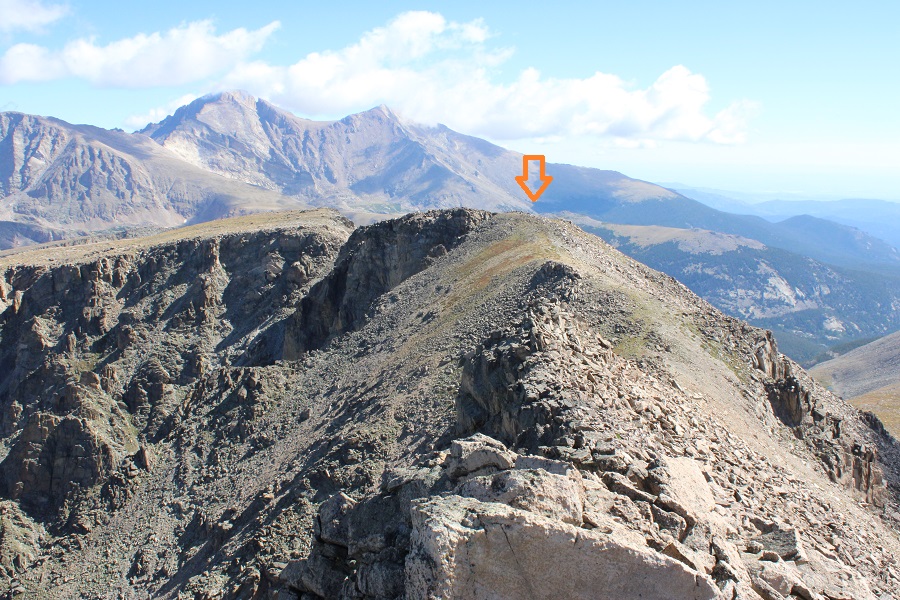
If you’re not up for class 3-4 scrambling, now’s the time to head back the way you came in, towards Mahana.  It’s the fastest route.  If you’re up for some scrambling, strap on your helmet if you haven’t already, and head northeast along the ridge.  Some of this ridge I’d consider choose your own adventure.  This is the route I took, keeping it class 3, with some easy class 4 scrambling (down chimneys/gullies).

I was now back to where I ascended the ridge, and followed the ridge northeast.  There is a lot of elevation gain and loss on this descent

I went to the right of this boulder.  Getting through was sketchy class 3.  The boulders were large, but there was a lot of empty space between them, and they didn’t feel solid. 

My next objective was to make it here (this was class 2, sticking to the ridge)

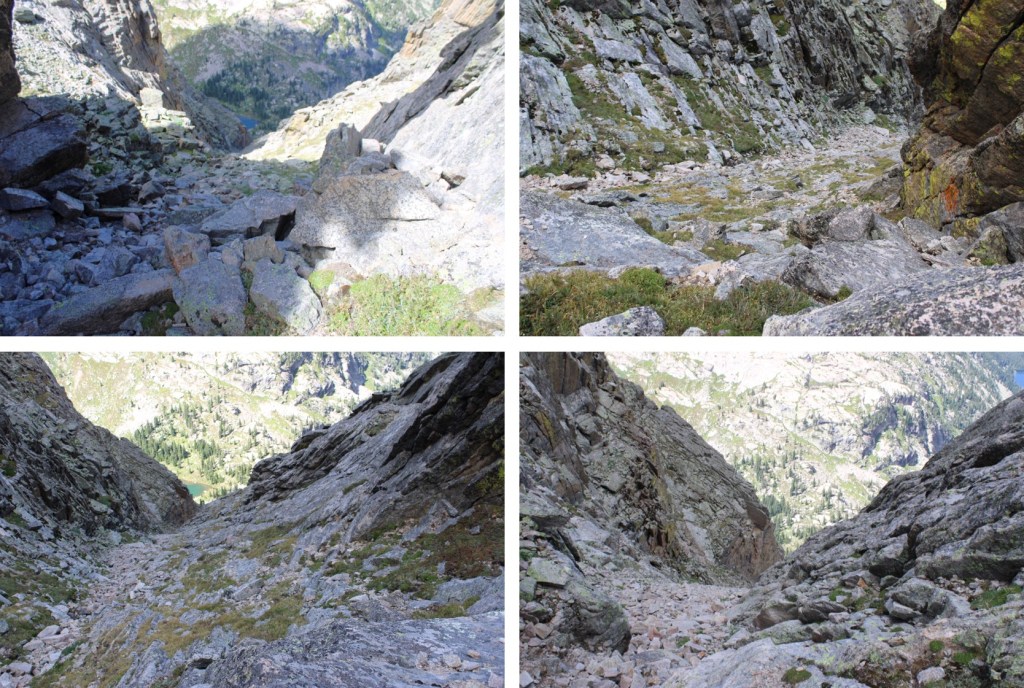
This is where it got a bit tricky.  I turned left, and descended into a rather large and steep gully.  I spent a lot of time in this gully route finding, and my advice is to stick to the gully proper until you make it down to 12160’.  You’re trying to go below this rock formation, which goes a lot further down than you’d think.

I turned left, and descended into the gully

I came to a place that looked like it cliffed out, but it was really just a drop onto a boulder, then a 7-foot downclimb. 

Here’s looking back up at the gully

And a look at the final drop.  The boulder in the middle was essential to the descent.

This was at about 12160’, where I stopped descending the gully, and looked for a grassy ledge climbers right. 

I made it to the ledge, descended another grassy ledge, then reascended a grassy ledge to re-gain the ridge

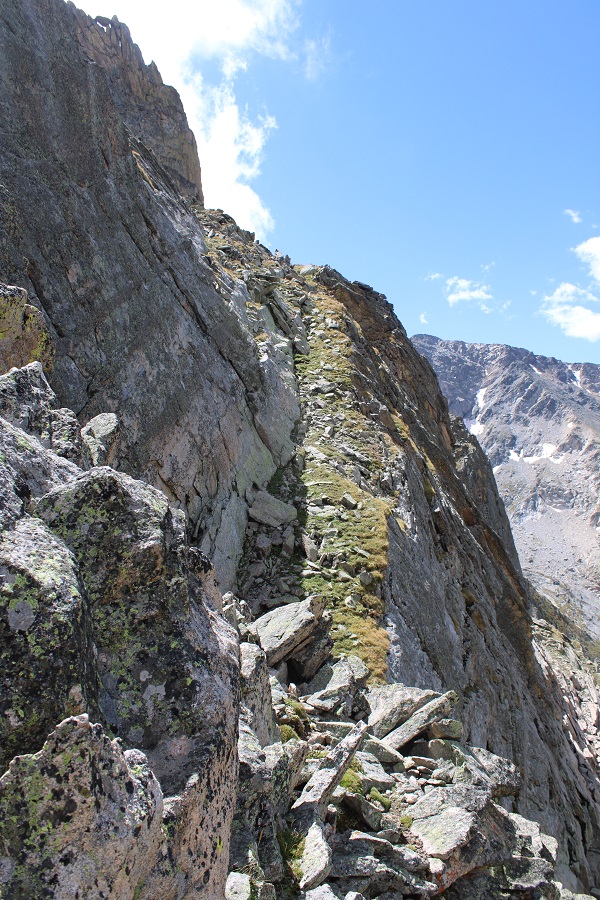
For those of you doing this the opposite way, here’s a look back at the grassy ledge I descended.  You can see why I had to drop down so low in the gully, with the sheer cliff face to navigate.

Here’s how I got around the next few obstacles

And that was it for the climbing for today.  I kept my helmet on because I still had a scree-gully to descend, but all the class 3 and 4 stuff was done.  I’d wanted to head over to Mt Alice today too, but clouds were forming and I didn’t think it was a good idea.  I headed towards Boulder-Grand Pass, turned right, and descended the gully towards Lake of Many Winds.  From the pass, it was 9.5 miles back to the trailhead.

A good trail picks up here, and leads all the way back to the Wild Basin Trailhead.  Here you can see Thunder Lake.  This trail becomes the Thunder Lake Trail, skirting the lake to the left.  This is a class 1 trail.  Once again, it’s very well marked, with signs indicating the route back to the Wild Basin Trailhead

I made it back to the trailhead at 4:45pm, making this a 21.79 mile hike with 5665’ of elevation gain in 12 hours, 45 minutes, at least according to CalTopo.  Strava gave me drastically different numbers

On to the next trailhead!
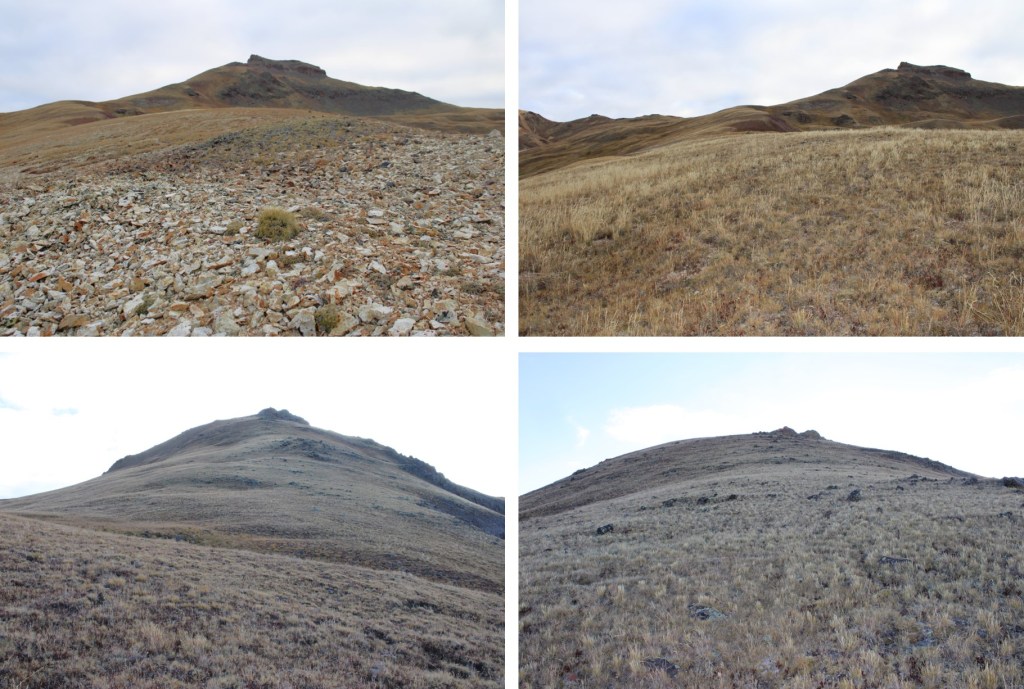
Jones Mountain B – 13,214

RT Length: 6.04 miles

Elevation Gain: 2361’

I’d parked about 6 miles past Cottonwood Lake, at the junction of 344/349.  There are a few dispersed campsites in the area, and a few further up as well.  I was up and on the trail at 4:45am, hoping this would be a quick hike because I had other things to do this afternoon. 

The trail starts by following 4WD road 349.  It’s a narrow 4WD road, but if your vehicle made it this far, it can make it all the way to the top of the road

I followed the road for 2.3 miles, up to about 12,330’. 

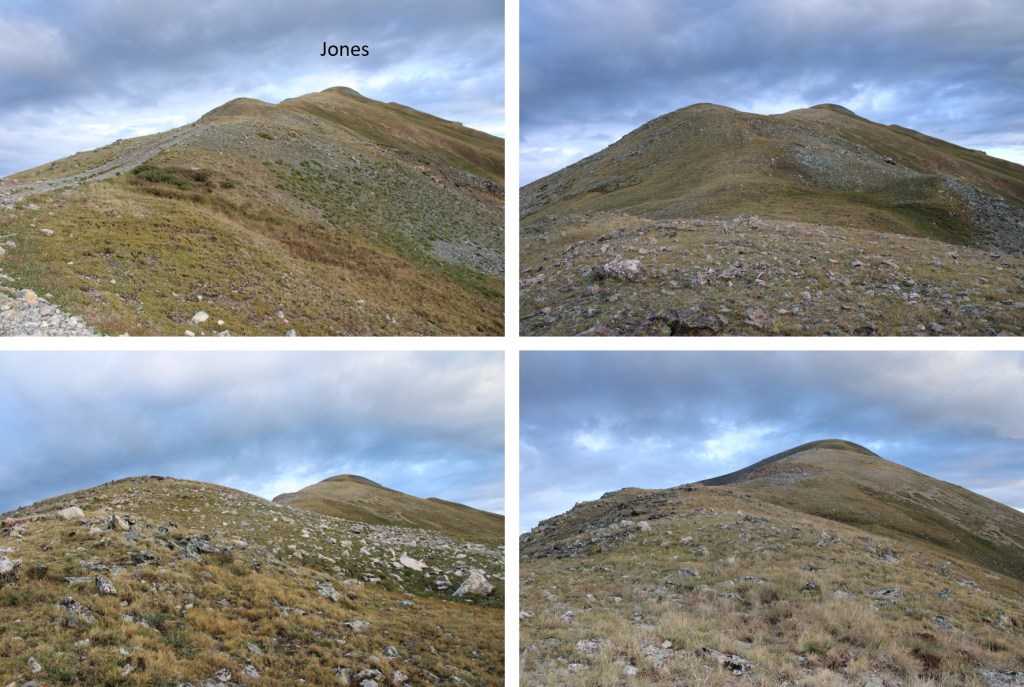
I didn’t know it at the time, as it was still dark, but I could have taken the road all the way up to the ridge, and then taken the ridge to the summit, which would have been easier.  I’ll have pictures of that route on the way back down.  Here’s where the road goes to:

Anyway, I didn’t take the road up, instead, I decided to gain the ridge here

This route was very straightforward

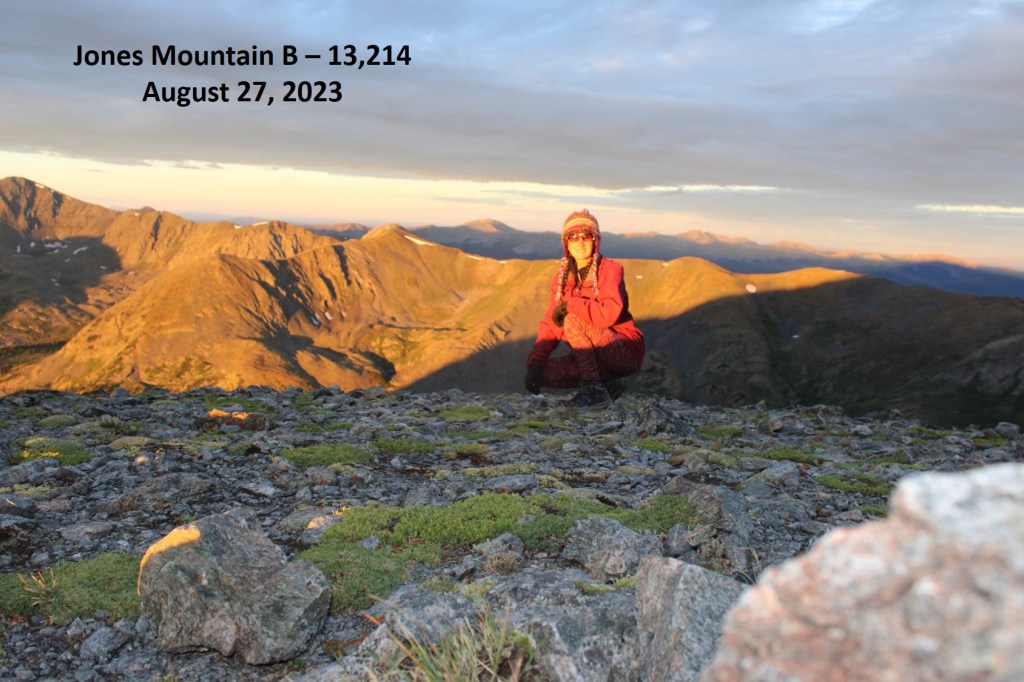
I also got to see a beautiful sunrise

From the I turned right and followed the ridge northeast.  From the ridge it was a short .25 mile hike to the summit. 

I summited Jones Mountain B at 6:30am

Jones Mountain B:

It was rather cold and windy on the summit, making it feel like fall.  I turned around and, in the daylight, noticed the road I’d hiked in on went all the way to the ridge, so I followed the ridge southeast back to the road.

Some ptarmigans overlooking Ptarmigan Lake

Here’s the route up the ridge from where the ridge meets the road

Back on road 349, I followed it all the way back down to road 344

I made it back to my truck at 7:45am, making this a 6.04 mile hike with 2361’ of elevation gain in 3 hours.

Now it’s time to head back home to harvest a couple hundred apples from the tree in my backyard before the thunderstorms hit for the day. 

Trico Peak – 13,321

RT Length: 8.78 miles

Elevation Gain: 2844’

My stats here are going to be off (to be explained later).

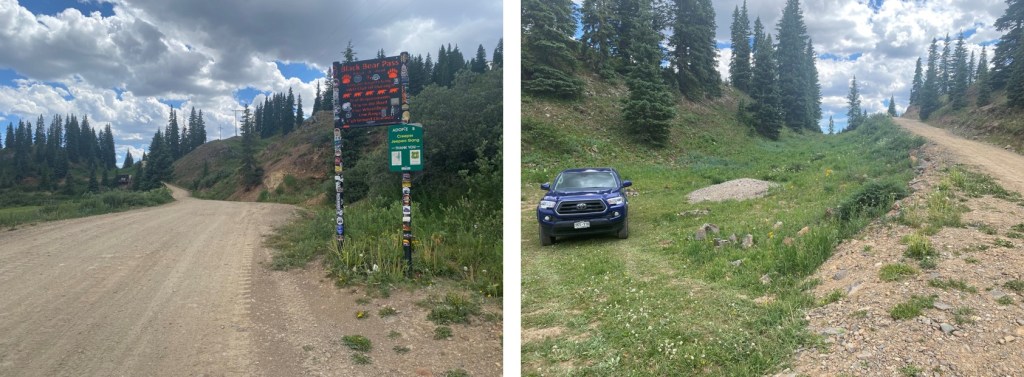
I arrived at the Black Bear Pass trailhead the night before, excited to find a good camping spot near the road, at about 11,100’.  If you drive a little further up, 100 yards or so, there are a few more sites. 

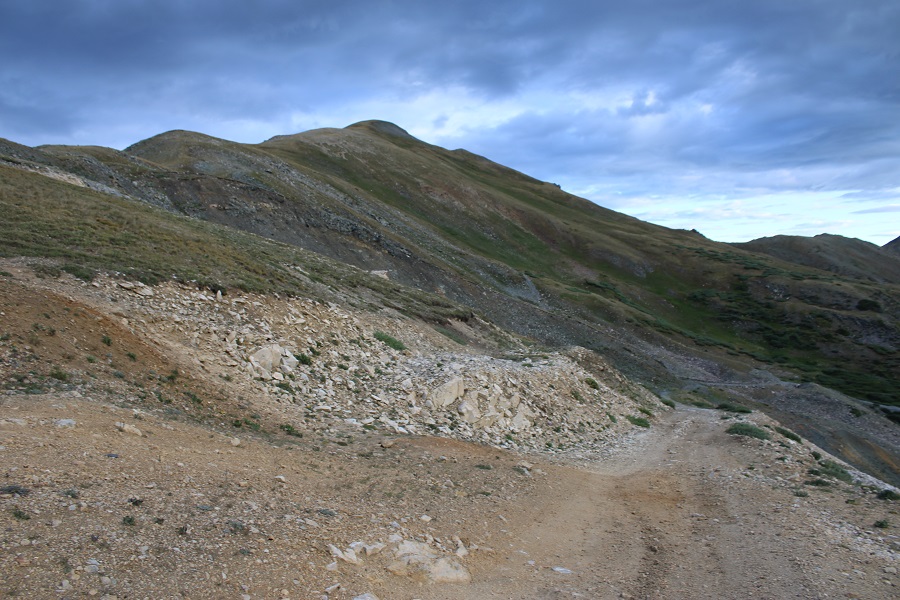
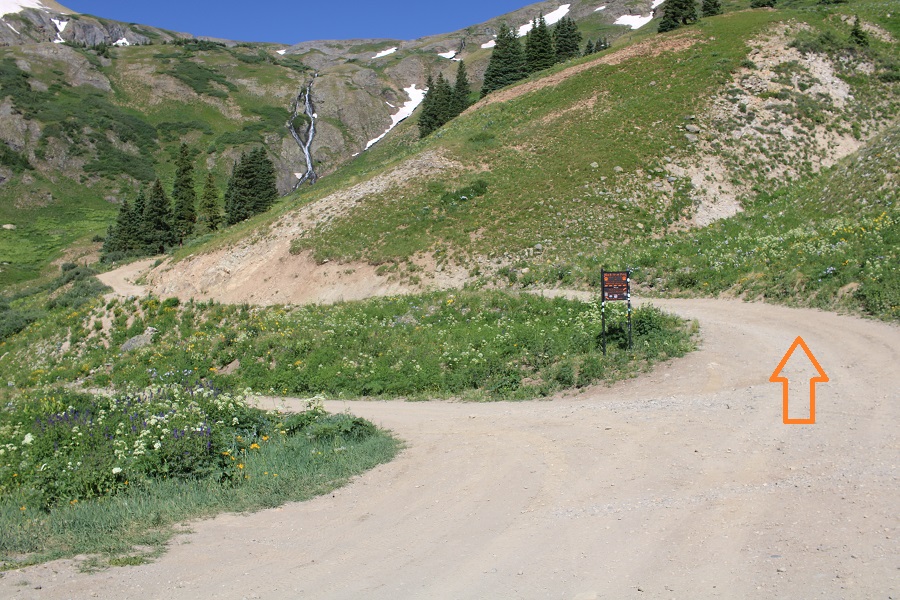
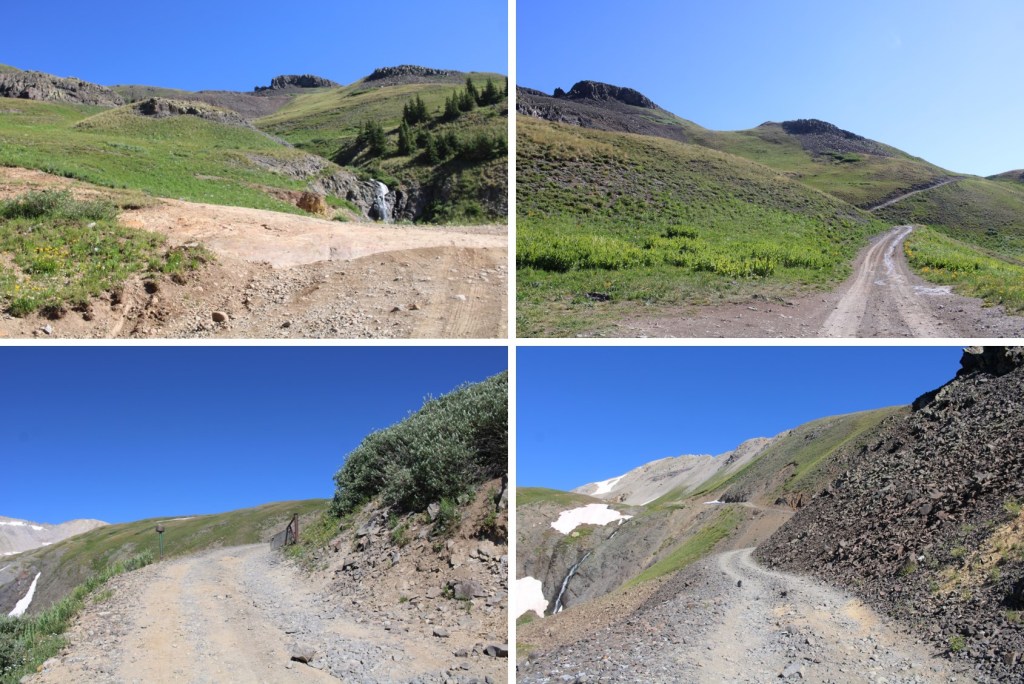
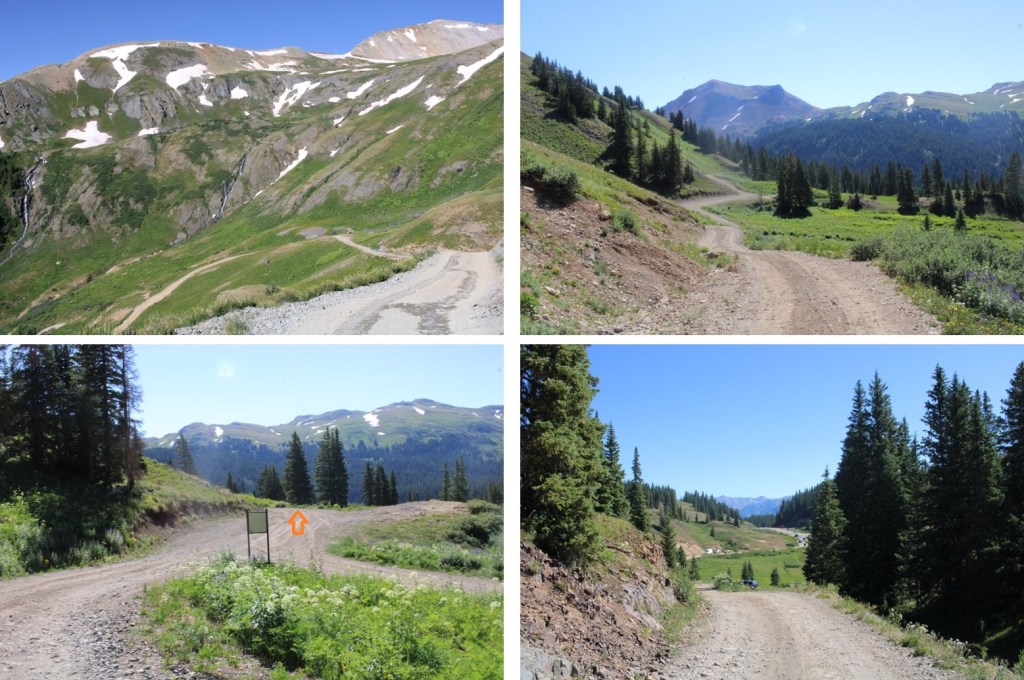
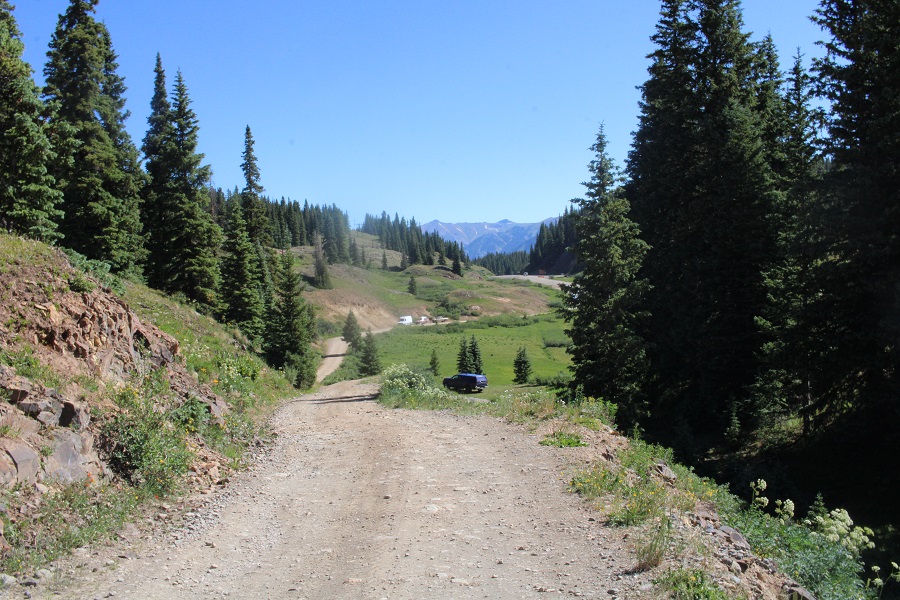
I parked, read, ate dinner, and fell asleep early.  I was on the trail at 5am the next morning.  The trail follows 4WD dirt road 823 for 3.3 miles to Black Bear Pass. A stock 4WD can make it to the pass, but be mindful it’s a narrow shelf road at times, with few places to pass other vehicles.  Here are some pictures of the road.

After hiking for 1 mile I came to the junction for Prophyry Basin and Black Bear Pass.  I went right, towards Black Bear Pass.

And continued on, towards Mineral Basin.

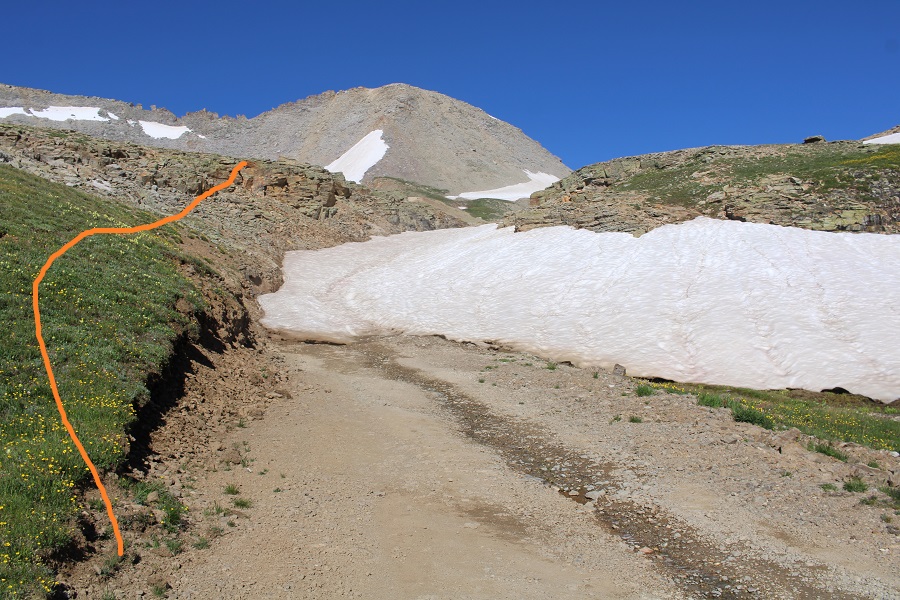
There was a little snow to contend with in getting to Black Bear Pass, so I went left to avoid it.

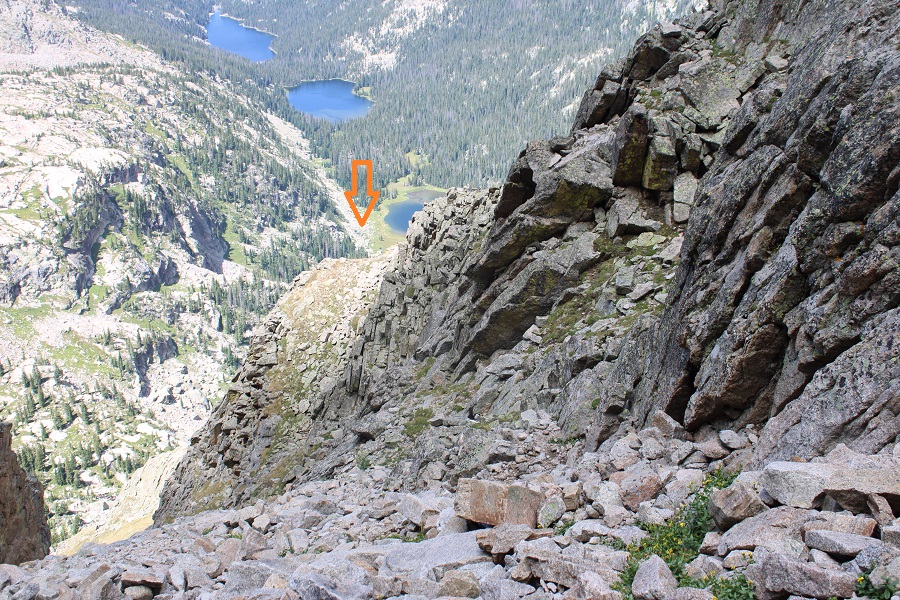
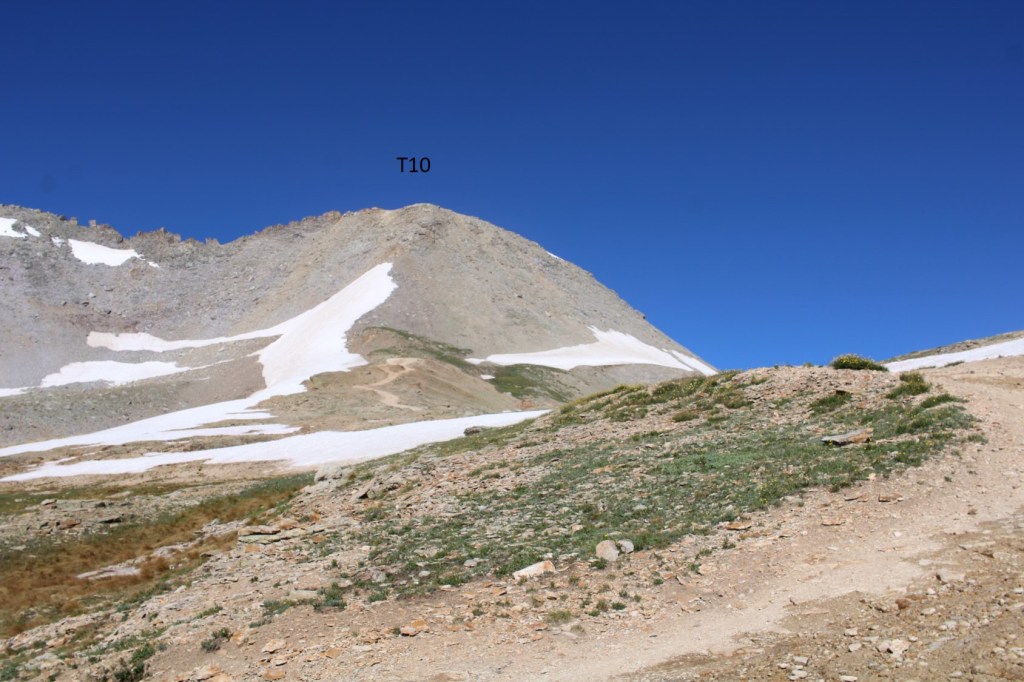
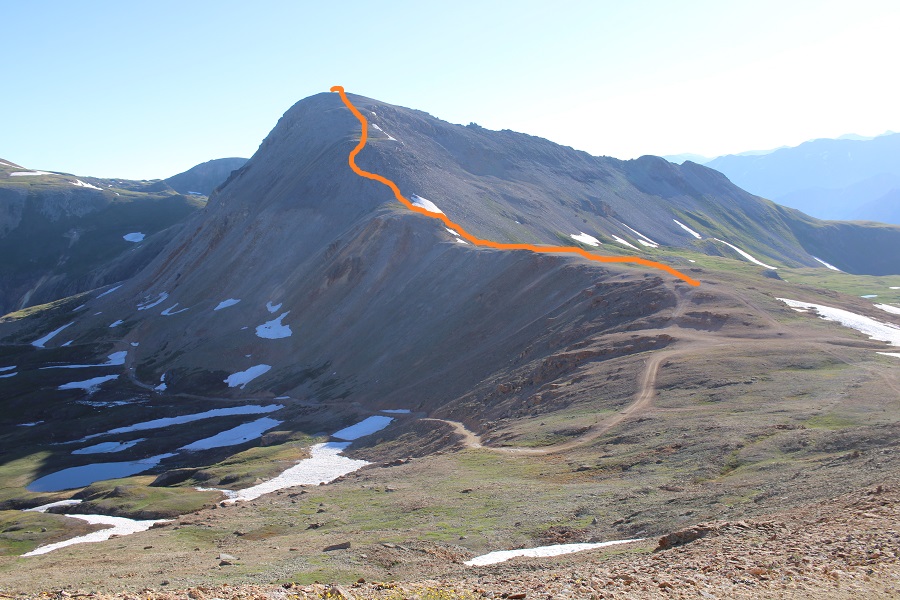
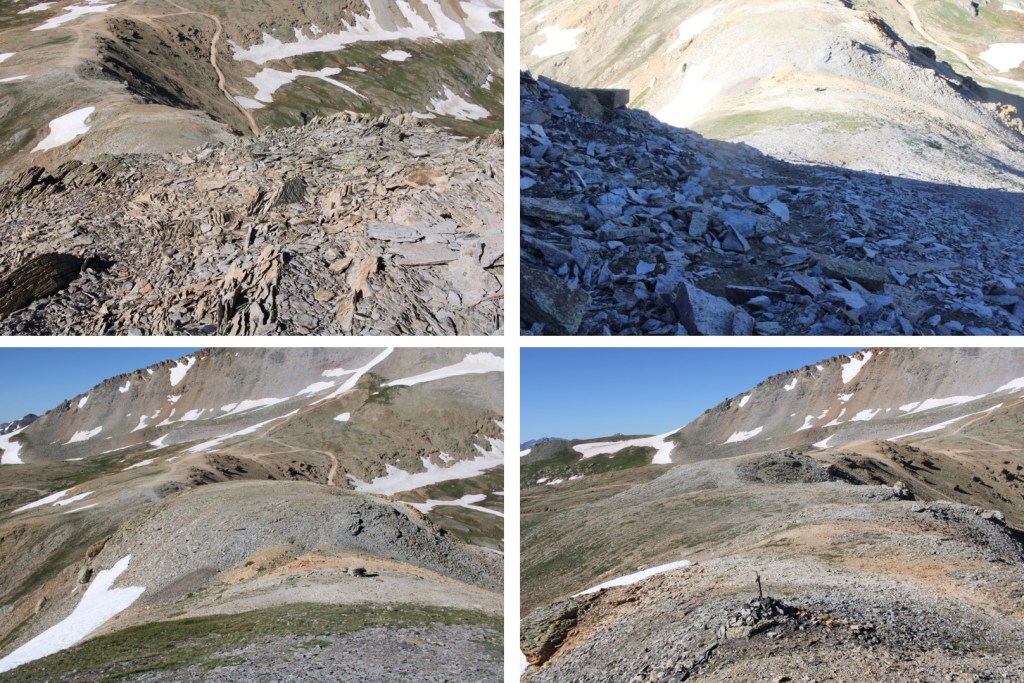
To my left I could see T10, which hadn’t been on my list for today.  However, looking at it now, it looked doable from this side, so I headed over there.  There seemed to be several viable routes.  At the grassy area I put on my microspikes, and headed up.  The first 150 feet or so were straightforward, and then the choss hit.  Terrible, terrible choss that gave way as I ascended.  I was creating rockslides both above and below me, which included not only scree and choss, but also microwave plus sized rocks.  Nothing was stable. It looks like the route changes every time someone attempts to go up or down.  I got cliffed out several times, backtracked, and tried different ways.  Finally, I knew while I could have made it up, I wasn’t going to recommend this route to anyone (someone’s going to get seriously injured or die), so I might as well head back down.  I made it about 100 feet from the summit before turning around. Please don’t attempt this route unless you have great balance and are good with floating and falling talus and boulders (none of the rocks were steady. None of them, and many fell with the scree).  For me, this was outside of my choss-safety zone.

Ok, so from Black Bear pass, I headed northeast, with Trico clearly visible.

This was actually a straightforward and easy route.  There’s a faint trail you can’t see from below, that will get you all the way to the summit.

Here are some pictures of the route

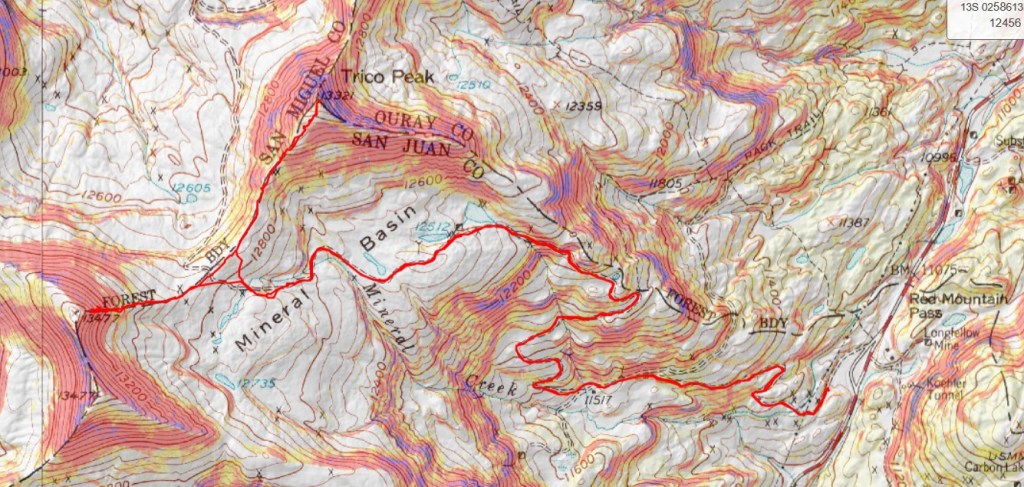
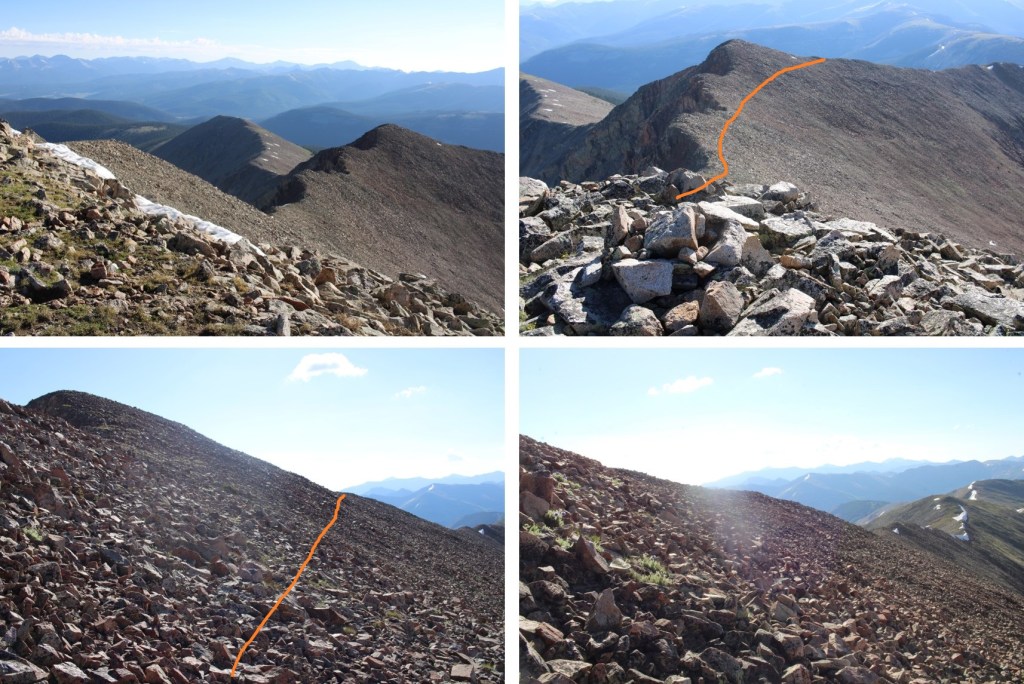
Once I gained the ridge, this was the overall route to the summit

There was a faint trail here as well.

I summited Trico Peak at 8am (still wearing my helmet from T10)

Trico Peak:

I took advantage of the bluebird day and 2 bars of LTE service at the summit, and stayed for about half an hour, calling people and answering emails. 

Then I was on my way back down to Black Bear Pass.

Back at Black bear Pass I turned left, and followed the road 823 back to the trailhead, avoiding the small section of snow along the road.

I made it back to my truck at 10am, making this a 8.78 mile hike with 2844’ of elevation gain in 5 hours, along with a lot of route finding on T10, and spending a half hour on the summit of Trico.

On to the next trailhead!
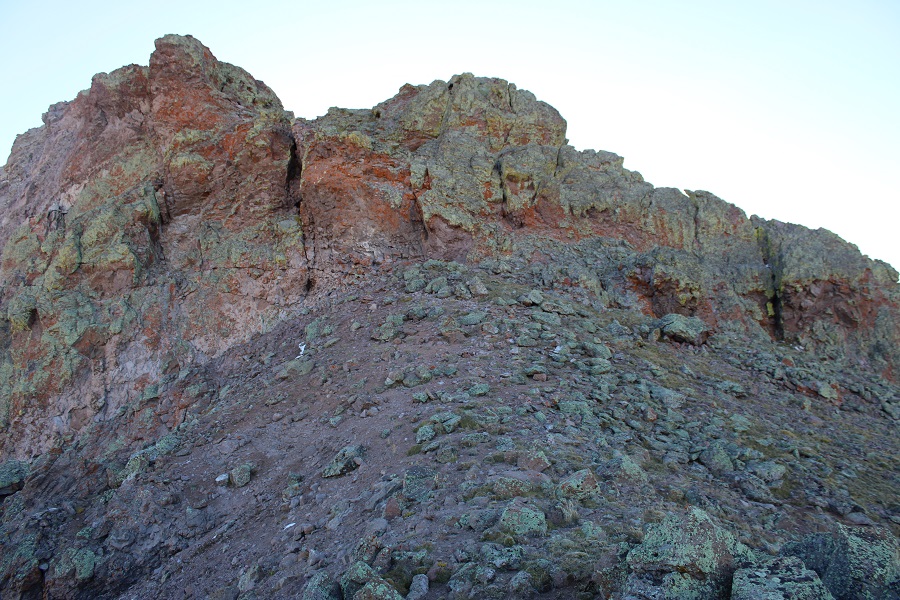
Fairview Peak – 13,224 and Green Mountain 12,692

RT Length:  7.75 miles

Elevation Gain:  2314’

I drove up to Cumberland Pass from Pitkin the night before my hike, and settled in.  The road was dirt 2WD, with a few places where clearance would be helpful, but otherwise it was an easy drive.  There was someone in a tractor grading the road, so I can only imagine it will get better from there.  I people watched for a few hours, then had the pass to myself for the next 18 hours, as it was only busy during the afternoon.

The next morning, I was on the trail at 5:30am.  I actually followed a 4WD road, at the west end of the parking area.  Side note:  On this hike I saw over a dozen grave markers.  I’m not sure if there were bodies buried underneath, or ashes spread, but it seemed excessive. 

I followed this road west and then southwest as it gained and lost elevation. 

After hiking for a little over a mile the road didn’t end, but it was snow covered, so I followed the ridge. 

Here’s the route up to Green Mountain

I could tell there was a road here at one time, but it hasn’t been used in quite a while.  At points it was a small trail, and at others it resembled a runnel.  It was rocky, but only about 650’ of elevation gain to reach the unranked summit. Here are some pictures of the route.

The summit was to the left (south)

I summited Green Mountain at 6:20am

Green Mountain:

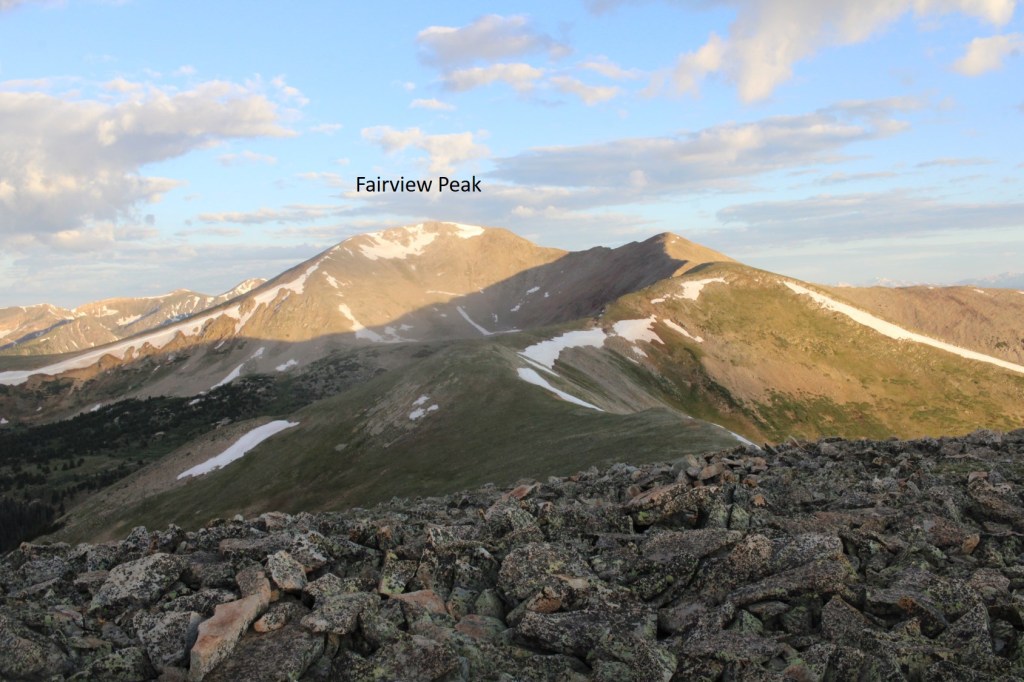
From Green Mountain I turned around, and looked northwest.  I could clearly see the summit of Fairview Peak, and the route I needed to take to get there.

This was going to be a ridge hike, with a lot of ups and downs, but also fairly straightforward.  I headed northwest, and followed the ridge.  There were a lot of mines in the area.

Here’s the view looking over at PT 12556 (not ranked, etc.).  There were 5 crosses in a circle at the summit.  I’m not sure of their significance.

This was fairly easy terrain, mainly tundra that eventually became rocky

From 12556, this is the route I took over to Fairview Peak, skirting one of the points on the ridge to the left by traversing over rocky, but stable terrain.

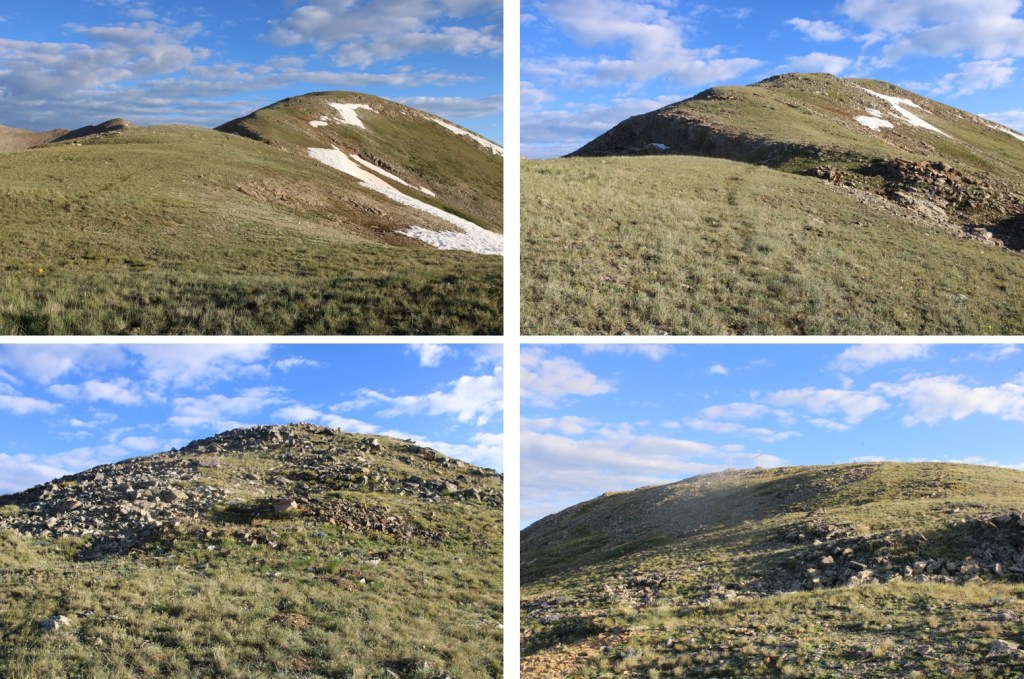
Here are some pictures of the route, which was very rocky

At the top of the ridge, I could clearly see the summit hut at the top to my left.  I headed south to the summit

I summited Fairview Peak at 7:45am

Fairview Peak:

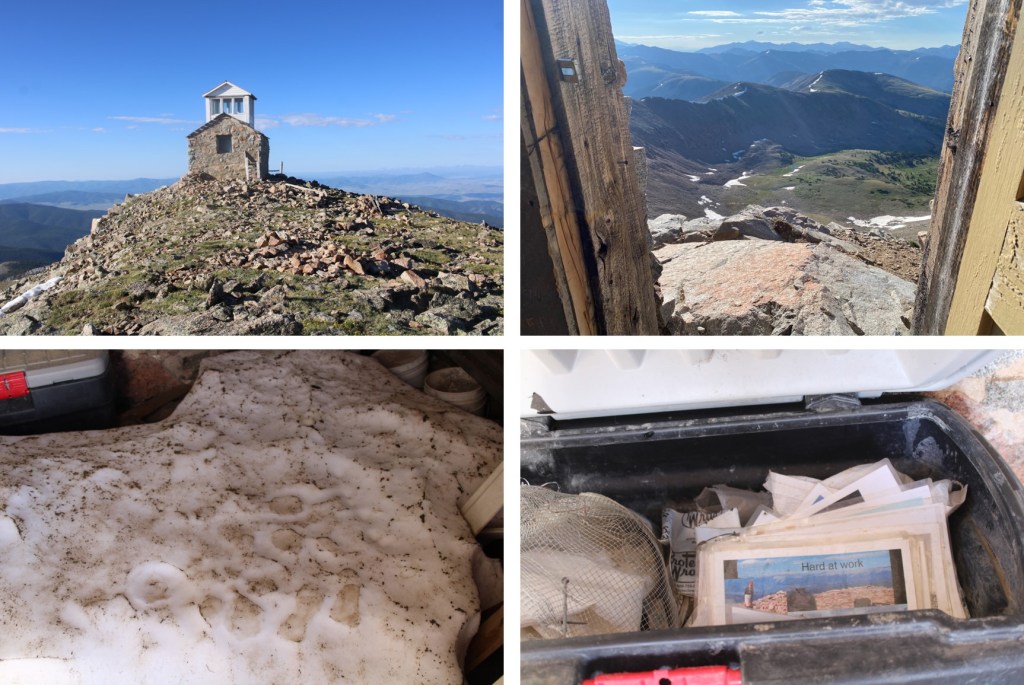
The summit hut was open, so I went inside.  There was still a lot of snow on the floor.  It didn’t look like anyone had been there yet this year.  There were tools, ladders, and a box with the history of the structure and improvements being made inside. 

From inside the structure, I could see Green Mountain to the southeast

I turned and headed back the way I’d come, back down the ridge

Here are some pictures of my route back to Green Mountain

Here’s a look at re-gaining the last 225’ to the top of Green Mountain

From the summit of Green Mountain, I headed northeast.  I could clearly see the road I was aiming for that would take me back to Cumberland Pass.  I’m sure you can see the road in this picture, but snow blocked my access to get to it, so this is the route I took.

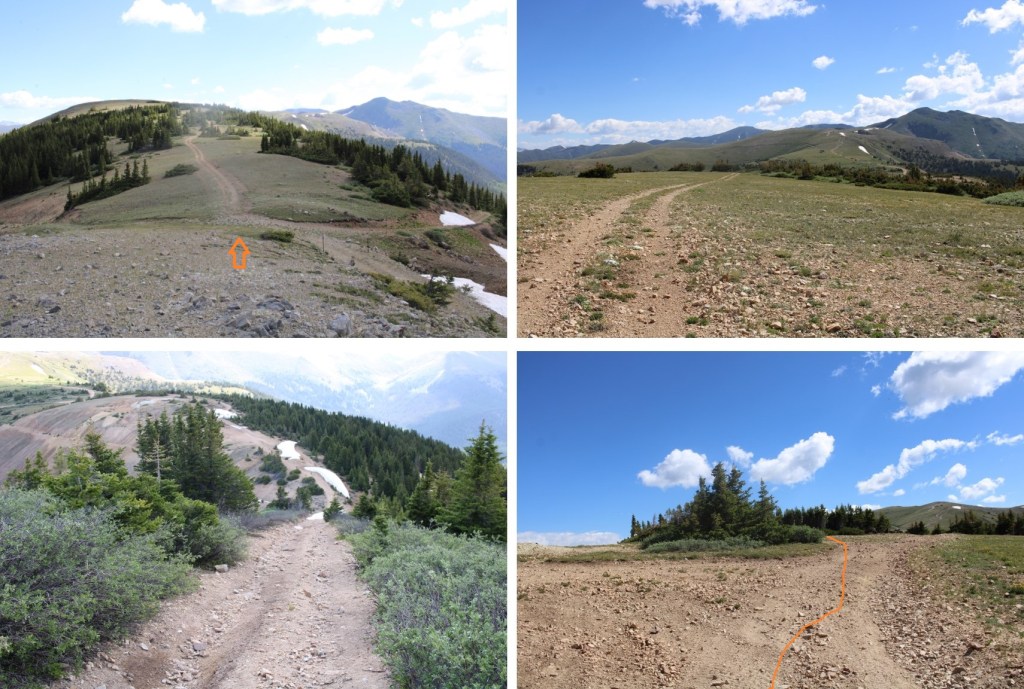
Here are some pictures of my way back to the 4WD road, which started out rocky and then turned to tundra

And from the road back to Cumberland Pass

I made it back to my truck at 10am, making this a 7.75 mile hike with 2314’ of elevation gain and a ton of searching for cool rocks in 4.5 hours.

On to the next trailhead!

13,308 and 12,580

RT Length:  31.68 miles

Elevation Gain: 6041’

I drove to the Eddiesville trailhead the night before, and was up and on the trail at 4:30am.  I’ve been in this area for over a week, and was fairly confident I wasn’t going to need microspikes or an ice axe (I didn’t).  The trail starts at the south end of the parking area, and follows the Colorado Trail. 

I followed the Colorado Trail for 8.25 miles, all the way to the San Luis Peak/13166 saddle.  This was a very well-marked trail, which made it difficult to get lost.  Also, there weren’t many trail intersections, also making it easy not to get lost.  I crossed several small creeks and downed trees on my way, and passed through two gates (latched, not locked). 

Here are some pictures of the terrain, which followed Cochetopa creek up the basin.

After hiking for 7 miles, I crossed Stewart Creek

I was now above treeline, and could see the 13166/San Luis Peak saddle. 

The Colorado Trail nicely brought me there.

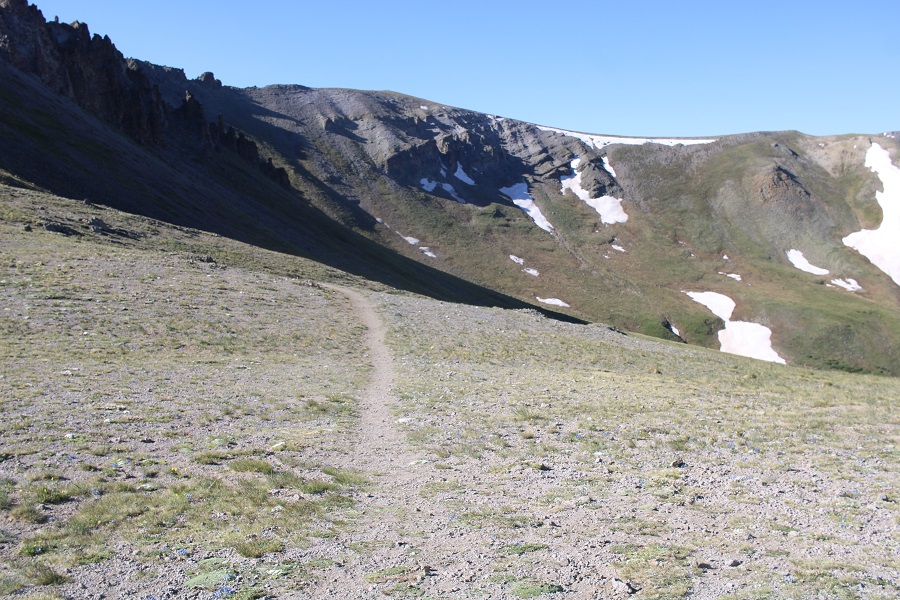
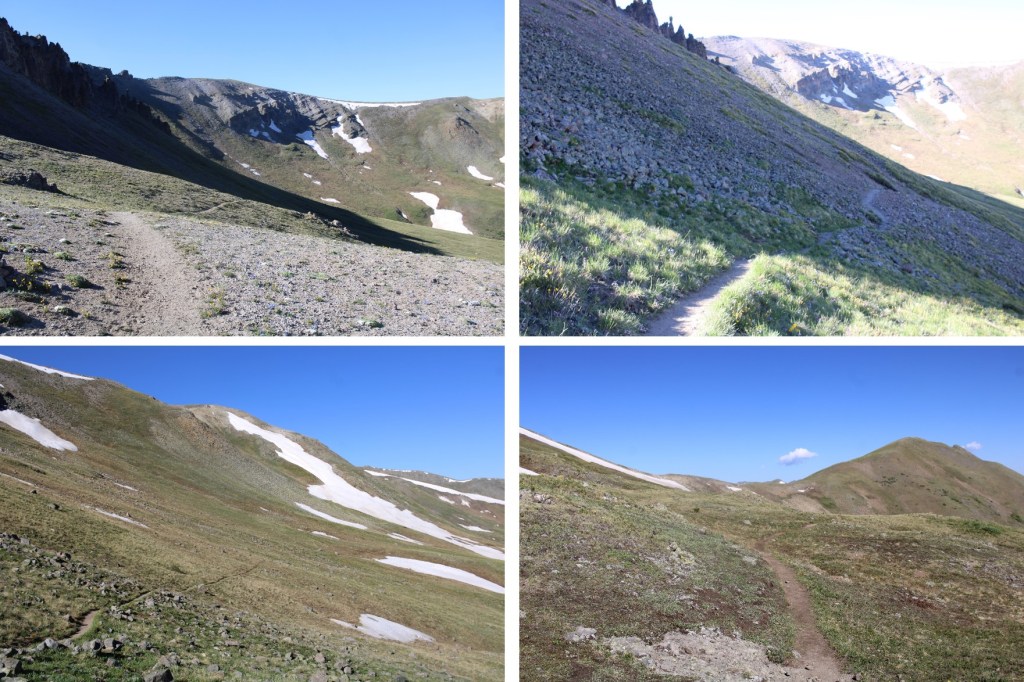
I would now lose 255’ of elevation as I headed down west, towards another pass, still following the Colorado Trail

Here’s the route

It was all pretty easy, class 1 hiking

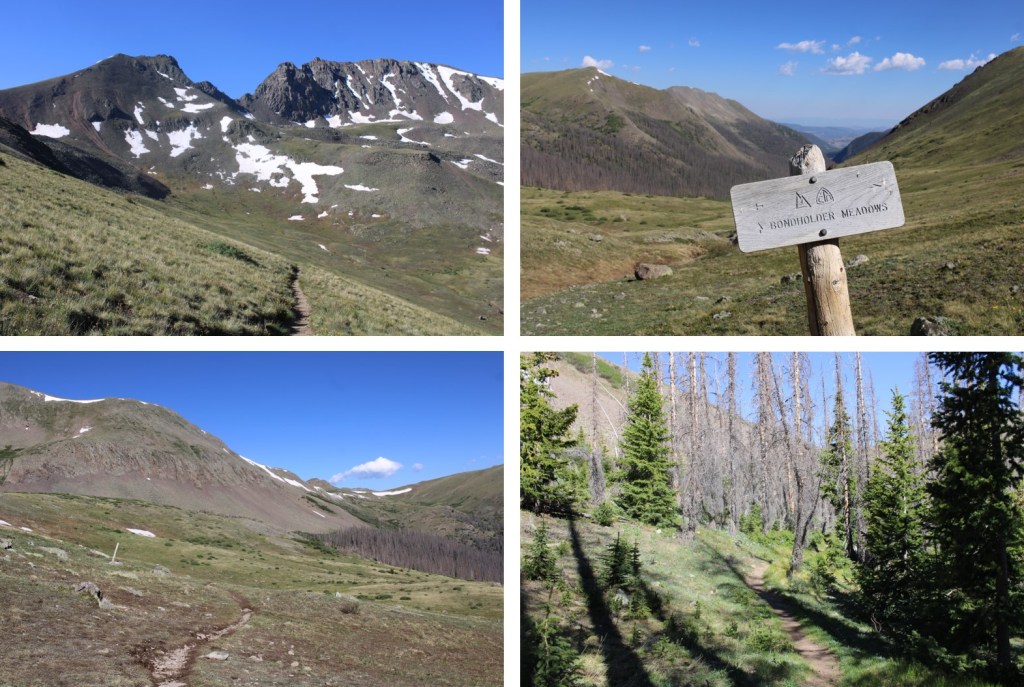
I arrived at the next pass, and lost another 460’ of elevation, once again, on a nice class 1 trail.  This one took me through Bondholder Meadows

Here’s the route

After hiking for a total of 12.5 miles, and at 12290’ of elevation, I saw this cairn, and turned left, leaving the Colorado Trail.  I headed south a short ways to the ridge.  There was a little bit of snow here, but spikes (etc.) were not needed.

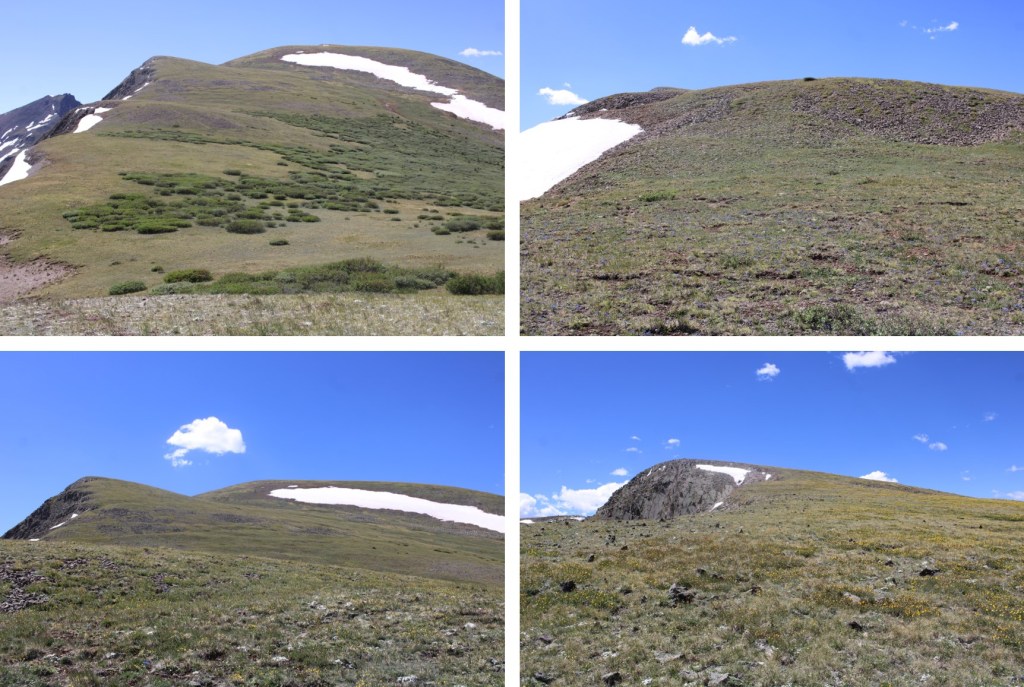
Once on the ridge, I turned left again and followed it southeast.  Here I stashed my backpacking gear and started hiking with a daypack with just the necessities.  Please keep in mind, what you see here is a false summit.  This was all easy class 2 on tundra.

At the false summit, I could see the true summit of 13308.  I would need to descend about 135’, and then re-ascend another 335’ to make it to the summit.  This area was a mix of tundra and rocks.  I followed the ridge southeast.

Once I reached the top of the rocky ridge I was greeted with Alpine tundra.  I headed east towards the summit.

When I got there, I was unsure if I was at the summit, or if it were the pint further, so I climbed up and down (still class 2) to the summit further east, but when I got there, the first summit looked higher.  When I checked my altimeter, both summits had the same elevation, but when I got back to the first summit, there was a summit register, so there’s no need to climb back and forth.  Here’s the view looking at the second summit

And a view from the second summit looking back at the first

I summited PT 13308 at 11:45am

PT 13308:

I headed back down the ridge to where I’d stashed my gear, first descending, then reascending, then descending again.

Here’s looking at that rocky false summit

From that summit, I could see my next peak, 12580

This is where the wind picked up.  Forecasted winds were 20-25mph, but I’m sure these exceeded 50mph.  I had to hold onto my bandana, as it kept getting blown off my head.  I made my way back to my stashed gear, then back to the Colorado Trail.

Once on the Colorado Trail, I continued following it northwest for about .75 miles

I rounded the side of a hill, and PT 12580 came into view.  I left the trail, and headed towards the summit.  This was all class 2 on tundra, then class 2 on rocks

There was a summit register, which hadn’t been signed in over a year, so I’m thinking this isn’t a very popular peak.  I summited PT 12580 at 2pm

PT 12580:

Now to head back down the trail.  I took the same way out as I did in.   I wanted to sleep close to Bondholder Meadows, but preferably in the trees. 

I ended up hiking further than intended, because the campsites I found were full of very dead trees, each placed perfectly to fall on me wherever I chose to sleep.  With the current wind gusts, I didn’t want to chance it, so I hiked to the very end of the trees, and found a place to camp surrounded by willows, near a creek that still had a little bit of snow.

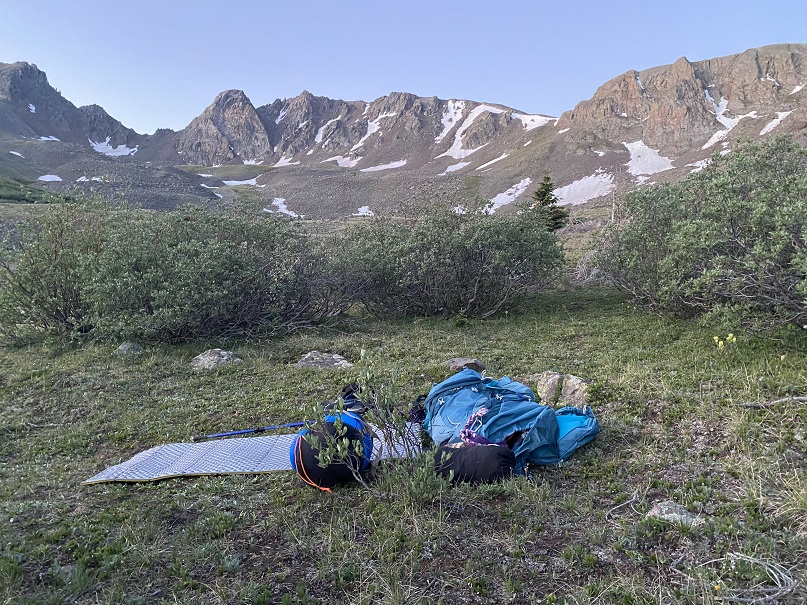
I set up my bivy, ate dinner, and bedded down for the night.  It was an uneventful and warm night, except for the purring I heard around midnight and the thundering hooves I heard when I woke up.  I never saw either animal.

The next morning I was up and on the trail by 6am, headed northeast along the Colorado trail.  Here are the two passes I needed to go over

At the top of the last pass, now all I had to do was follow the class 1 trail back to the trailhead. 

Here are some pictures the rest of the way back to the trailhead.  I saw a couple of bull moose munching in the willows, but that’s common for this area.

I made it back to my truck at 10am. 

This was a 31.68 mile hike with 6041’ of elevation gain.

On to the next trailhead!

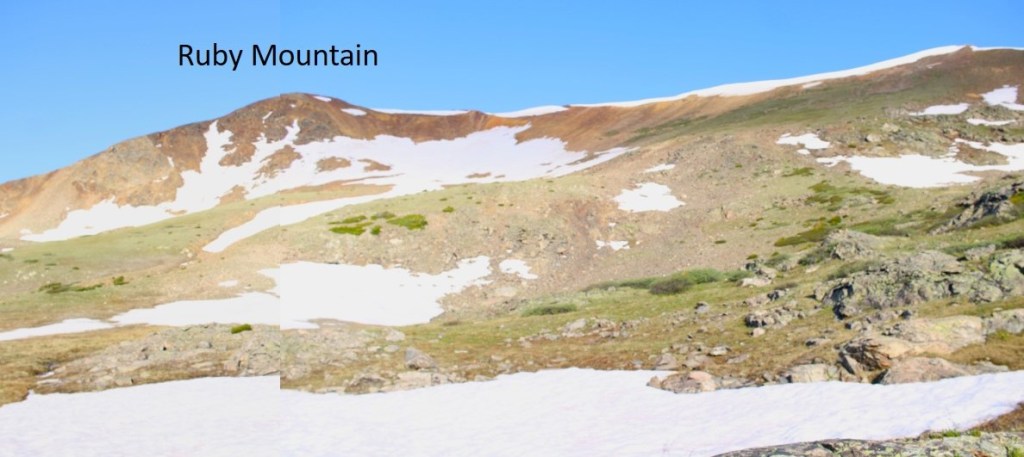
Ruby Mountain – 13,278

RT Length: 4.74 miles

Elevation Gain: 2212’

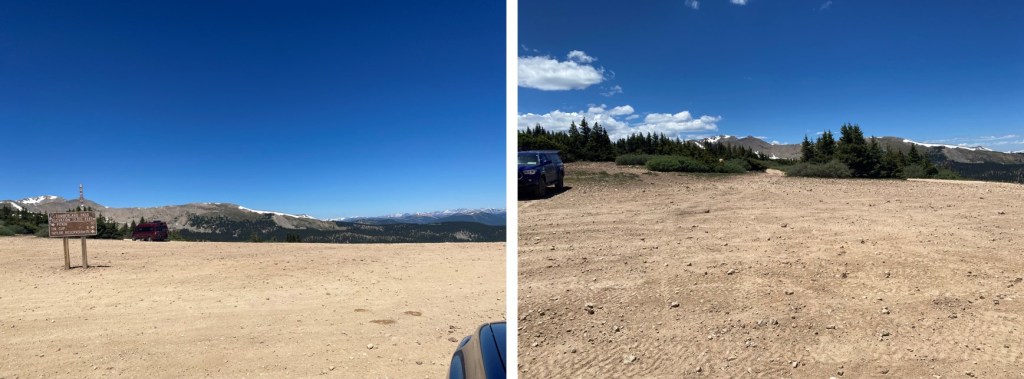
I started from the Argentine Pass Trailhead at 5am.  The 214 road in was easy 4WD, with a lot of small potholes, so I took it slow.  There’s room for several vehicles at the trailhead.

I continued following 214 northeast (the road parallels Peru Creek)  and quickly came to a gate and Shoe Basin mine.

I passed the gate, and continued along the road. 

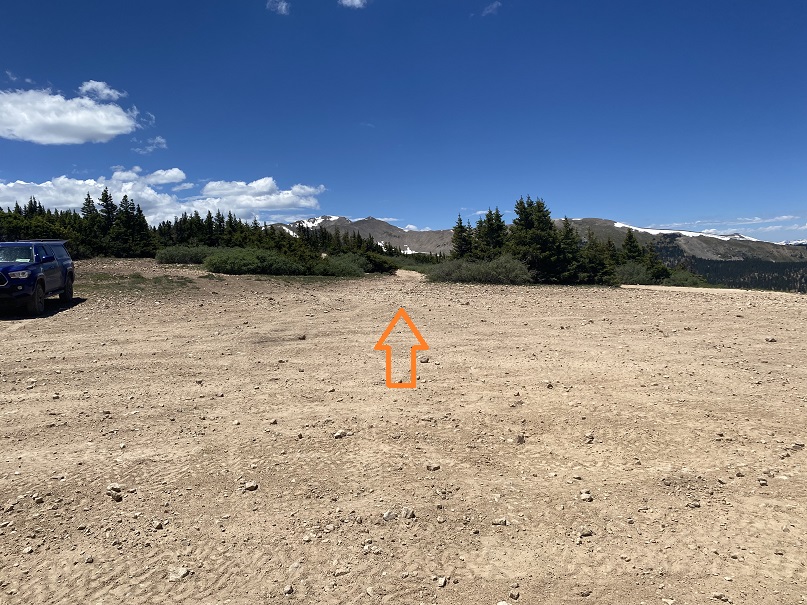
After hiking for about half a mile I turned left onto what used to be a road, but is now more of a trail.

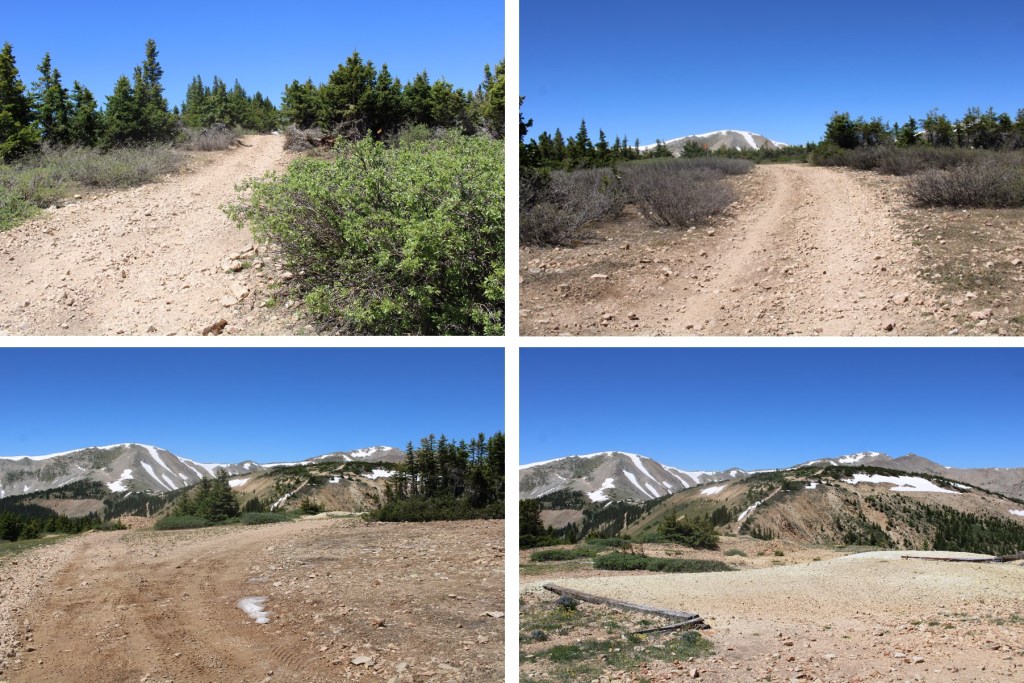
I continued following the trail until I came to a junction. Going left will take you to the Peruvian Mine, and going left will take you to the Paymaster Mine.  I turned right, and continued following the road.

The trail became overgrown with willows but was still easy to follow

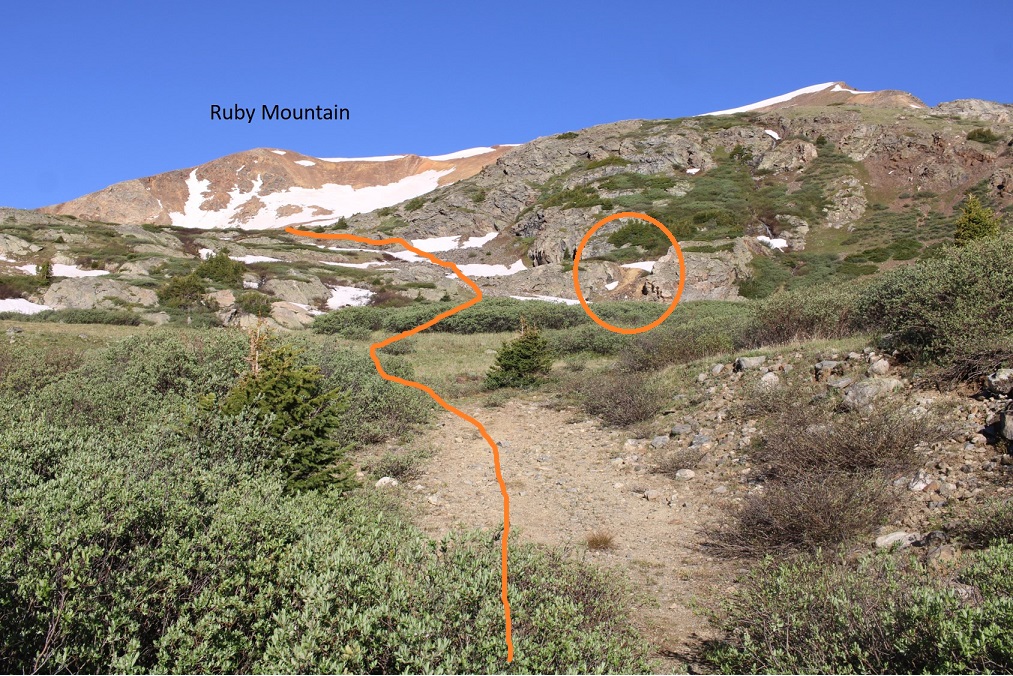
I now had a pretty good overview of the route into the upper basin. The Paymaster mine is circled.

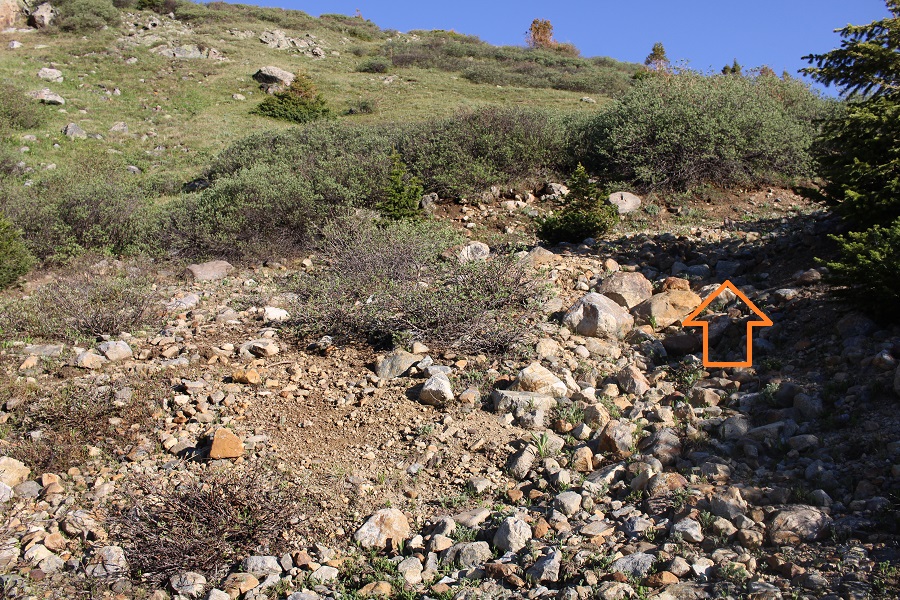
And some step-by-step pictures along the way.  There is a cairn marking where you leave the trail.  The willows here are pretty thick, but only lasts for 20 feet or so.

There was still melting snow and water on this part of the trail

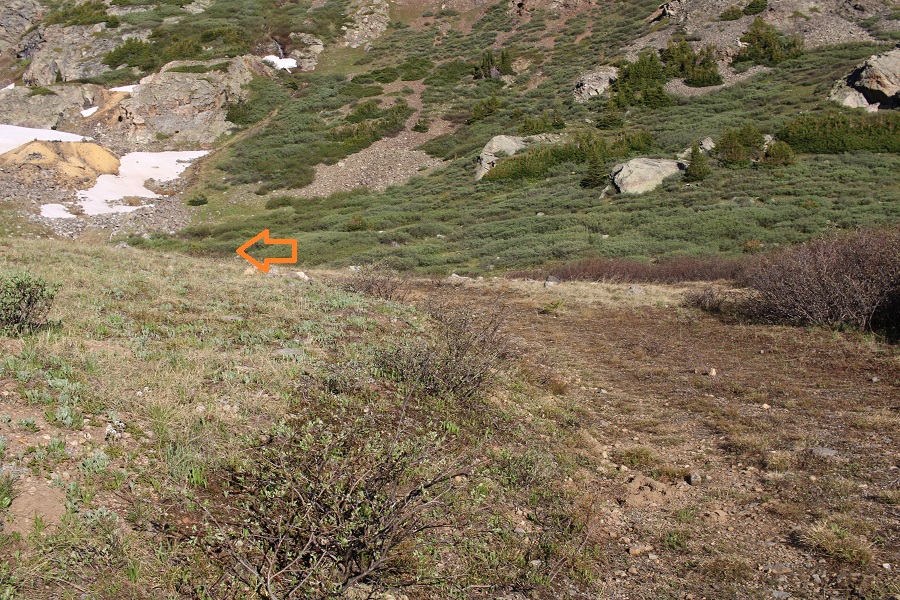
Just before making it to the mine, I turned left and climbed up the hill.  The route was obvious.

Now in the upper basin, the route seemed obvious to me.  I was going to take the snow free slope to the ridge.

This was all class 2.  Here are some step-by-step pictures of the route I took to the ridge

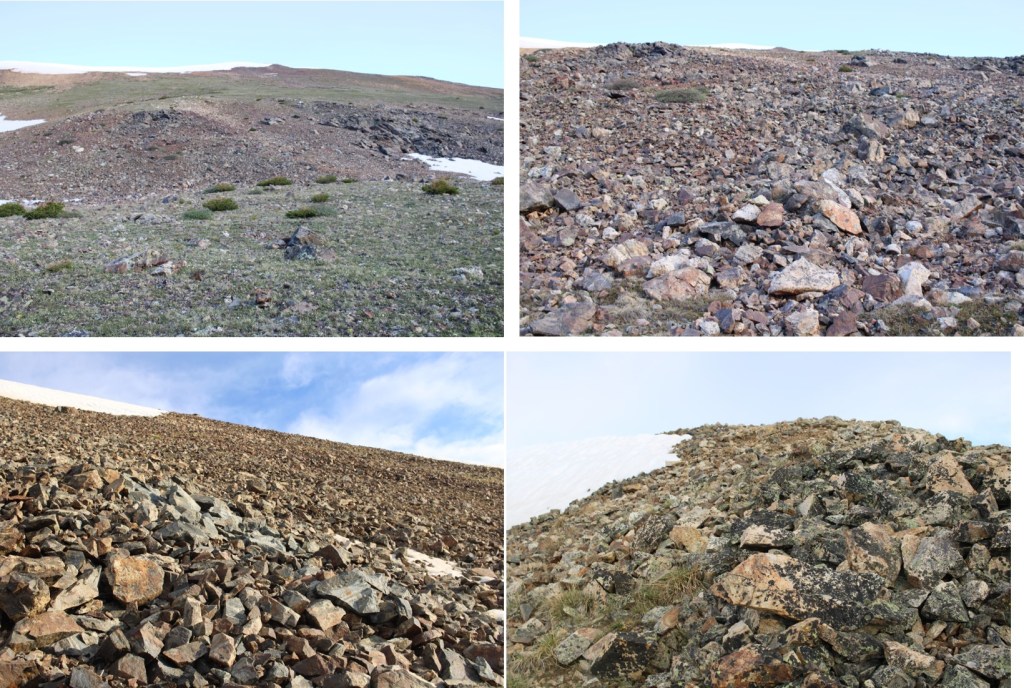
The tundra quickly turned to talus, but was all class 2 and easy to navigate.

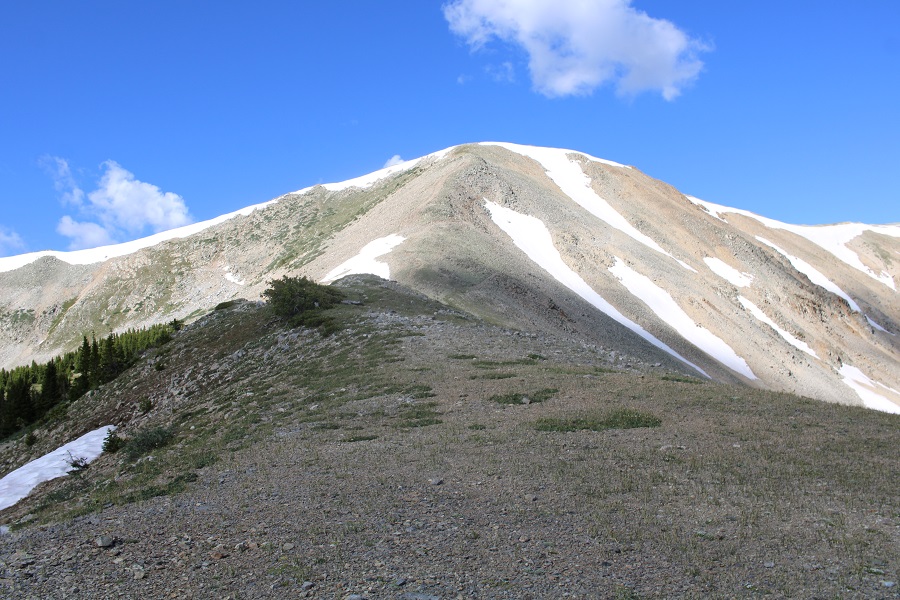
Once gaining the ridge, I turned left and followed the ridge southwest to the summit.  This was an easy tundra stroll

I summited Ruby Mountain at 6:30am

Ruby Mountain:

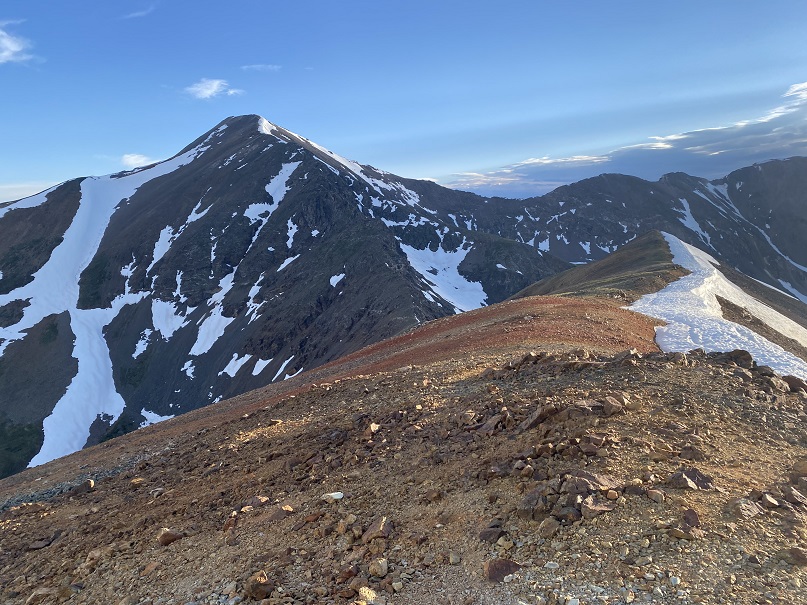
Here’s a view of Gray’s Peak from the summit of Ruby Mountain

It was a windy day on the summit, so I turned around and headed back the way I came.  Also, beware of the cornices… there’s plenty of tundra to walk on, so use that.

Here are some pictures of the descent route back to the basin

Back in the basin, I turned left and headed northeast towards the Paymaster mine and back to the road

I followed the road back towards the Peruvian mine (circled), turned left, and followed it back to 214.

Then I followed the road back to the trailhead

I made it back to the trailhead at 7:45am, making this a 4.74 mile hike with 2212’ of elevation gain in 2 hours, 45 minutes.

On to the next trailhead!

13,408

RT Length: 17.32 miles

Elevation gain: 3326′

Day 2 of my trip staying at Eddiesville Trailhead.  It was even colder this morning than last morning.  I woke up to 33 degrees outside, but needed to get going.  I got dressed and was on the trail at 5:15am.  This trailhead can accommodate up to 10 vehicles if everyone parks nicely.

The trail starts at the south end of the parking area.  This is also a Colorado Trail trailhead. 

I followed the Colorado Trail southeast for about 1.25 miles

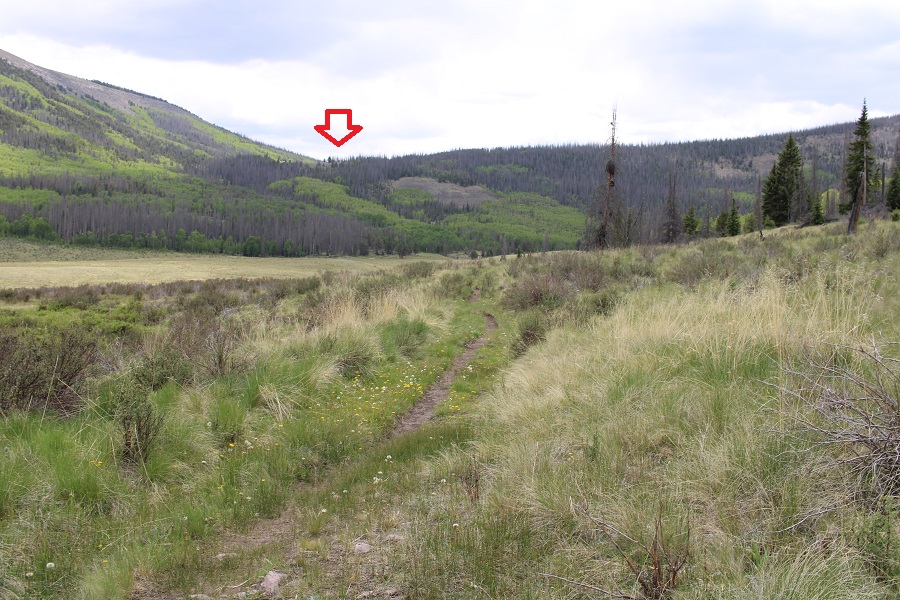
Just for reference, you’re eventually headed here

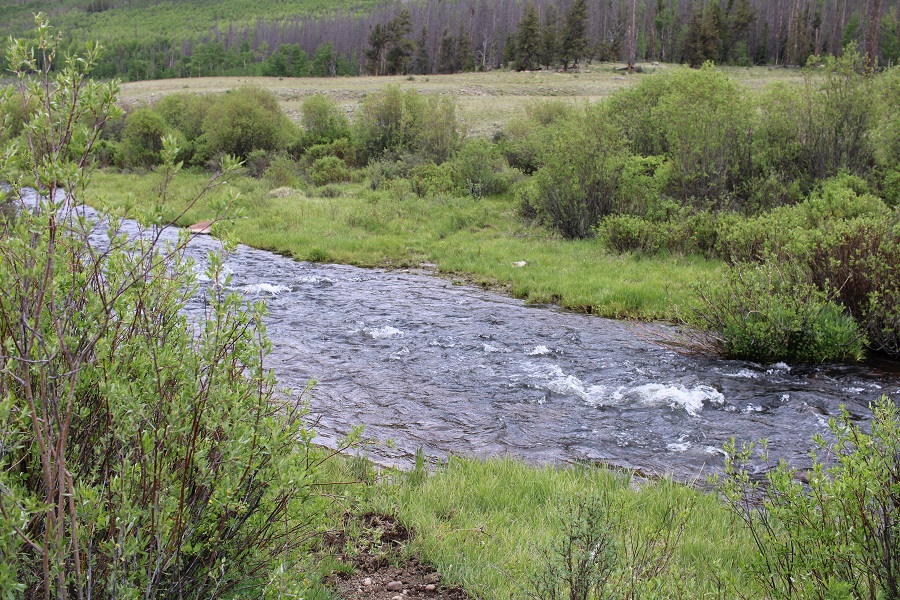
After hiking for 1.25 miles I left the trail.  I turned left, and made my way down to the Cochetopa creek.  If you look closely, you can see the trail on the other side, along with two wooden sticks that probably used to hold signs indicting which trail this was.

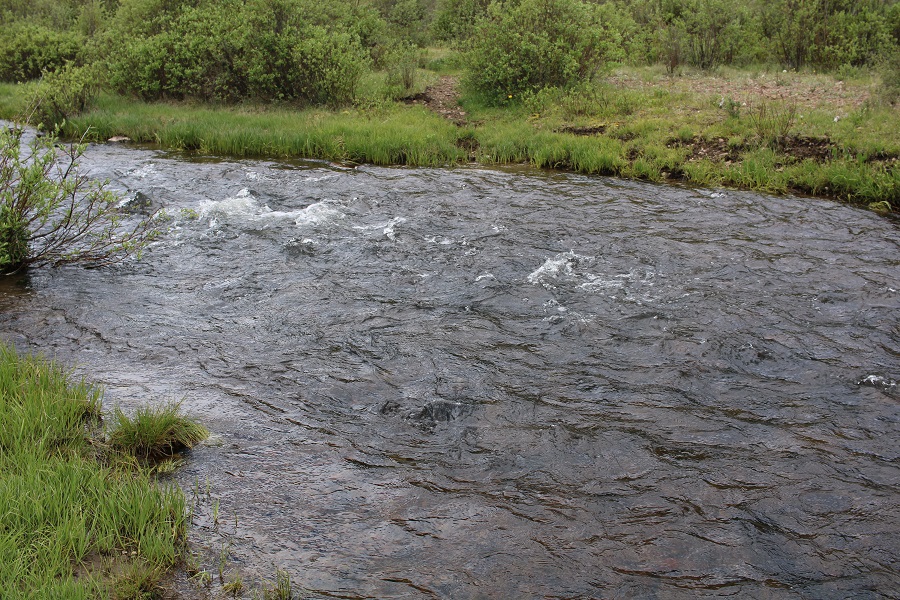
I crossed the creek, which was less than a foot deep.

And picked up the 784 trail on the other side. 

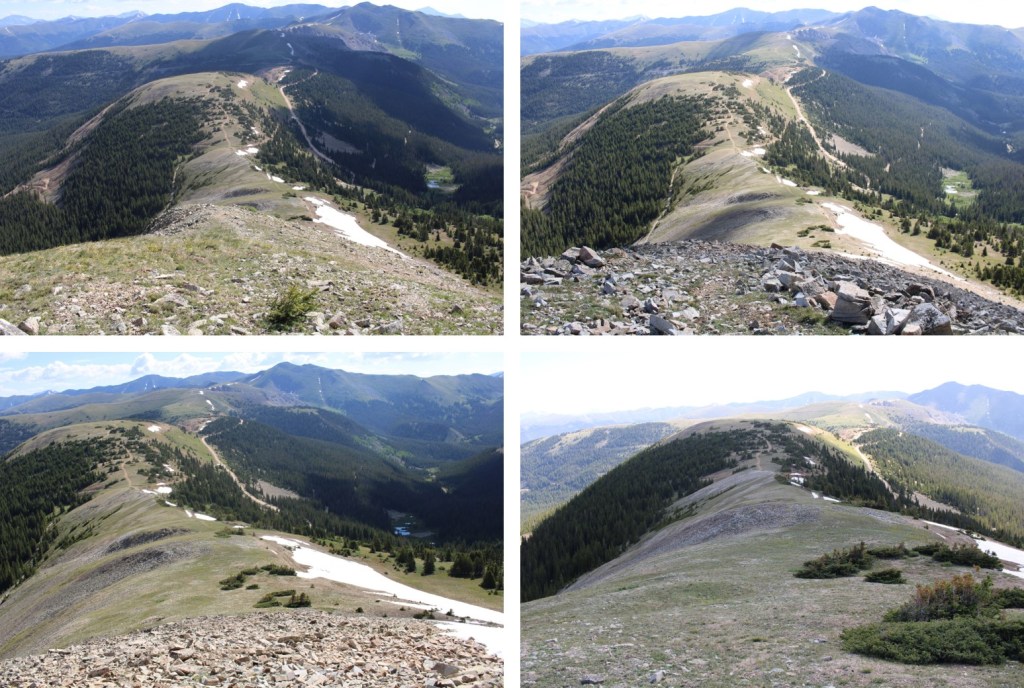
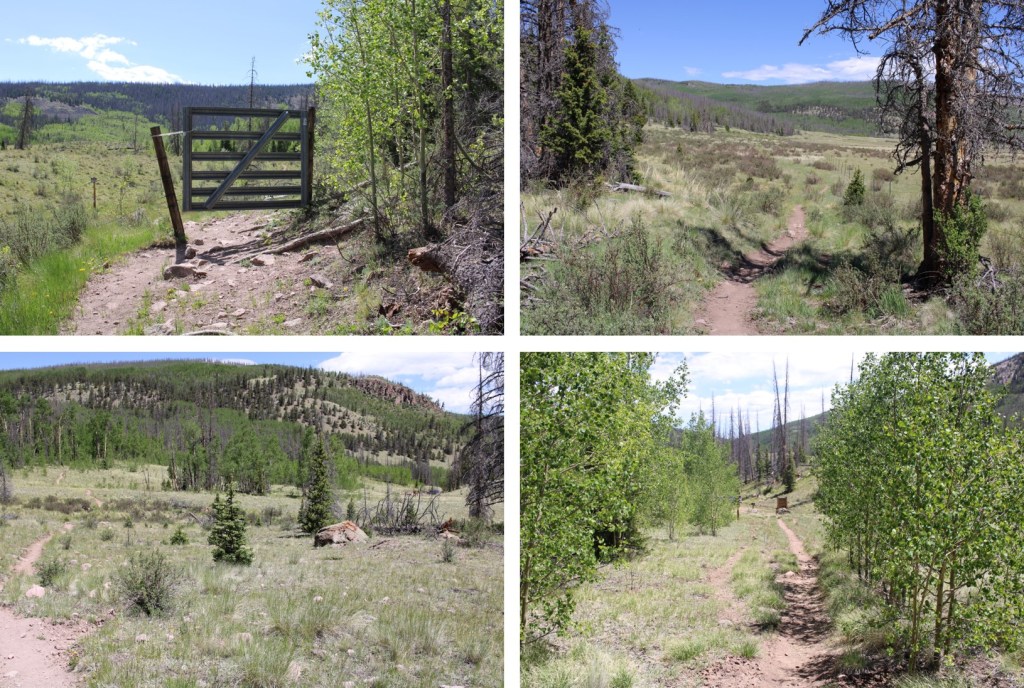
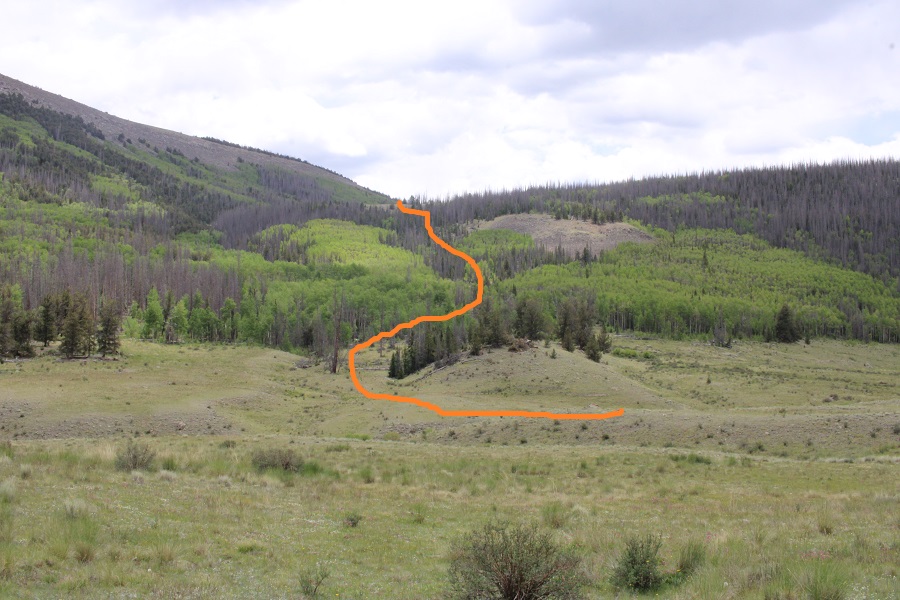
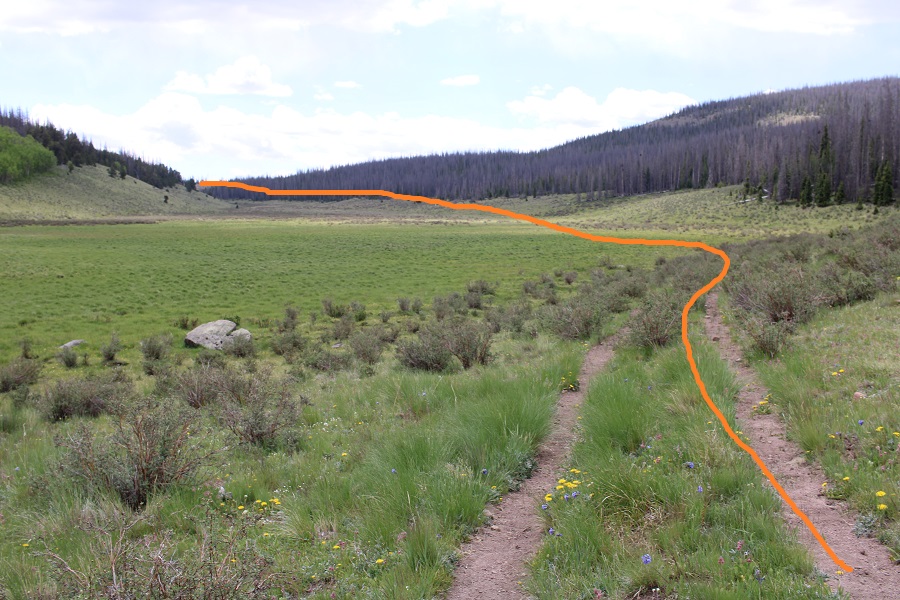
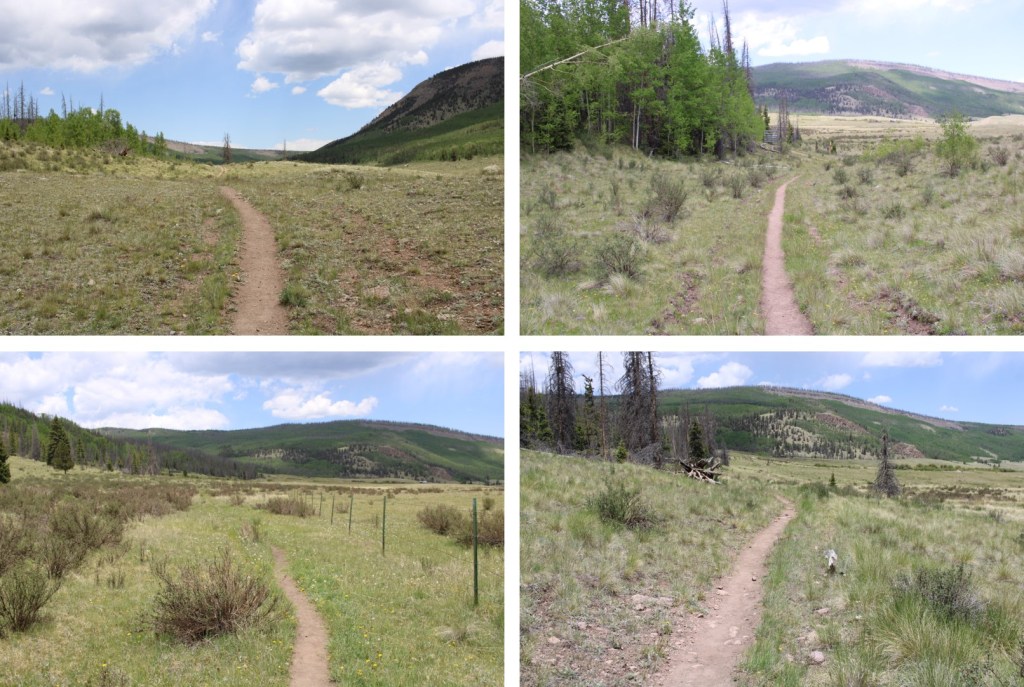
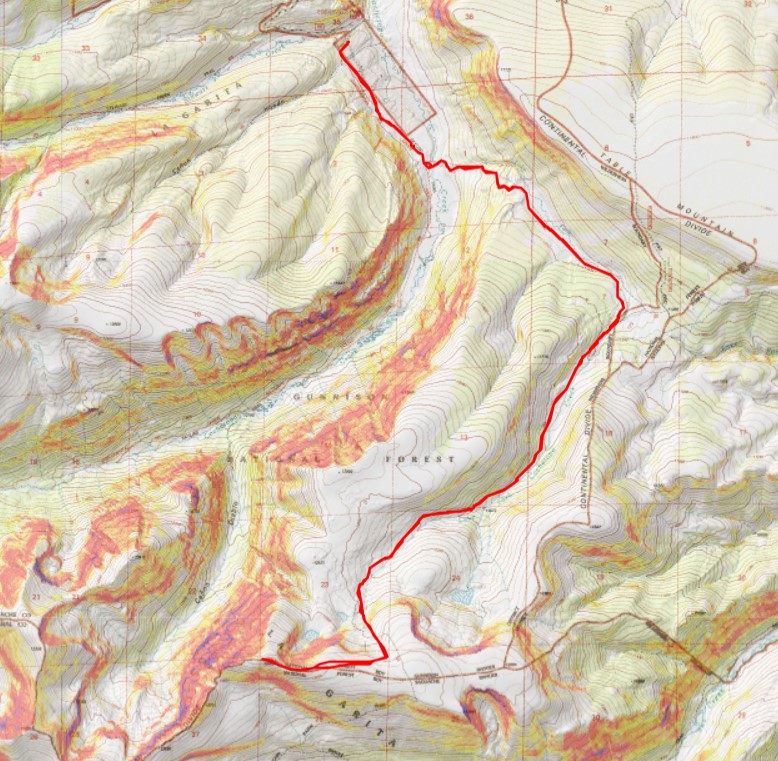
I use the term trail loosely.  It starts off as a trail, then turns into kind of a road, then vanishes, then turns into 4 or 5 trails, then vanishes… you get my point.  With careful route finding you should never lose the trail, but it’s difficult in the dark.  Remember that picture I showed you earlier about where you’re headed?  Here’s the overall route through the trees.

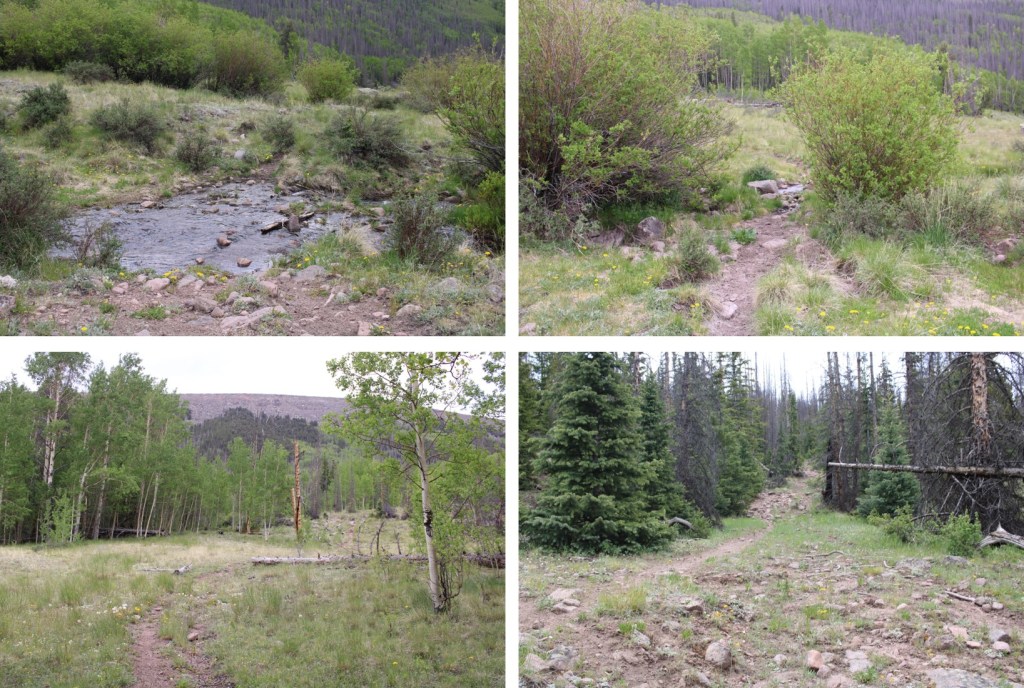
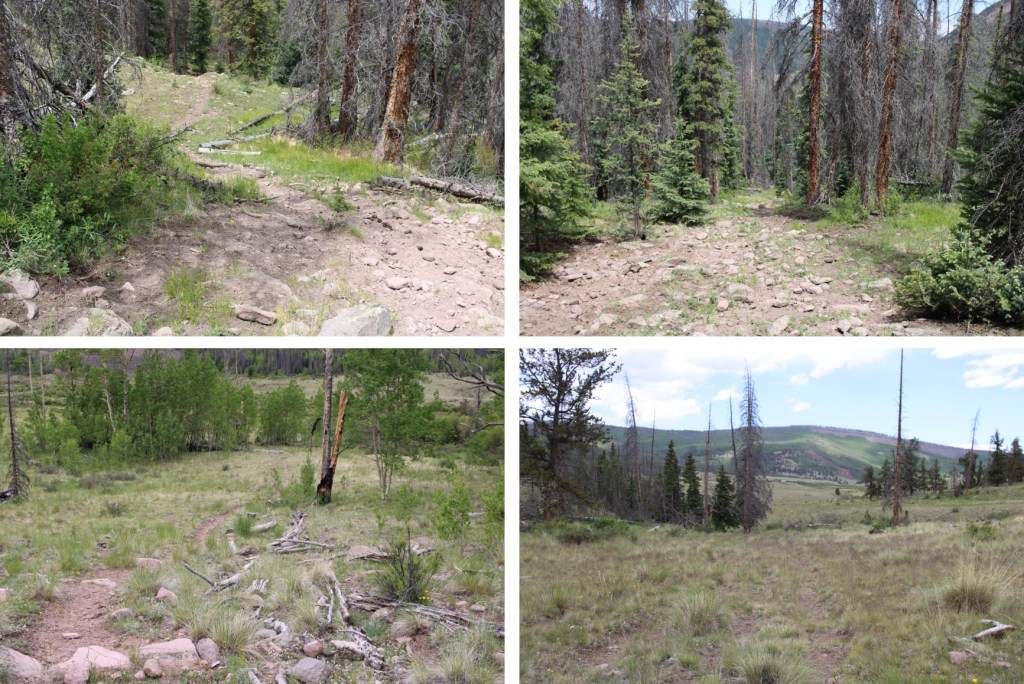
Here are some pictures of the way through the trees to the meadow

Once out of the trees I came to a rather large meadow, and followed the trail southeast for 1.25 miles.  There are many trails here, presumably cattle trails.  I always chose the one closest to the trees and was never disappointed. 

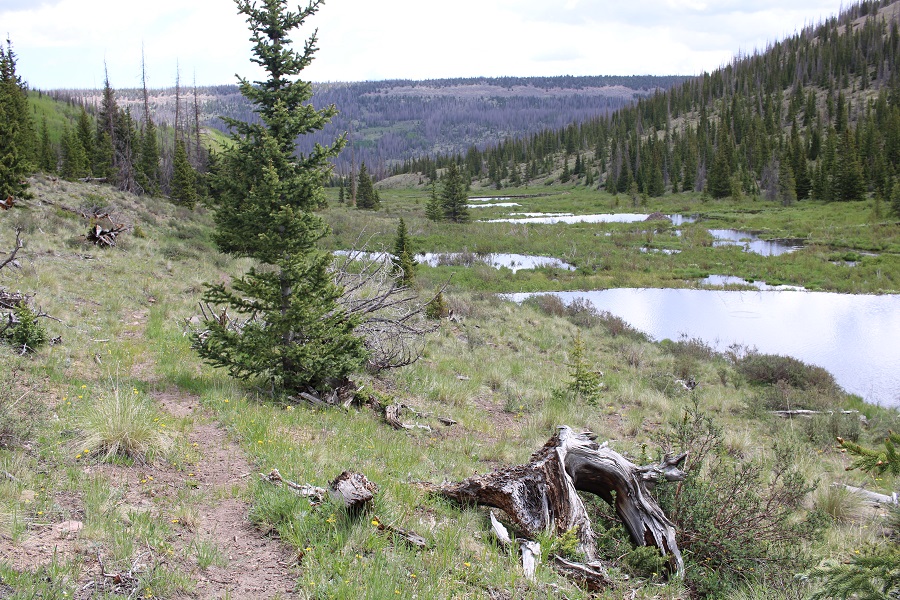
This meadow was 1.25 miles long.  At 11,050’, after hiking for a total of 3.3 miles, I turned right and followed the trail southwest to the upper basin. 

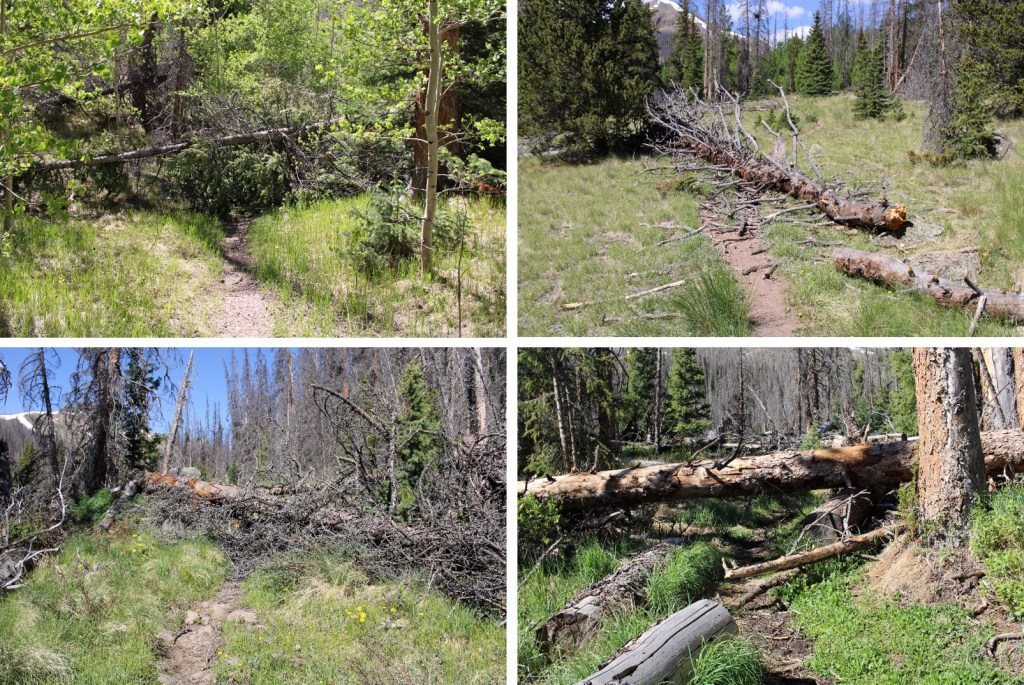
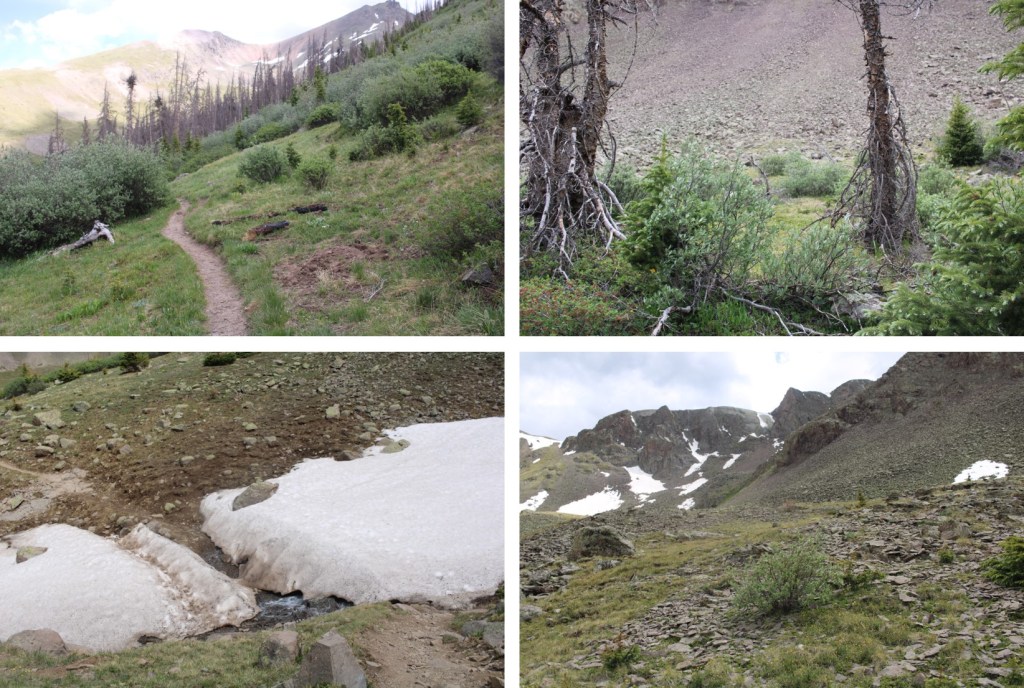
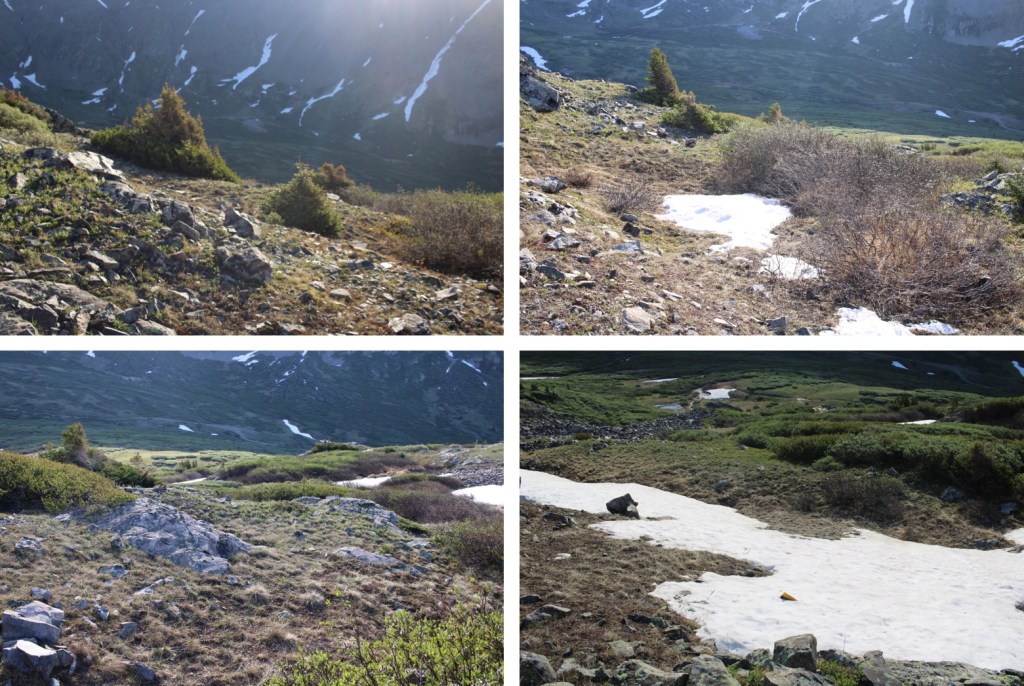
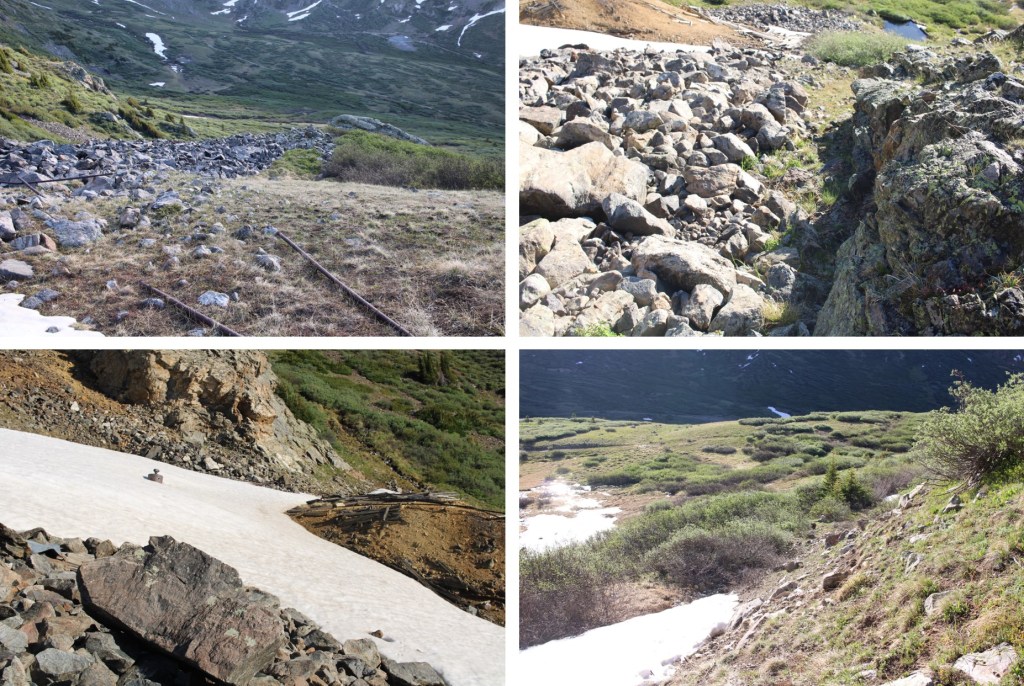
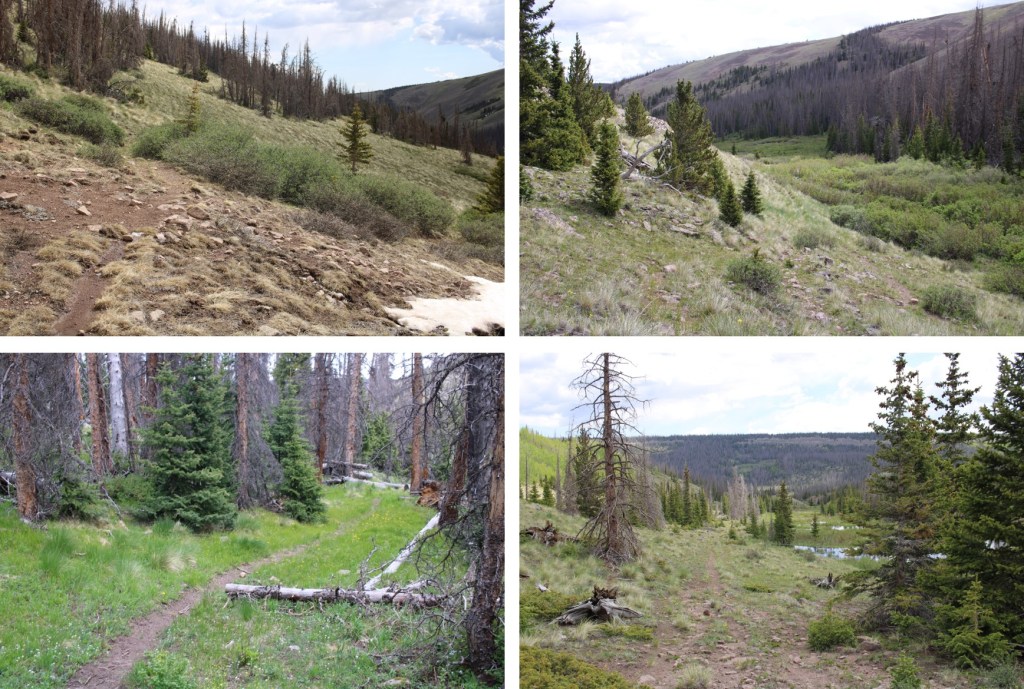
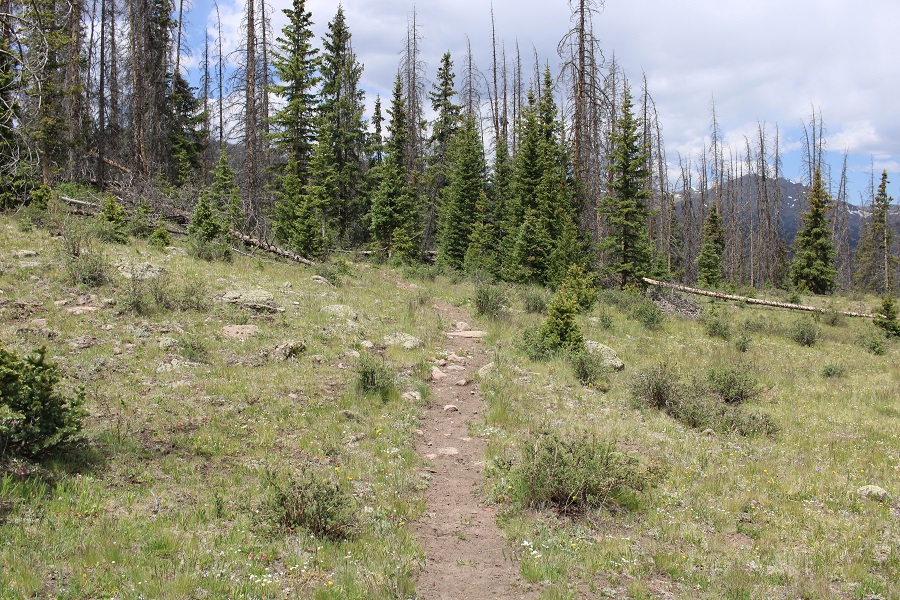
This is where the trail gets iffy.  There are a lot of downed trees, and in some places the trail is wide, and in others it looks like a rabbit path, overgrown with grass and wildflowers.  Just keep heading southwest, staying to the right of the Lake Fork Cochetopa creek.  Here are some pictures of the terrain

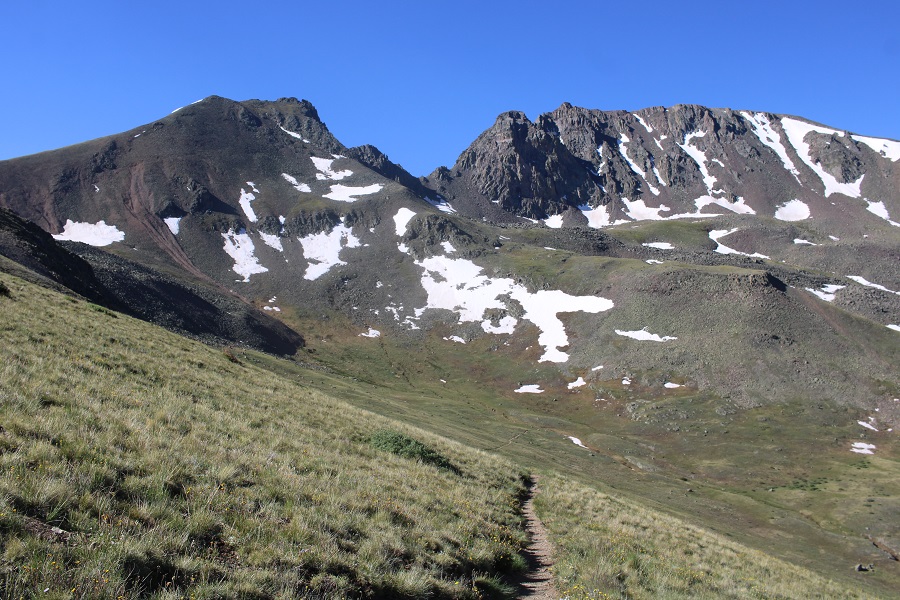
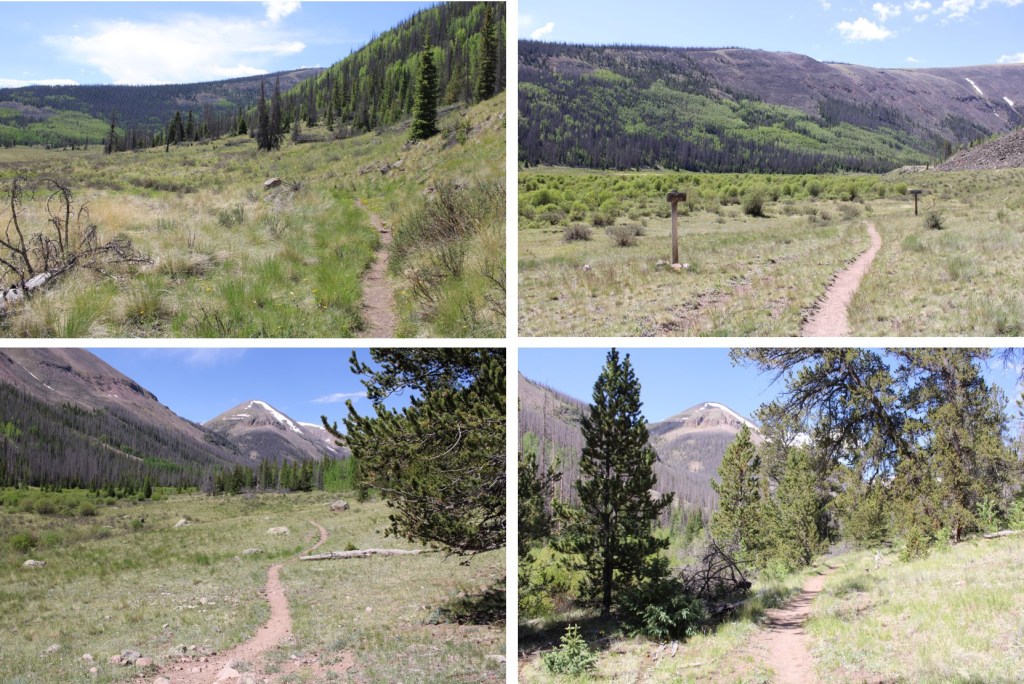
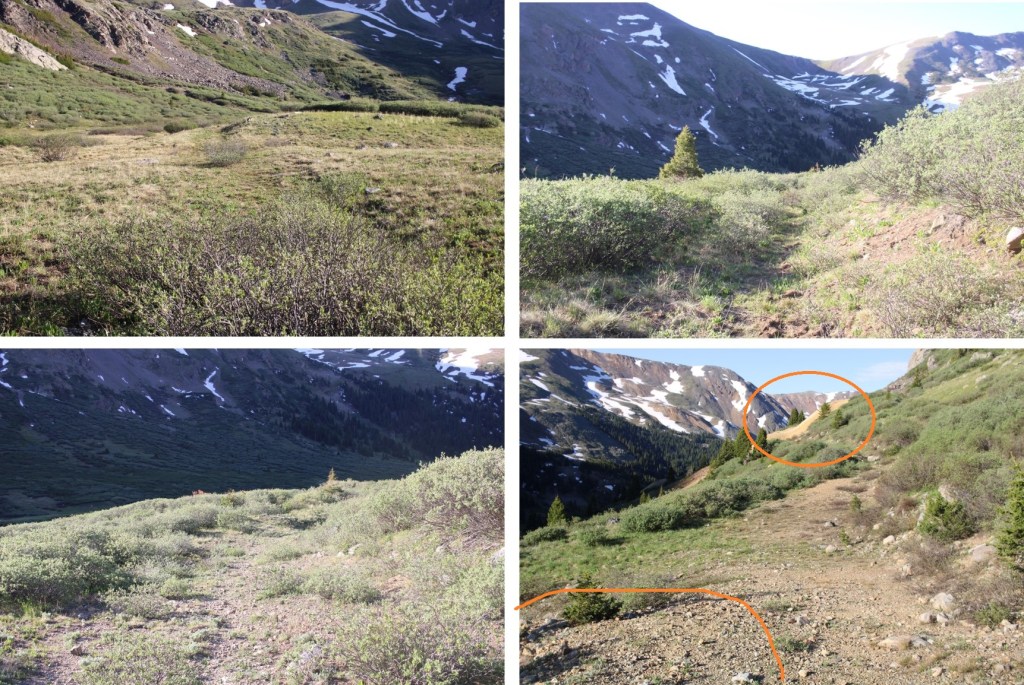
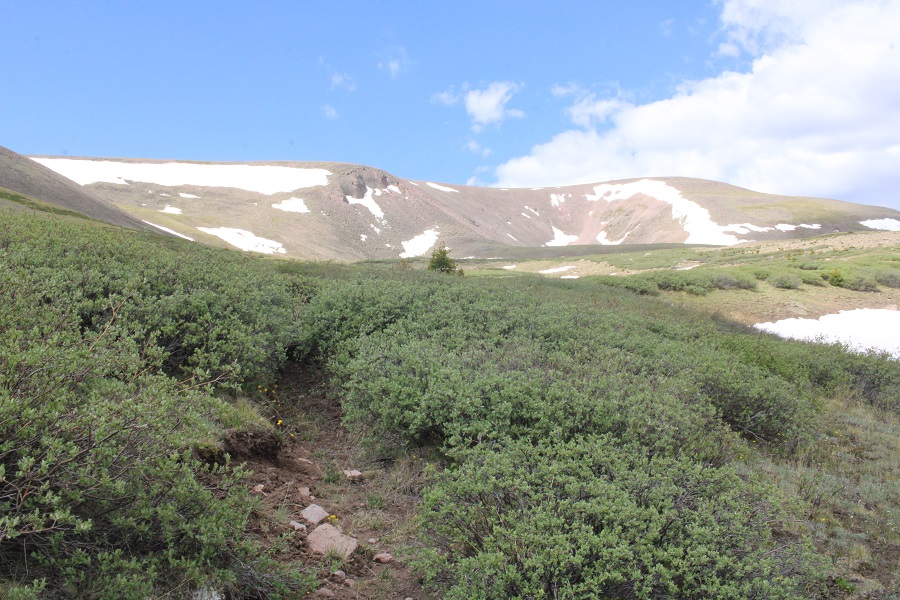
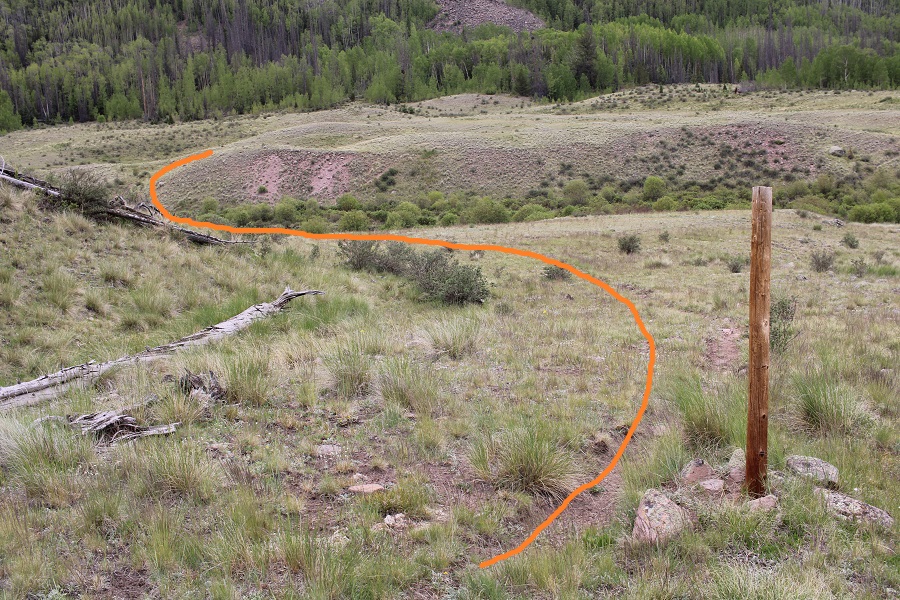
Once above treeline, I was deposited into a willow filled basin.  There is a trail here, but once you lose it, it can be very difficult to find again.  It’s more of an overgrown game trail.  This is the path I took

Here are some step-by-step pictures

Yep, that’s the trail

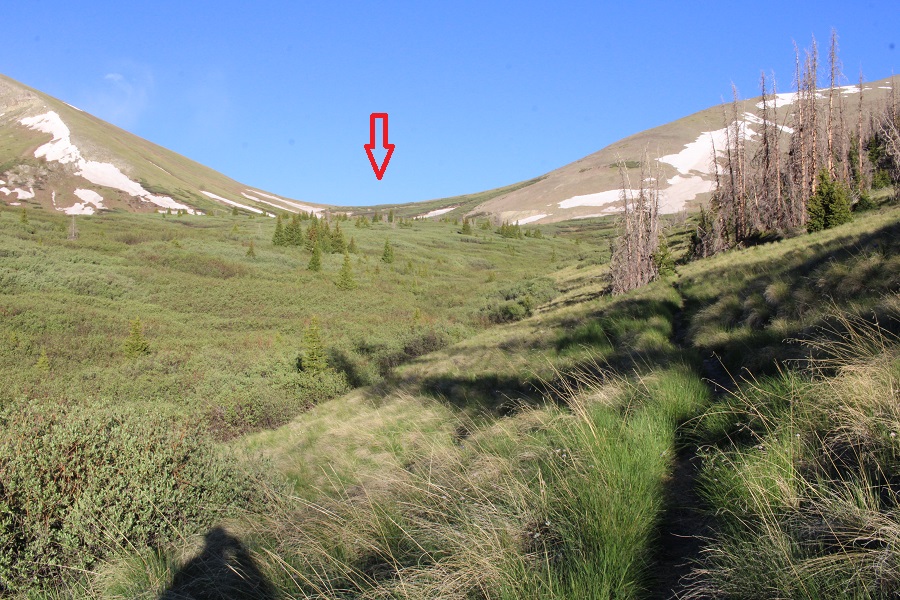
I was headed for the gully to my left.  I could see a game trail that would lead me to the ridge and looked snow free (it was)

I made my way up the gully, staying to the left of the snow

As soon as the snow stopped, I turned right and gained the ridge

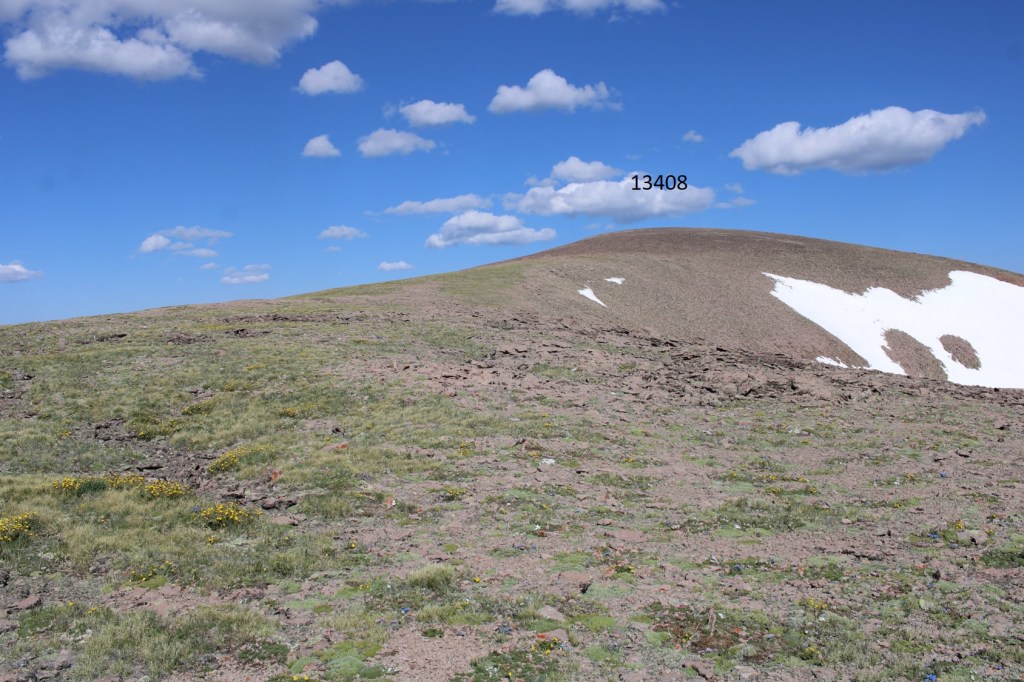
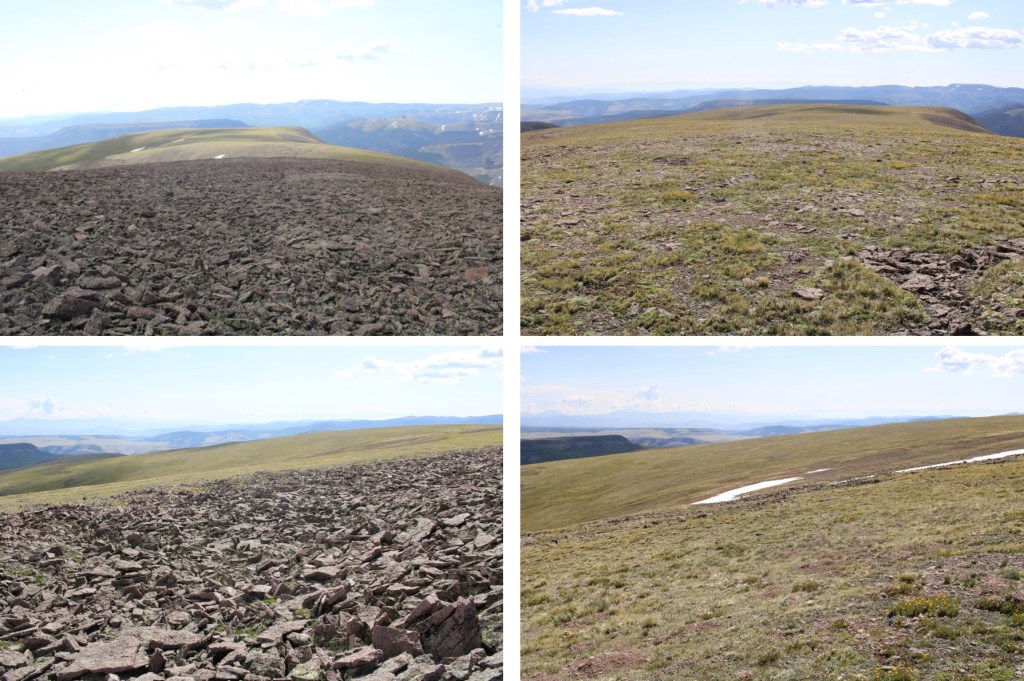
I followed the tundra and talus filled ridge east to the summit

I summited 13,408 at 9:15am.  Also, as you can tell by my bandana, it was windy.

13408:

Be careful, there’s a lot of bailing wire littering the summit, which is easy to not see and trip on. 

Ok, time to turn back.  I retraced my steps back down the ridge to the gully

Then down the gully into the basin

Through the willows, back to treeline

From there I caught back up with the trail, and took it down to the meadow

There were a lot of beaver dams and lodges along the creek

At the meadow I turned left, and followed the trail back down into the trees

Now the trail was easy to follow back to the creek

I crossed the creek slowly.  In fact, I stood in the middle for a few minutes to cool off my feet

The Colorado Trail was waiting for me on the other side.  I followed it northwest to the trailhead

I made it back to my truck at 12:15pm, making this a 17.32 mile hike with 3326’ of elevation gain in 7 hours.