In my younger days I’d spend countless hours washing my car over the weekends. Sometimes pushing into two or three days depending on the project. My family and friends thought I was a bit nuts, but it was fun. Like figuring out what products and techniques worked best at getting rid of swirl marks. It was all about crafting the art of detailing. However, over the past several years motorcycles have pretty much taken over and I still have a handful of detailing products. So before the summer came to a close I decided to test some of them out on my 1979 Triumph Bonneville T140.
The Inspection
The motorcycle is over 41 years old and has original paint, which is different from what is being used today. That being said, it has some flaws caused by aging and a ding or two. It also had sat for many years collecting dust and was in need of some TLC. One of my priorities was to avoid damaging anything, especially the paint, during the detailing process.
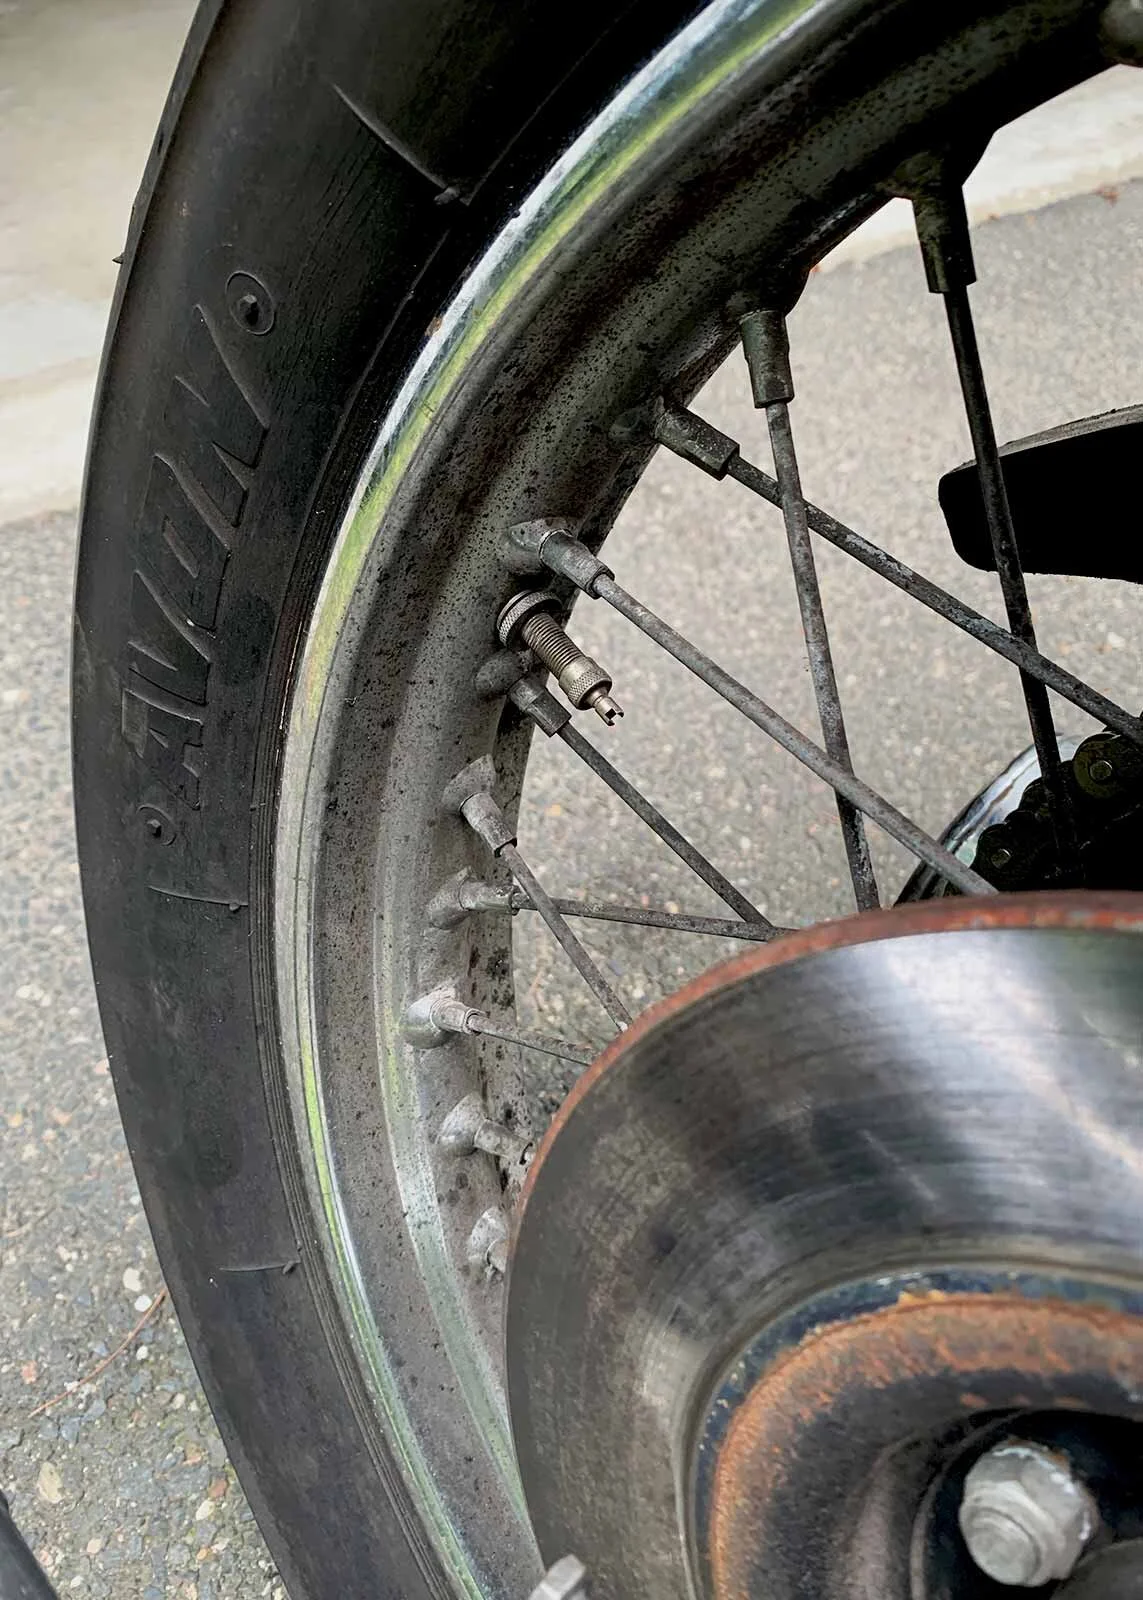
Before anything I did a general inspection noting any particular areas that would need extra attention or care during the process. I found a couple of areas with peeling paint on the frame and some paint/finish issues on the tank which had most likely been damaged by gasoline running down and around the gas cap. For this reason and given the age of the motorcycle all detailing was done by hand, not machine, to avoid harm. The images below show areas I noted such as the tank, wheels and underside of the frame.


The detailing Process
After the initial inspection I sprayed the super oily and greasy areas with Adam’s All Purpose Cleaner. This helped loosen up the grime. It’s important to note that when you’re cleaning a motorcycle, as opposed to a standard car, to be aware of where you’re spraying the water or any cleaning products. The key is to avoid any sensitive areas where you wouldn’t want water to enter through. Next, I used Adam’s Car Shampoo, Wash Pad and a hose to clean off the motorcycle. When cleaning a car I always used a separate wash/rinse bucket and cleaning pads to avoid paint damage. So, extra care was taken here as well.


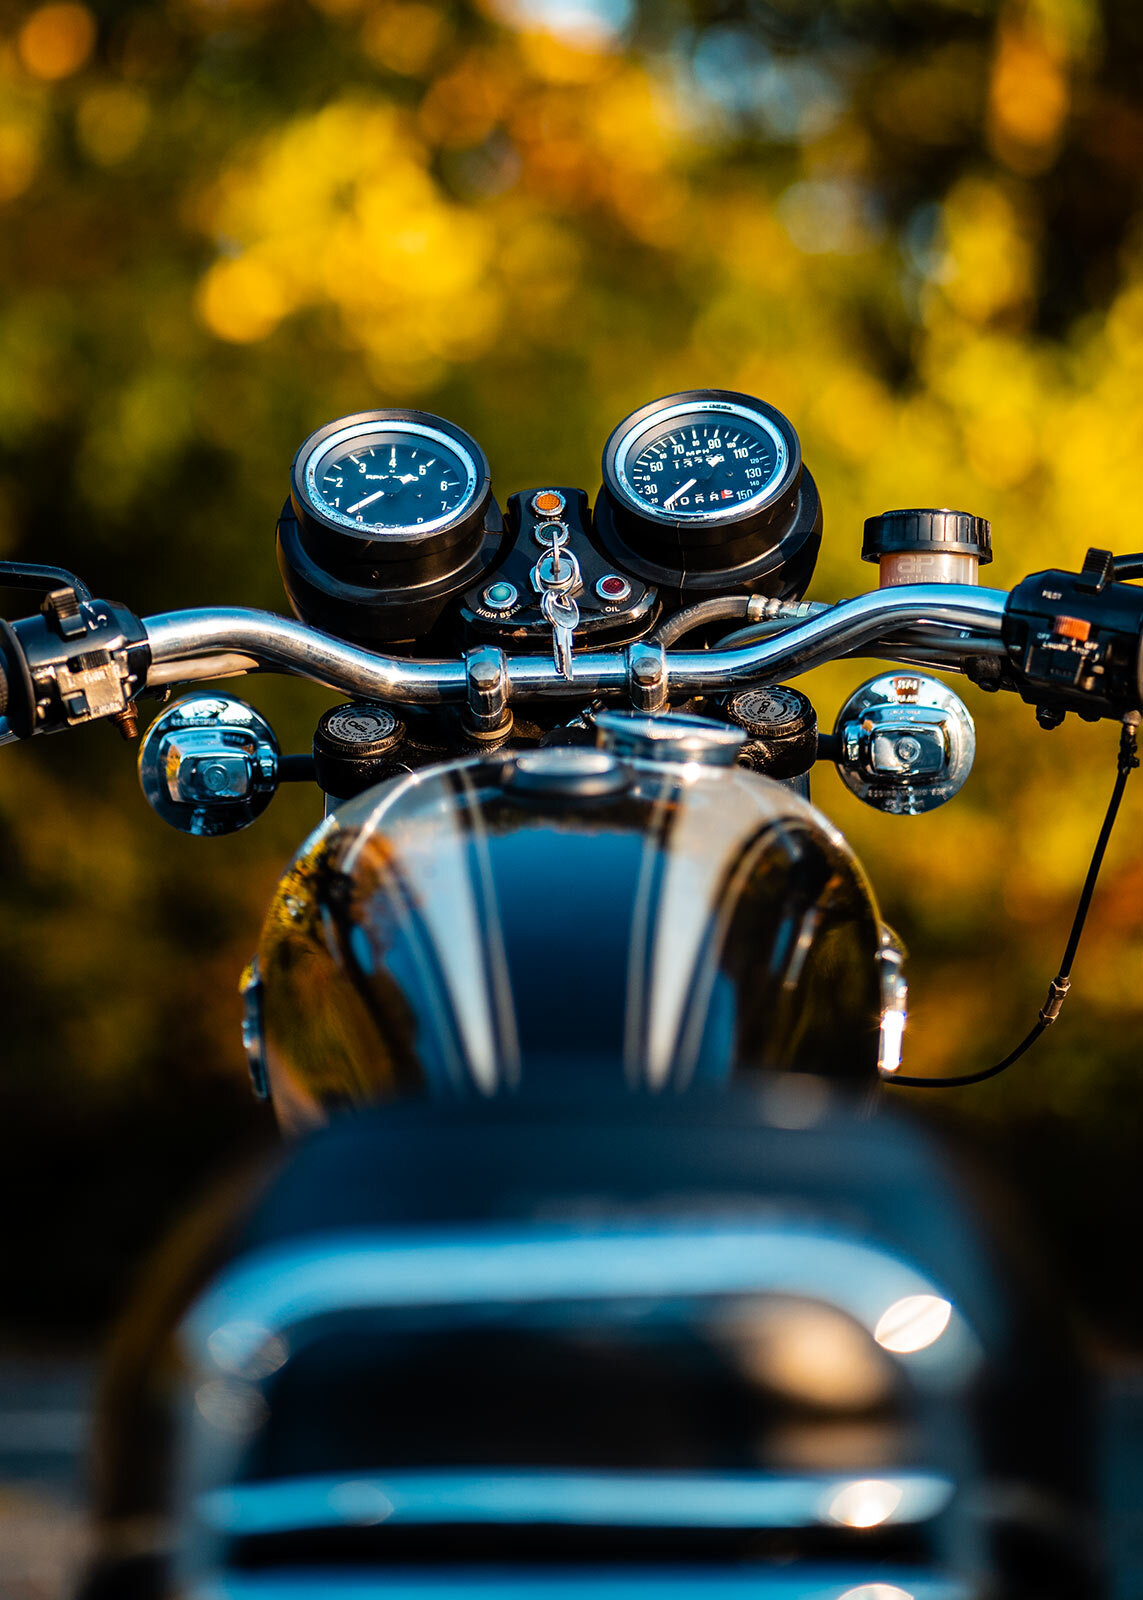
The bike looked much better after the wash and I was able to better analyze the paint on the tank and other parts of the motorcycle. I discovered a few issues mainly on the tank and overspray found on the side covers. These were both painted surfaces, so I decided to use Adam’s Clay Bar and Detail Spray to remove the stubborn areas which weren’t taken care of during the initial wash. I removed the badges on the tank to address the entire surface. Lastly, I used the clay bar on the glass of the gauges and headlight to get a smooth finish.
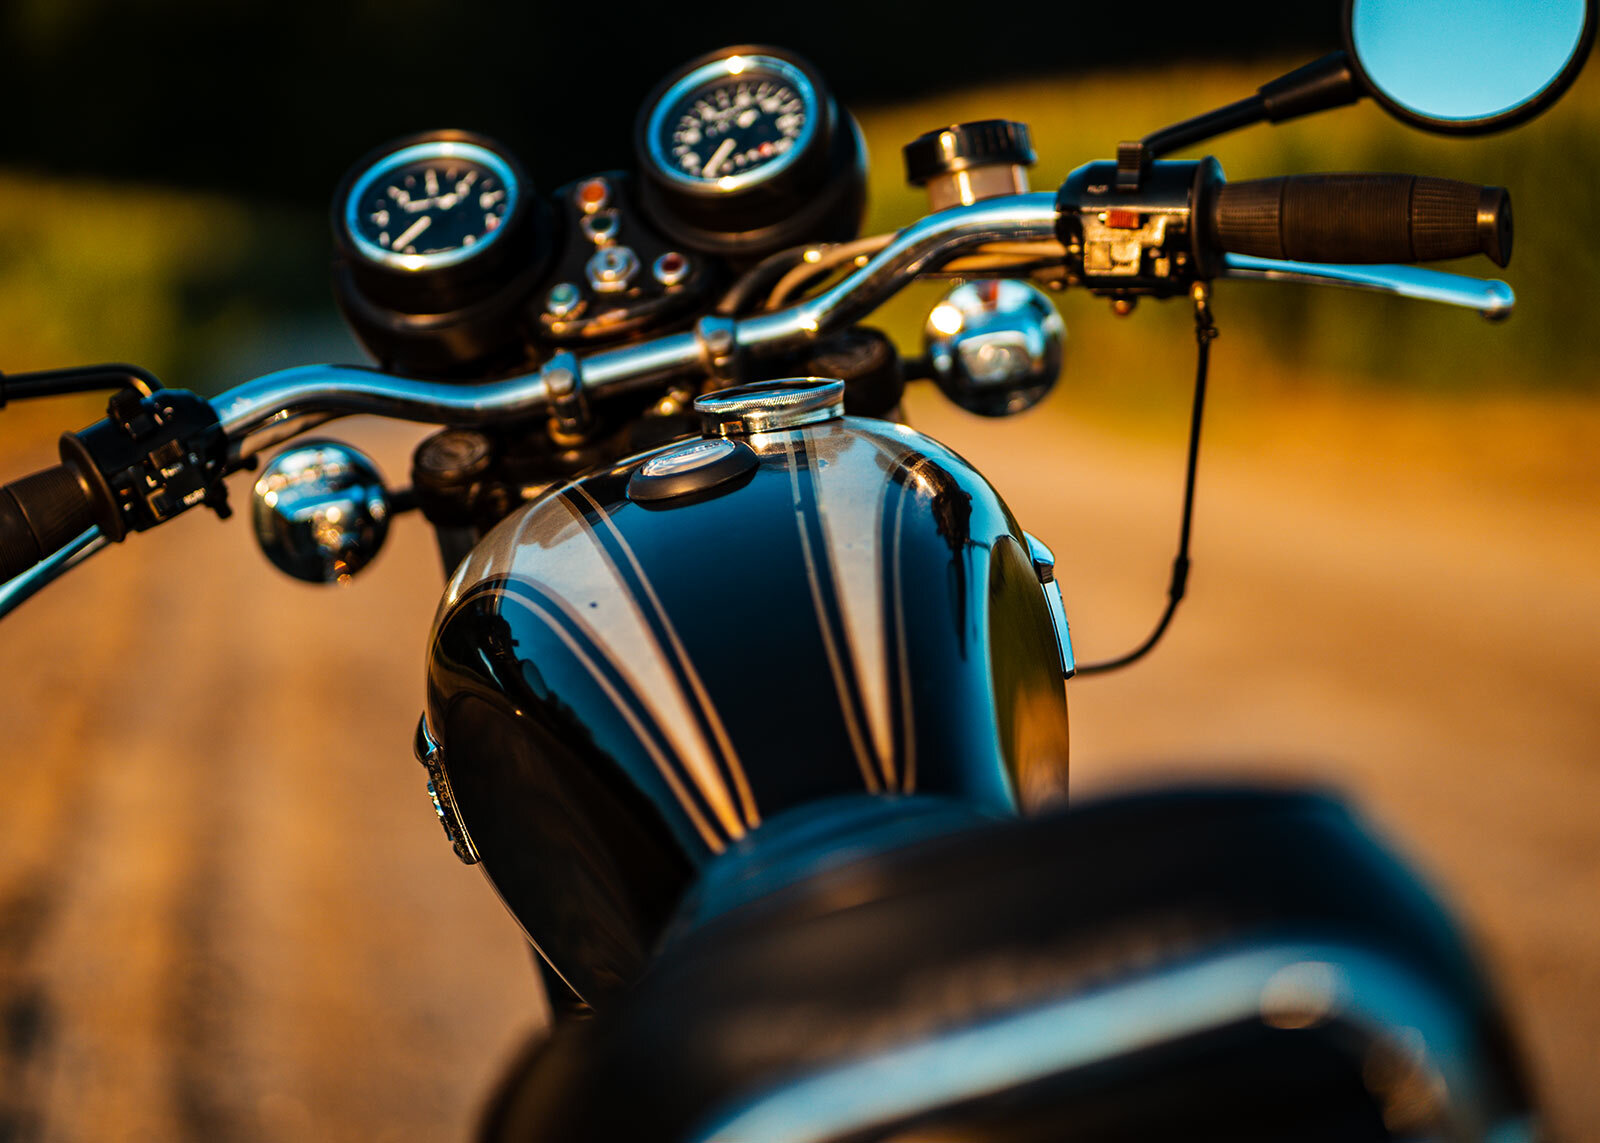
Once the paint was free of impurities I started the process of reviving the quality and shine on the tank. Again, my priority was to avoid possible damage, so I didn’t want to use or do anything aggressive. It’s important to note that you should always test any products in a small inconspicuous area before using. I started with Adam’s Swirl & Haze Remover and then Revive Hand Polish. The two together helped remedy some of the light scratches and cracks on the tank. At the same time it started to bring out the vibrance in the gold and silver colors. After seeing the positive result I did a few more passes using the two products above. When I was done, I topped it off with Adam’s Buttery Wax, which enhanced the overall shine. The photos below capture some of this process.


Finishing Touches
To make the details pop I used Mothers Mag & Aluminum Polish on the covers and alloy bits found throughout the bike. For the chrome parts, like the fenders, rims, pipes, etc. I used fine steel wool to brighten them up. This process takes a lot of time and requires a large serving of elbow grease, but totally worth it in the end. I misted the seat with Nextzett Cockpit Cleaner and wiped it down with an Adam’s Microfiber Towel. This brought back some of the sheen without it looking oily like many products tend to do.
That concluded the process and I’m super happy with the outcome. The bike is much cleaner, the paint is shining again and overall it looks more presentable. After all of the hard work it’s time for a ride! Here are a few pictures after the entire procedure.